How To Do The Halasana And What Are Its Benefits
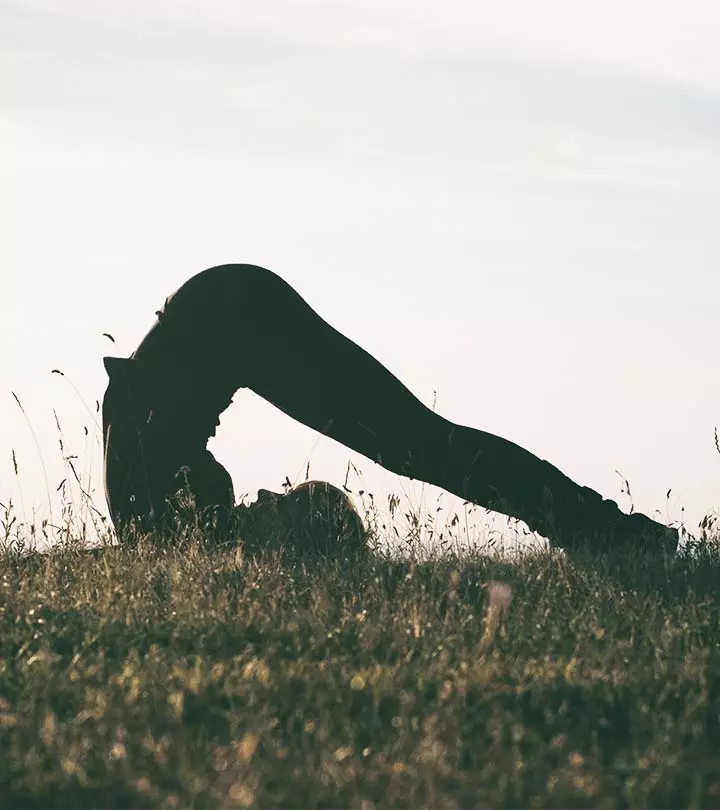
Image: shutter stock
Halasana or Plow Pose is an asana. Sanskrit: हलासन; Hala – Plow, Asana – Posture; Pronounced As – hah-LAHS-anna
Just like the other yoga poses, the Halasana is named so because the basic shape of the pose resembles a typical plow used in Tibet and India. The plow is also a mythical symbol that features in many stories from Tibet, China, India, and Egypt. It might be interesting to know that King Janaka found a beautiful baby girl as he was plowing the field. He adopted her and named her Sita. She grew up and married Rama. This story goes to show how the plow is used to uncover hidden treasures. Practicing the plow pose will do that for your body. This asana is one of the finishing poses that you will do right from the beginning in yoga. But only once your feet touch the ground, it becomes an advanced pose. Read on to know more.
Everything You Need To Know About The Halasana
- What You Should Know Before You Do The Halasana
- How To Do The Halasana
- Precautions And Contraindications
- Beginner’s Tip
- Advanced Pose Variation
- Benefits Of The Plow Pose
- The Science Behind The Halasana
- Preparatory Poses
- Follow-Up Poses
What You Should Know Before You Do The Halasana
It is best to practice yoga early in the morning. In case you cannot wake up early, or have a whole lot of errands to run once you are up, you can practice this asana in the evening. Just make sure your stomach and bowels are empty. It is a good idea to leave a gap of at least four to six hours between your meal and the practice.
Level: Basic/ Intermediate
Style: Hatha Yoga
Duration: 30 to 60 seconds
Repetition: None
Stretches: Shoulders, Vertebral Columns
Strengthens: Spine, Neck
How To Do The Halasana
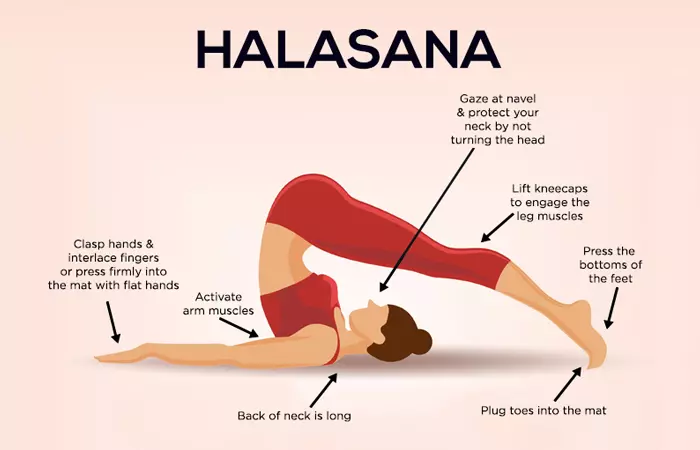
- Lie flat on your back, with your arms placed beside your body and your palms facing downwards.
- Inhale, and lift your feet off the ground using your abdominal muscles. Your legs should be at a 90-degree angle.
- Use your hands to support your hips and lift them off the floor.
- Bring your feet in an 180-degree angle, such that your toes are placed over and beyond your head.
- Make sure your back is perpendicular to the ground.
- Hold the position for a minute while focusing on your breathing. Exhale, and gently bring down your legs. Avoid jerking your legs while releasing the pose.
Precautions And Contraindications
These are some points of caution you must keep in mind before you do this asana.
- Avoid practicing this asana if you have the following problems:
a. Diarrhea
b. Menstruation
c. Neck injury
- If you are suffering from high blood pressure and asthma, support your legs with props while you practice this asana.
- If you are pregnant, do this asana only if you have been practicing it for a long time. Do not begin practicing when you get pregnant.
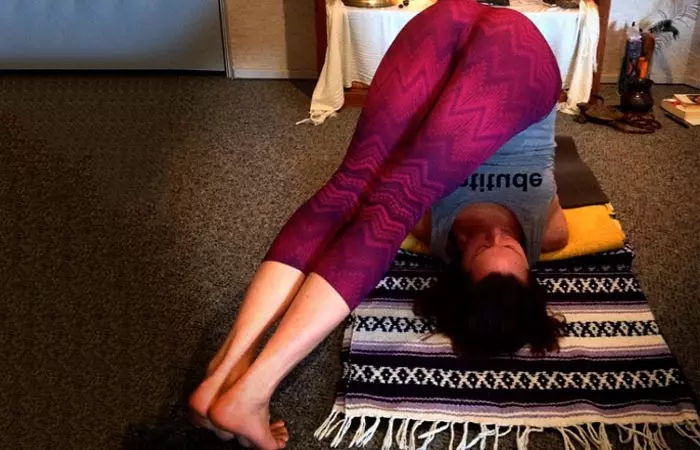
- When you touch your feet to the ground, this asana becomes and advanced yoga pose. You must do this asana under the guidance of an experienced yoga teacher.
Beginner’s Tip
As a beginner, you might overstretch your neck when you get into this asana. The goal must be to push down the tops of your shoulders to support your back and lift your shoulders a little towards your ear. This will ensure that the back of the neck and the throat are soft. Open up your sternum by pressing your shoulder blades firmly against your back.
Advanced Pose Variation
Once you have mastered the Halasana and can touch your feet to the ground, you can intensify your practice by doing the Parsva Halasana. This is how to do it.
- Once you assume the Halasana, walk your feet towards the left, as far as you can. You must ensure you feel comfortable.
- It is possible that one side of the hip will sink to the floor. Try to keep your pelvis neutral to avoid that. Make sure your hips are parallel to the ground.
- Hold the pose for about a minute. Then, as you inhale, bring your feet back to the center. Hold for a few breaths. Exhale and repeat on the right. Come back to the center and release.
The Benefits Of The Plow Pose
These are a few amazing Halasana benefits.
1. This asana massages the digestive organs, and therefore, improves digestion and regulates appetite.
2. It regulates metabolism and helps in weight loss.
3. It is an excellent asana for diabetic patients because it normalizes the blood sugar levels.
4. It flexes the spinal cord and releases the strain in the back, thereby enhancing posture and reducing any pain.
5. It helps relieve the symptoms of menopause and stimulates the reproductive system.
6. It helps reduce stress and fatigue.
7. This asana also helps to calm the brain.
8. It gives the spine and shoulders a good stretch.
9. It works on the thyroid gland as well.
10. It helps cure backaches, infertility, sinusitis, insomnia, and headaches.
The Science Behind The Halasana
Practicing this asana regularly rejuvenates and nurtures your entire body. Halasana increases the blood flow and the suppleness in the lumbar and thoracic regions in the body, and also releases stress and tension in the throat and neck. If there is an accumulation of mucous or phlegm in the respiratory system or the sinuses, this asana helps to flush it all out. With regular practice, your breath will also be streamlined.
Halasana heals and calms the sympathetic nervous system. It helps to balance the secretions in the glands, specifically thyroxine and adrenaline. It also removes toxins from the urinary and digestive tracts. If you have had a history of high blood pressure, this asana helps relieve hypertension as well.
Preparatory Poses
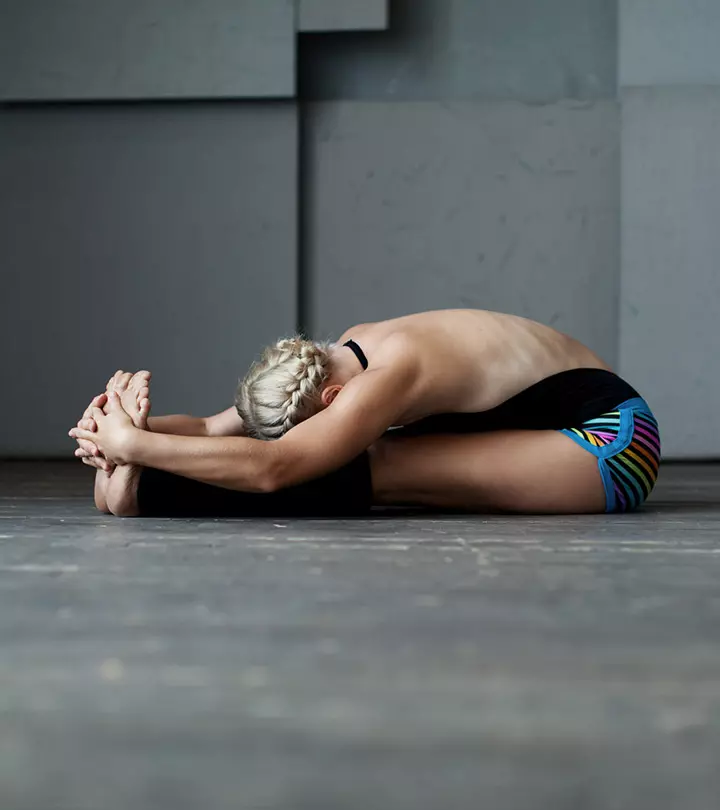
Setu Bandha Sarvangasana
Follow-Up Poses
Adho Mukha SvanasanaPaschimottanasana
Now that you know how to do Halasana pose, what are you waiting for? With practice, you will learn to do this asana without exerting too much of muscular force as you will lift your spine because it is agile, and not with force. This will ensure safe practice. Halasana will enhance your health and vitality.
Read full bio of Shirin Mehdi









Community Experiences
Join the conversation and become a part of our empowering community! Share your stories, experiences, and insights to connect with other beauty, lifestyle, and health enthusiasts.