How To Do A Pedicure At Home
Skip that trip to the salon and give your tired feet some TLC from the comfort of your home.
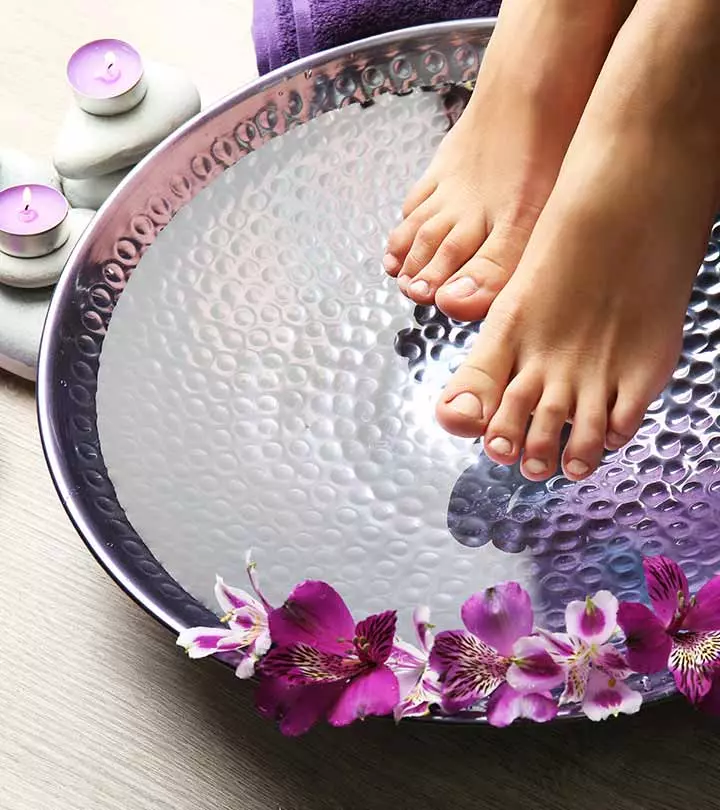
Image: Shutterstock
Your feet take you all around. Don’t you think you need to pay them back with the care they deserve? We are here with some at-home pedicure tips so that you no longer have to wait for salon appointments to pamper your feet. All you need to do is read this article and follow the 5 simple steps to do the best DIY pedicure at home. Scroll down!
 Trivia
In This Article
Steps To The DIY Pedicure
You Will Need
- A Tub Of Warm Water
- Bath Salt/Shampoo
- A Good Foot Scrub
- Nail clippers
- Cuticle Pusher
- Nail File
- Pumice Stone/Foot File
- Nail Scrubber
- Nail Polish Remover
- Cuticle Cream
- A Clean Towel
- Moisturizer
- Cotton Pads
Key Takeaways
- Remove your old nail polish and soak your feet in warm water mixed with Epsom salt.
- Once your feet are dry, use a pumice stone and scrub to remove any dead skin cells present.
- Push back your cuticles and then scrub your feet with a foot scrub.
- Massage your feet with a heavy moisturizer.
- Apply two coats of your favorite nail color to glam up the nails.
How To Do A Pedicure At Home
1. Prep Your Nails
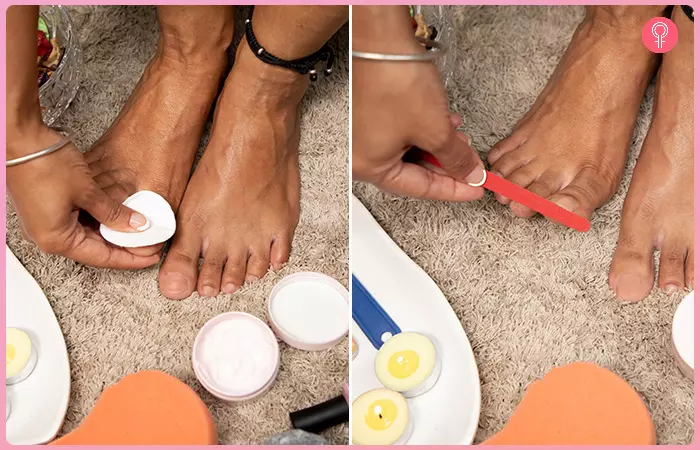
- Using a nail paint remover, remove the old nail polish with a cotton ball/pad.
- Then, clip your nails using a nail cutter, but make sure you cut across straight. Don’t cut corners too deep, or you will end up with painful ingrown nails.
- Decide the shape of your nails (square, oval, pointed, or squoval) so that you can file them accordingly.
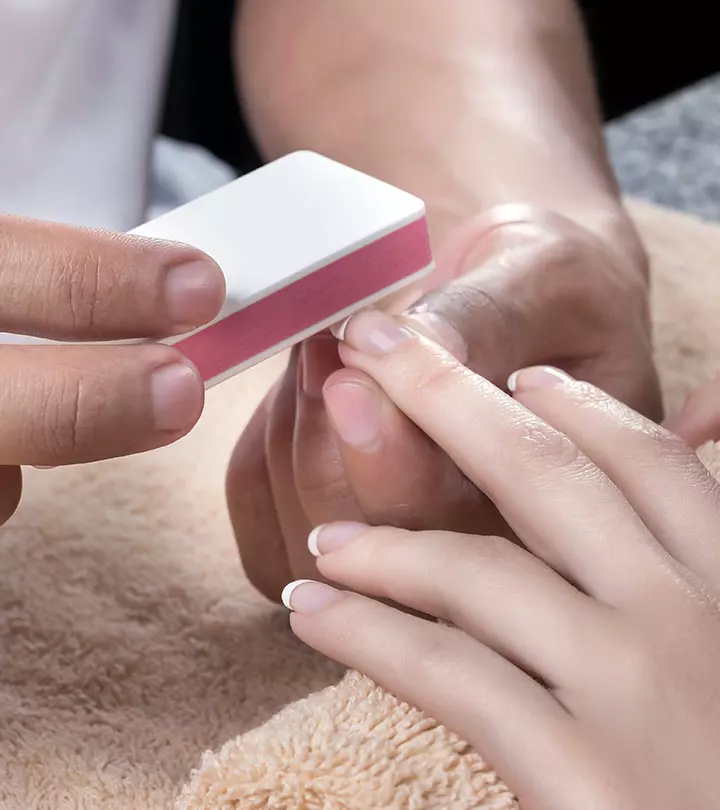
- Use a nail filer to shape the nail to the desired shape. Do the filing with enough force to reshape the nail, but be gentle enough not to weaken them. Resist doing the back and forth motion across the tip of the nail, as it will weaken them. Instead, file in a single direction to get the desired shape.
- Before soaking your feet for a gentle foot bath, massage the base of your toenails with cuticle cream.
2. Soak Your Feet
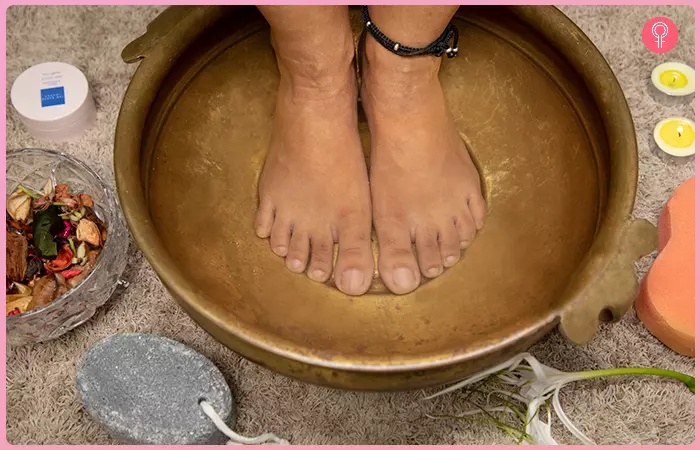
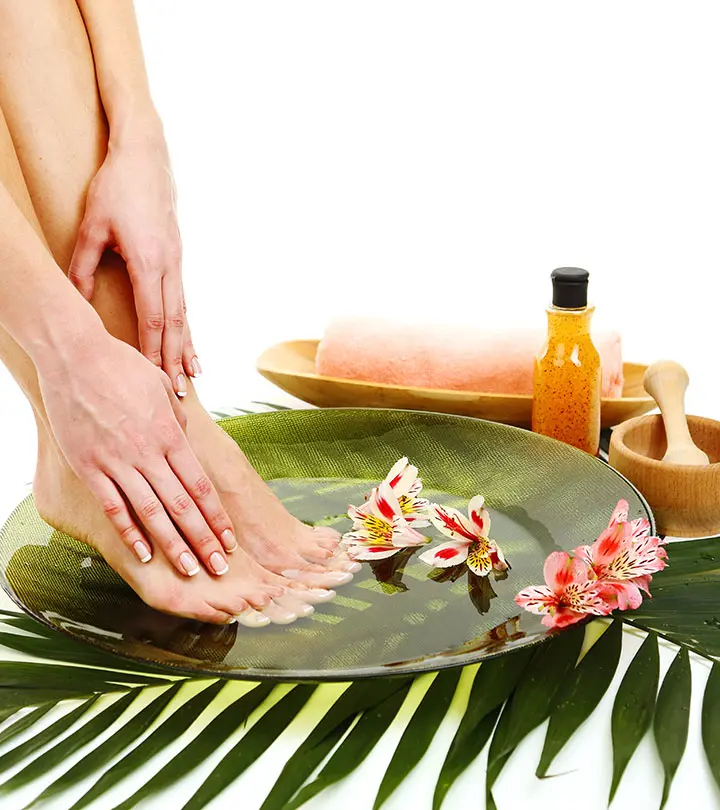
- This is probably the most relaxing bit of the pedicure. Soaking your feet in warm, fragrant water is a great way to relax and unwind after a stressful day. This is what you need to do –
- Fill a tub with enough warm water to cover your ankles. If you want it plain and simple, you can just add shampoo and a few crystals of rock salt into the liquid. But, if you want to go all the way and give yourself that ultimate pedicure, this is what you should do –
- Add half a cup of Epsom salt to the water. This will soften and soothe inflammation, reduce any kind of pain, and reduce roughness. It also acts as an exfoliator.
- Add the juice of an entire lemon, and a drop or two of shampoo as well.
- You can also add a few drops of essential oil if you have any at home. These usually calm the nerves and give your feet the spa treatment they deserve.
- To turn your home pedicure into a spa-like experience, you can also add smooth pebbles to give your feet a gentle massage.
- Sit comfortably and soak your feet for a good 15-20 minutes. Don’t forget to put on some soothing music while you do this. It will act as a perfect stress buster.
- Dry your feet with a towel.
3. Scrub Your Feet
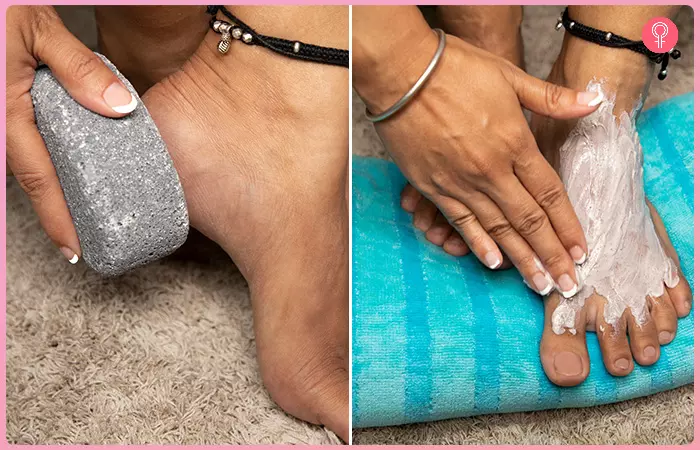
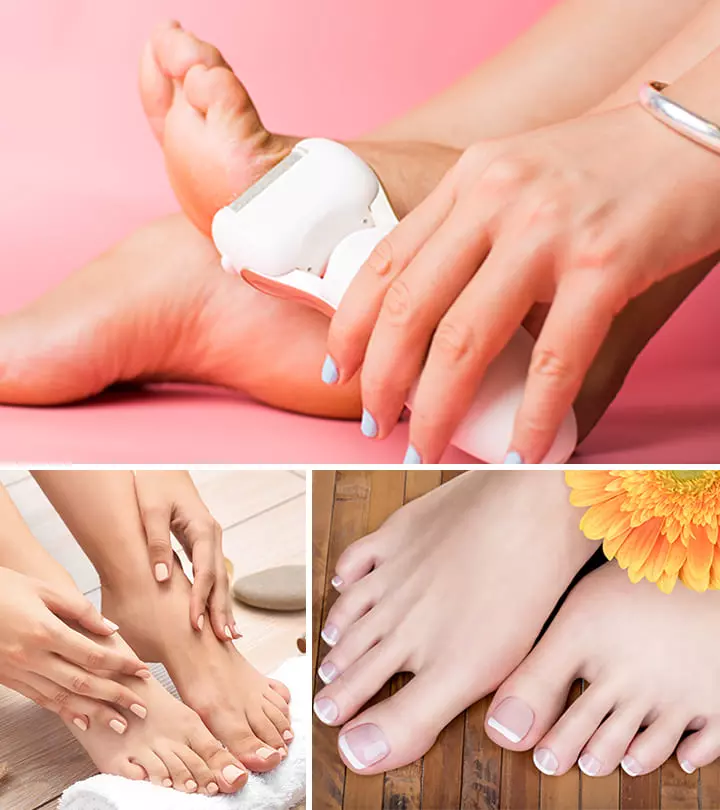
- Once your feet are dry, scrub any hard skin areas using a pumice stone. You can also use a foot file instead of a pumice stone. This will remove the rough, dry, and dead skin. If you do not remove this from time to time, the skin will harden, causing cracks and infection. Be firm, yet gentle – you want to remove all the skin, but you don’t want to hurt yourself.
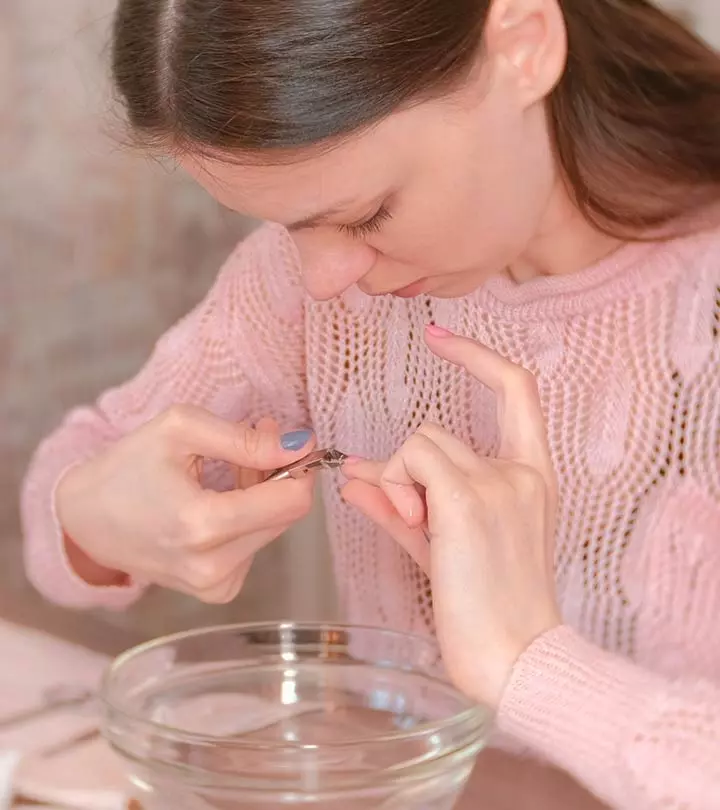
- Once this is done, remove the cuticle cream, and push your cuticles with an angled cuticle pusher. Cuticles are the soft skin at the bottom of your nail where the nailbed and skin meet. With the help of the cuticle remover cream, remove the cuticles. Never cut your cuticles. This removal of the cuticle helps your nail grow and promotes healthy nails. Make sure you are gentle during your cuticle care process. Scrub your nails using a nail scrubber. Quickly wipe your feet with a towel.
- Now, use a scrub to exfoliate your feet. You could use a foot scrub or a face scrub for this. Scrub your heels, soles, ankles, and the sides of your feet. Use toe separators to properly clean the areas between your toes. Use a callus remover to remove the dead skin.
If you don’t have a cuticle cream at home, here is a quick recipe to make one.
Ingredients
- 3 tbsp olive oil/almond oil
- 1 tbsp coconut oil
- 1 tbsp glycerin/essential oil (of your choice)
Directions
- Heat the olive oil in a double boiler, or in the microwave.
- Add the coconut oil and the essential oil or glycerin to this.
- Your cuticle cream is ready. Allow it to cool and store in a bottle.
If stored well, this could last for a long time.
Rebekah, a lifestyle blogger, shared her personal process of cuticle care in her at-home pedicures. She said, “I use a little bit of my natural oil and rub it into my cuticles. I also use my fingernail and gently push down any cuticles that have grown up. You may use your orange stick for this, but you don’t want to tear or damage your cuticles (i).”
You can also make a scrub at home. Here is how –
Ingredients
- 2 tbsp brown sugar
- 1 tbsp honey
- 2 tbsp oatmeal powder
- 1 tbsp lemon juice
- 1 tsp olive oil
Directions
- Mix the oatmeal and the sugar together.
- Add the lemon juice and honey to the oatmeal mixture, and mix well.
- Add the olive oil and use.
4. Moisturize Your Feet
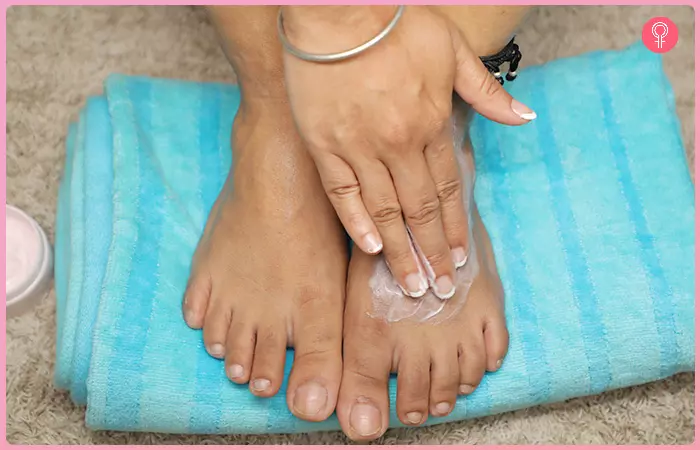
Your feet are now fresh and clean, but you need to give them deep moisturizing for that ultimate feeling of rejuvenation and softness. Any heavy moisturizer or foot cream should do. You can massage your feet, ankles, and calf muscles for about 10 minutes. Once you are happy, you can apply a fresh coat of nail polish on your feet.
You can also use a mixture of almond oil and olive oil to massage your feet post the cleaning process. A teaspoon of each mixed with a few drops of your favorite essential oil serves as a great foot massager. Be generous as you apply it, and massage your feet. Regular massages stimulate your nerve endings and enhance blood circulation, therefore nourishing the skin and invigorating the foot muscles.
If you have cracks on your feet, mix some cocoa butter or shea butter with lime juice and apply it on your heels. Wrap your feet with plastic and wear loose cotton socks. Leave this on overnight to find happy feet the next morning. Do this twice a week, making sure you clean and moisturize your feet every day, and you will soon have gorgeous feet that look like a million bucks.
5. Glam Up Your Nails
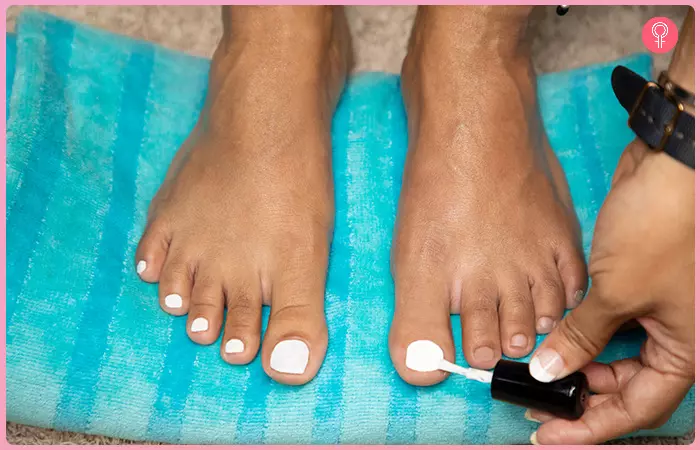
Nail care is a very essential step in the entire process. Once you are done with all the above steps, you can polish your nails with a nail color of your favorite shade. You may or may not follow this step as it’s optional. You can either apply a normal nail polish color or try French tips.
For Normal Nail Polish
- Start by wiping your nails with a cotton pad soaked in polish remover. This will ensure the toenails are free from oils that will cause your polish to chip.
- Apply a base coat on your nails first to prevent staining and promote smoother application of nail polish. You can also apply a transparent nail polish as the base coat.
- Then, apply the shade of your choice and let it dry for some time.
- Apply another coat over it and once the second coat also dries out, seal it with a top coat. This will enhance the appearance of your nails. You may opt for a quick-dry top coat that offers faster results and a glossy, chip-resistant finish.
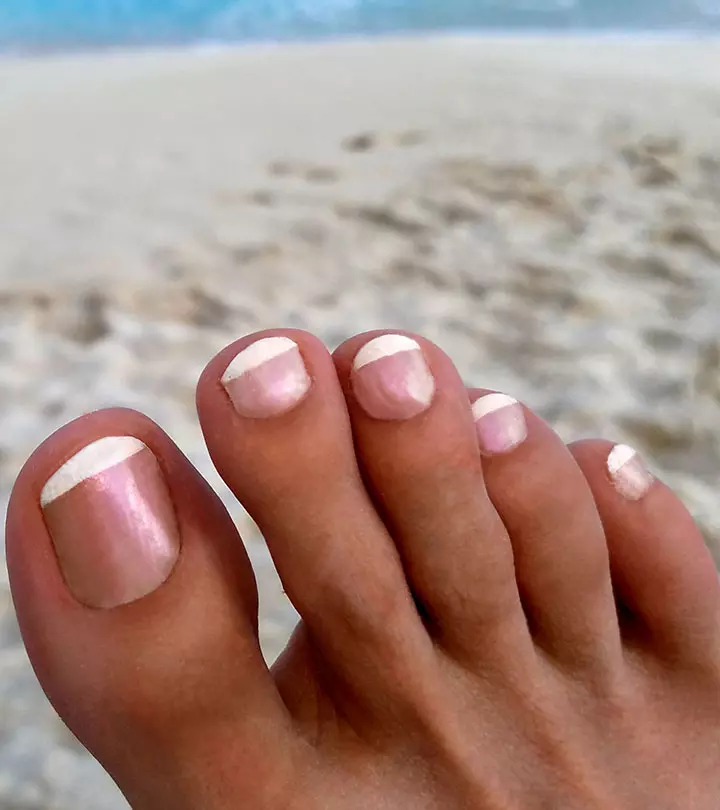
For French Tips
- Apply a transparent base coat on your nails and let it dry for some time.
- Apply a white nail polish on the tips of your nails.
- Allow it to dry for a couple of minutes.
- Now it’s time for the second coat. This will make the white color appear less splotchy and more attractive.
- Let the white coat dry for some time.
- Then, apply a single coat of clear nail polish on your nails. Try to keep your stroke as smooth and even as possible. And voila! Your nails are as fresh as dew.
 Fun Fact
More Tips
- If you don’t have time to go through the entire scrubbing process regularly, you can scrub your feet with the pumice stone twice a week, while you are having a bath, to clear off the dead skin.
- Make sure you give your nails some breathing time by keeping them free of nail polish from time to time.
- If you notice any infection or blackening on your nails, consult your doctor immediately.
Now that you know how to do a pedicure at home, what are you waiting for? When you meet someone new, one of the first things they do is to look at your shoes. Ever wondered what if you are not wearing shoes? First impressions are always lasting ones, so you want your feet to look pretty always.
Caution
Make sure you don’t indulge yourself into those fish pedicures as the reports have come out that they are not safe and could possibly increase the risk of Hepatitis C and HIV.
Does Pedicure Remove Tan?
A pedicure primarily focuses on improving the feet’s appearance and health rather than addressing tan removal. While exfoliating, moisturizing, and massaging the feet can improve their overall condition, it may not significantly reduce tan lines or pigmentation caused by sun exposure.
If the tan on your feet is recent and only on the surface, the exfoliation step can lighten the tan by sloughing off the tanned dead skin cells. However, if the tan is deep-set or has been present for a long time, a standard pedicure might not be sufficient to remove it entirely. Specific de-tanning treatments or products may be more effective if you seek a more targeted tan removal. Always remember, consistent sun protection is key to preventing tan in the first place.
Infographic: 5 Easy Steps For A DIY Pedicure
A pedicure is a luxurious spa treatment that can help improve your foot’s overall appearance as well as health. However, not everyone has the time or budget to visit a salon regularly. Luckily, with the right tools and techniques, giving yourself a pedicure at home is quite easy. We have put together a comprehensive guide that covers everything you need to know for a pedicure at home. Check out the infographic below!

Illustration: StyleCraze Design Team
Our feet can get pretty rough, cracked, and dirty with regular walking, seasonal changes, and poor skin care. Sadly, going to the salon once a month costs a lot of money and can drain your wallet. The good news is you can pamper yourself without going to the salon if you know how to do a pedicure at home with common household items. Follow the above-listed five simple steps to give yourself the best DIY pedicure and foot spa at home. However, if you notice signs of infection on your toes or nails, visit a doctor and immediately stop the pedicure.
Frequently Asked Questions
How frequently should I perform a pedicure at home?
You can perform a pedicure at home every 2 to 4 weeks to maintain healthy feet, smooth skin, and well-groomed nails.
What advantages do regular pedicures offer?
Regular pedicures promote healthy feet by preventing calluses, improving circulation, removing dead skin cells, and maintaining nail hygiene. They also provide relaxation, enhance skin softness, and boost your confidence with groomed and polished nails.
Is baking soda good for a pedicure?
Yes, baking soda is beneficial for pedicures. This ingredient can be used in a foot soak for skin exfoliation, to relieve irritation, and to cleanse the feet.
What is the blue tablet used in pedicure water?
The blue tablet is called Sani-Tablet. It is used to disinfect spa water, preventing cross-contamination from germs and fungus. It also softens the skin to ensure a comfortable and safe pedicure.
What is a chocolate pedicure?
A chocolate pedicure usually begins with a warm molten chocolate foot soak as a foot mask, followed by a cocoa scrub to exfoliate the feet. These steps are followed by a foot massage with chocolate cream to keep your feet feeling smooth and revitalized.
Illustration: How To Do A Pedicure At Home
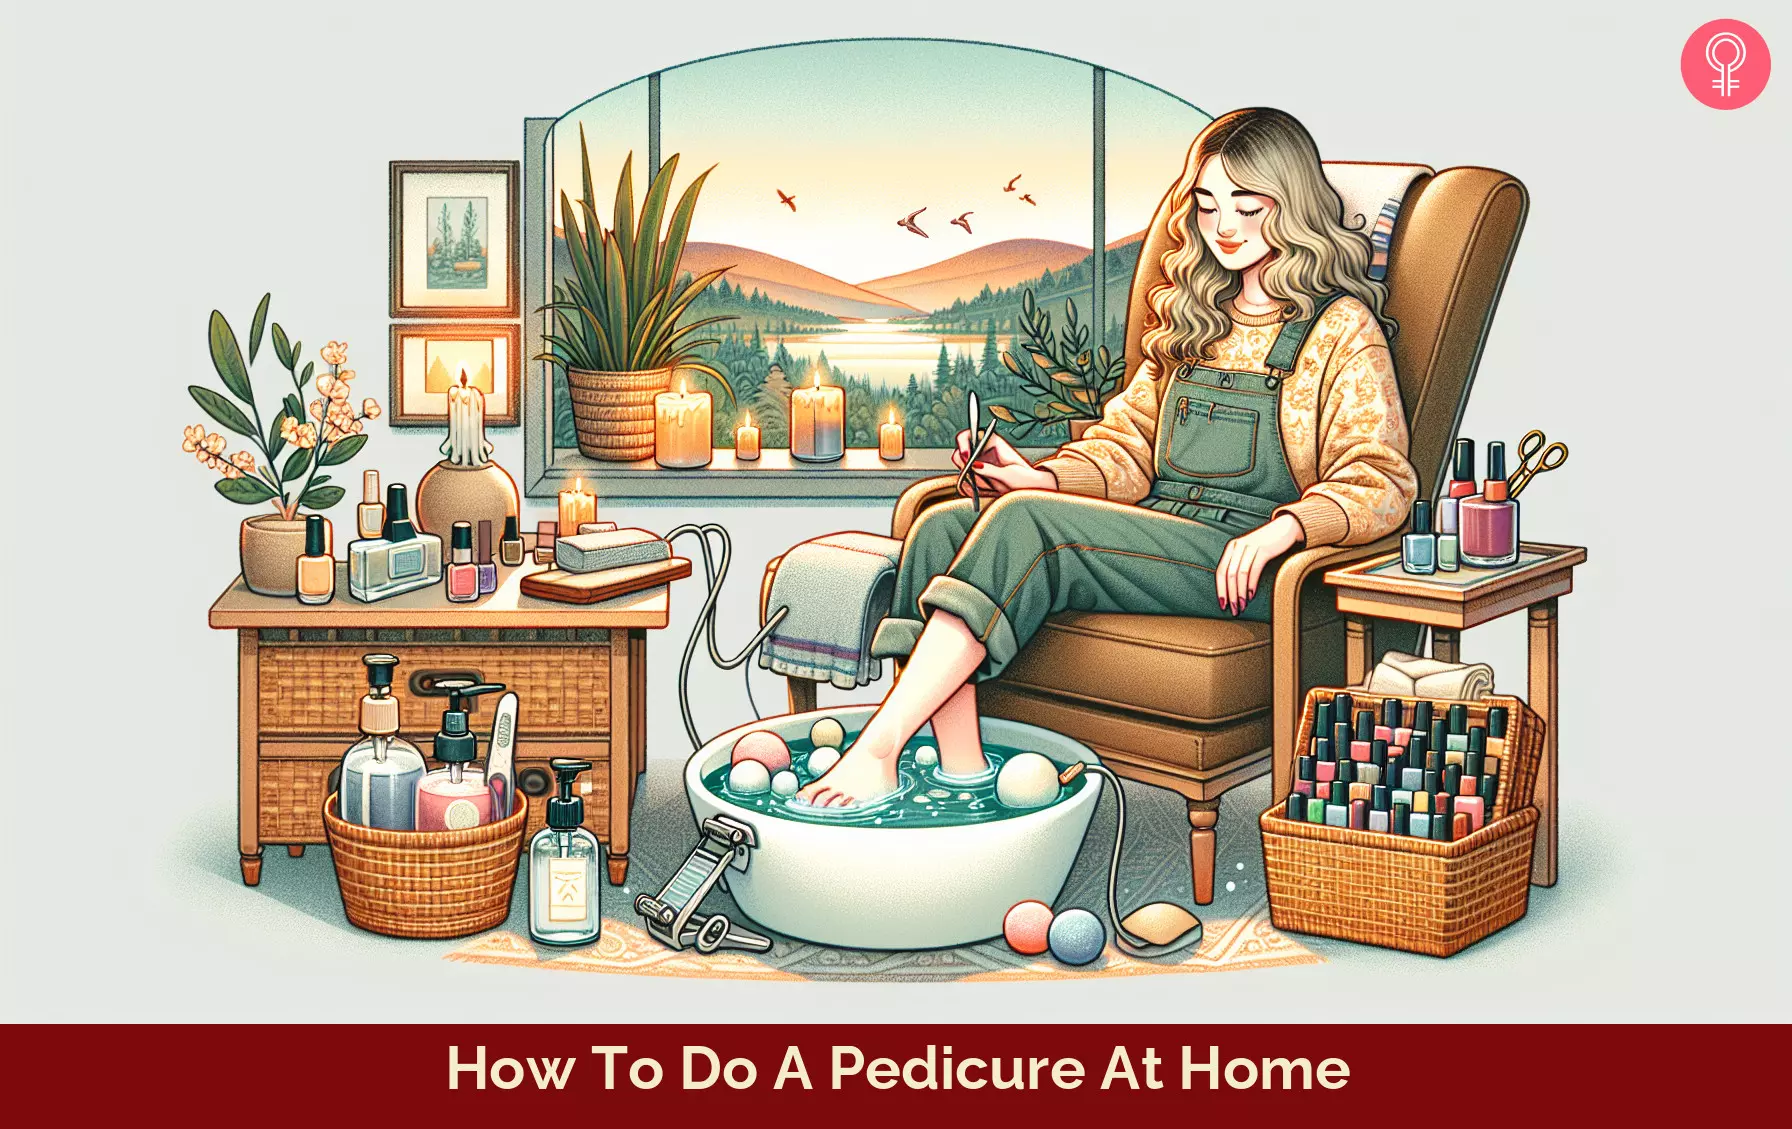
Image: Dall·E/StyleCraze Design Team
Learn how to do a pedicure at home with ease! Get the perfect feet in no time with this simple video tutorial. Watch now and step up your self-care routine!
Personal Experience: Source
StyleCraze's articles are interwoven with authentic personal narratives that provide depth and resonance to our content. Below are the sources of the personal accounts referenced in this article.
i. A DIY Pedicure: 17 Weeks of Learning to Live A Beautiful Lifehttps://chargeforwhining.blogspot.com/2015/10/a-diy-pedicure-17-weeks-of-learning-to.html
Read full bio of Gabrielle Richens
Read full bio of Esha Saxena
Read full bio of Ramona Sinha
Read full bio of Monomita Chakraborty













Community Experiences
Join the conversation and become a part of our empowering community! Share your stories, experiences, and insights to connect with other beauty, lifestyle, and health enthusiasts.