5 Simple Steps To Perfect Cheekbone Contouring
An easy guide to perfecting the art of sculpting your cheeks for a well-defined look

Image: Shutterstock
How often has it been that while trying to contour and blush your cheeks, you ended up with red, slapped-looking cheeks? Contouring is all about using the right mix of shades, in the right areas for an enhancing and highlighting effect that adds flawless shape, definition and symmetry to your face. We have shared some cool and perfect cheekbone contouring tips and hacks. These beauty tips are easy to follow and suitable for beginners. Scroll down to check them out.

 Keep In Mind
- Face Shape Contouring: Square – four corners of the face; oblong – forehead and chin; heart – corner of forehead and jawline; triangular – only jawline; round – temples, cheekbones, and sides of jawline; oval – under cheekbones.
- Face Shape Highlighting: Square, heart and round- forehead and chin; triangular and oval- under the eyes, forehead, and chin.
- Skin Tone: Fair to medium – Neutral to taupe contour shades; olive and tan – deep golden shades; dark – warm and deep chestnut brown shades.
- Brush: Use a fluffy brush for diffused and soft contours, and a small dense brush for a sculpted contour look.
In This Article
How To Contour Cheekbones
Here, we give you five simple steps to be followed by everyone, from beginners in the cheekbone contouring island to the experts.
You Will Need:
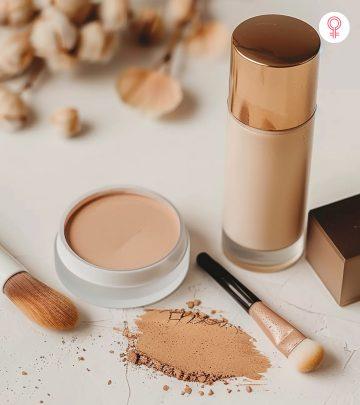
- Foundation
- Brushes
- Bronzer/Contour Powder
- Blush
- Highlighter
Step 1
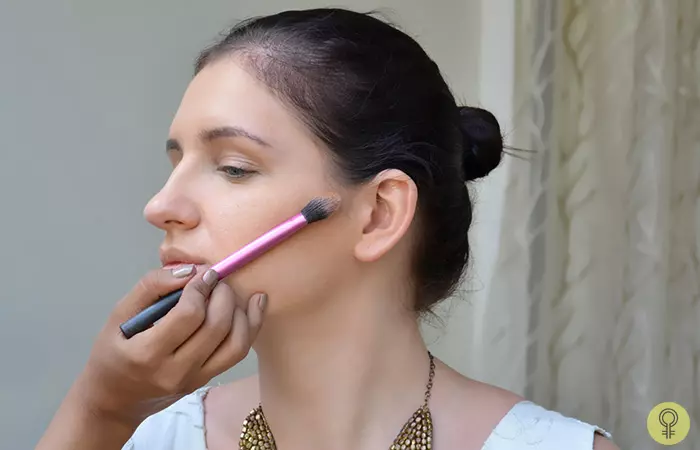
- First, you need to know where to contour your cheeks.
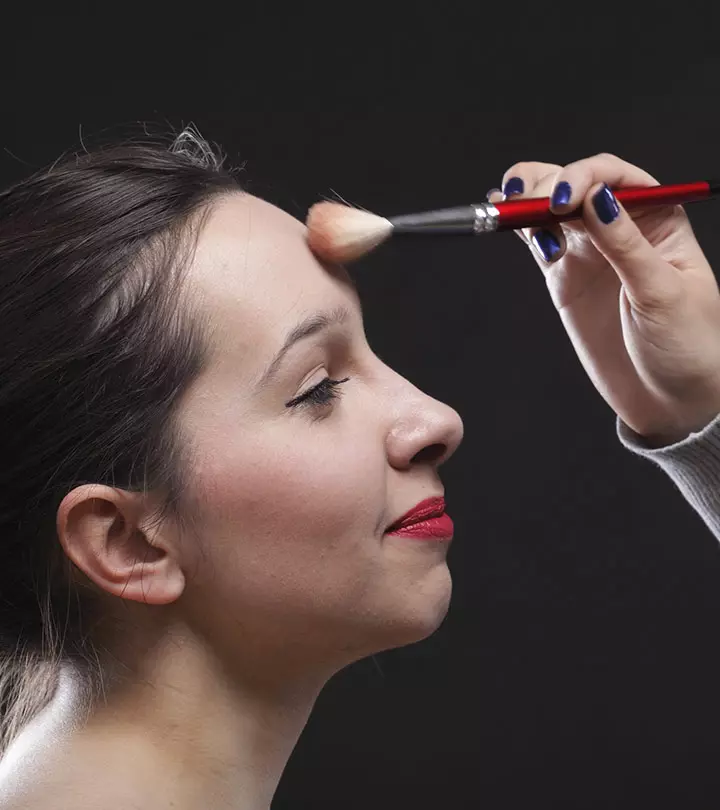
- The best way to find that out is to suck your cheeks in. This will help you know where the hollows of your cheeks are. Tilt the brush at a 45-degree angle and place it on your cheekbone (just like shown in the picture).
- You can also suck your cheeks in and locate your cheek bone by feeling it with your index finger.
Step 2
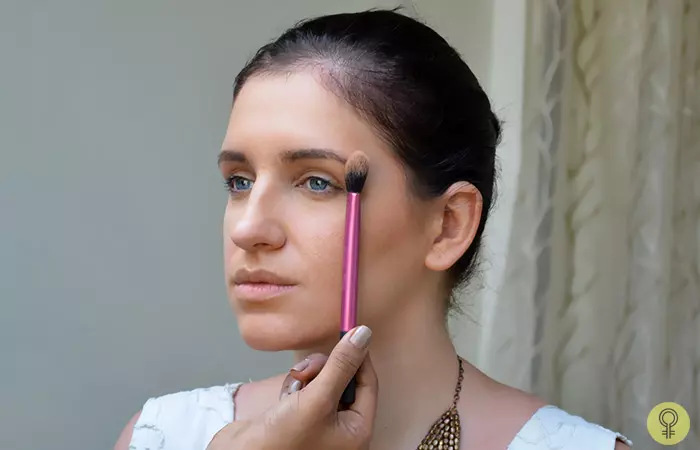
- Placing it right is the key to a perfect contour technique.
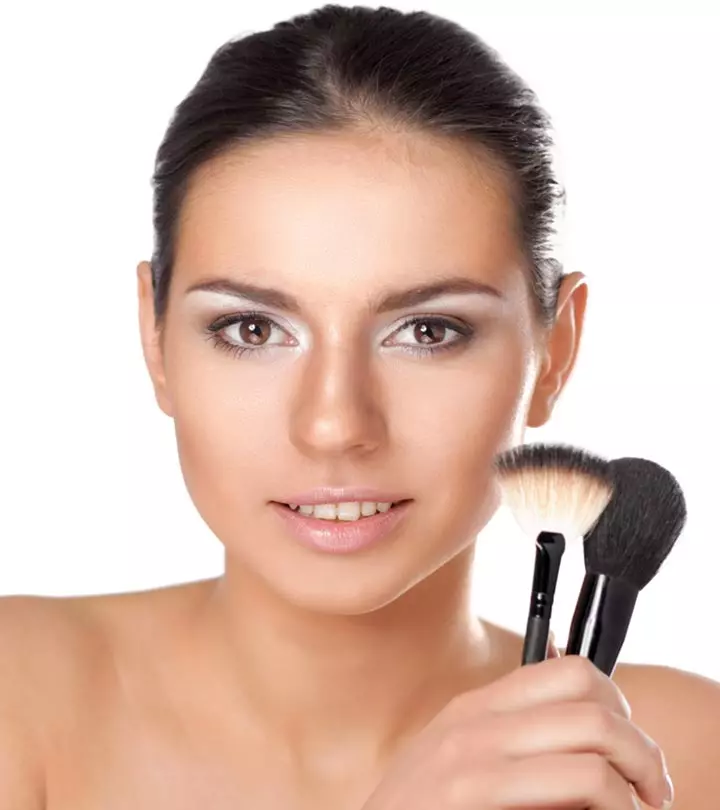
- Another way to know where to contour is to place the brush vertically exactly where your eyebrows end. That’s where your contour shading should ideally end.
Seanna Martins, a makeup blogger, offers a helpful tip on her blog for achieving the perfect contour. She suggests, “To get that celebrity look, brush a little bit of the contour powder above the inner corner of your eye up to the brow – you’ll instantly see your eyes look more defined and really pop (i)!”
Step 3
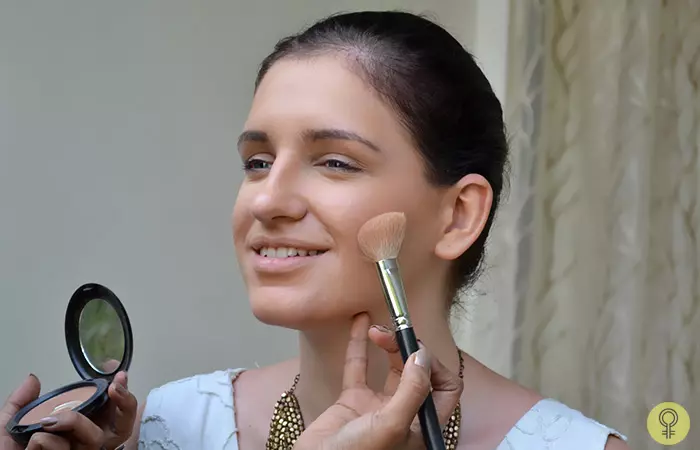
If you have been plagued by the “how to apply a bronzer” question, this is your chance to find out.
- Take an angled contour brush and load it with a contour powder or a bronzer that is two to three shades darker than your skin tone.
- Place it at the point just below your hairline, or the point where the tip of your index finger was touching.
- Swipe down to less than half the length of your cheekbones.
- Use less pressure on the brush as you swipe down because you don’t want the contoured shadows to cross your cheekbone area.
 Quick Tip
Step 4
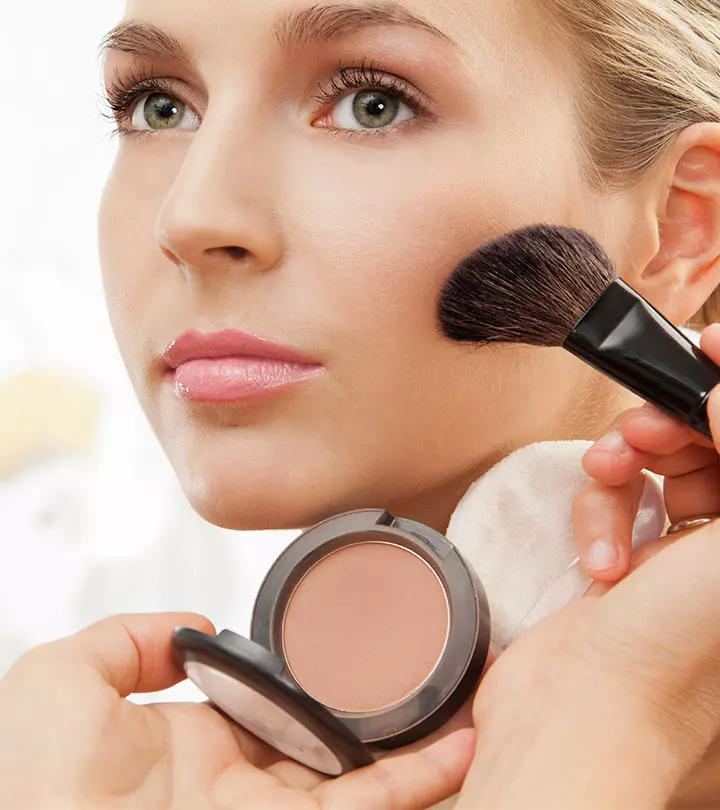
- Take a blush that suits your skin tone, or you can choose shades in pinks, browns, mauve, or bronze. Use a fluffy powder brush to apply it and blend as shown in the picture.
- Pat the brush slightly and blend the blush and bronzer. This will ensure that the makeup doesn’t end up looking patchy and uneven.
Step 5
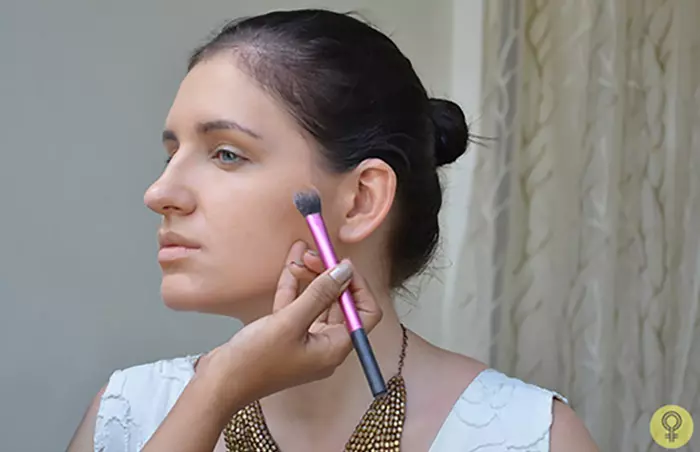
- Contouring and highlighting complement each other.
- Choose a cream base highlighter according to your skin tone and apply it with a small fluffy brush.
- Apply it just above your cheekbones, the area where you have contoured (half an inch from your hairline).
- You can also use a shimmer blush in peach or brown tones for this, in case you do not have a highlighter.
- People who do not have prominent and subsidized cheek bones can use a shimmer blush or powder highlighter, and apply it with a blush brush on the apples of the cheek in a sweeping motion.
 Fun Fact
Final Look
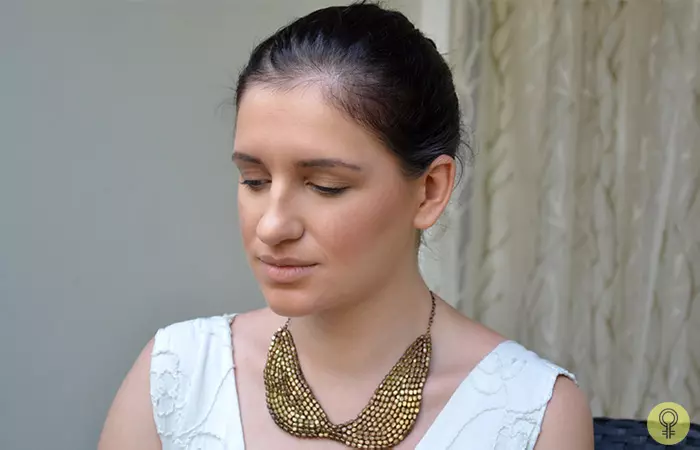
- This method, if followed rightly, should give you naturally contoured and elevated cheek bones and the perfect shadow effect.
- If you are looking for strong contours, darken by swiping the angled brush with a bronzer or a deeper shade of foundation/concealer.
- And if you feel the contour has gone too dark, you can reduce it by using translucent powder over the contoured area. This reduces the intensity of the shade.
The best way to understand whether your contouring is done right is to always look straight at the mirror. The shadow created by your contour will be visible on your reflection in the mirror. So, the next time anyone asks- how to contour your face, you can just ask them to follow these easy steps.
Now that you know how to contour, it is essential to how it is different from a bronzer to master your makeup routine. Read the next section to learn more.
Key Takeaways
- Suck your cheeks and locate the cheekbone to get the exact location of placing the contour.
- Find the point to end the contouring by locating it straight beneath the eyebrow end.
- Apply the contour powder or bronzer gently along the cheekbone.
- Use a powder brush to blend the blush with the bronzer.
- Use a cream base highlighter or a shimmer blush to highlight the contour.
Understanding The Difference: Bronzer Vs. Contour
Bronzers and contours serve distinct roles in makeup. The former imparts a sun-kissed glow by adding warmth to areas where the sun naturally hits, like the high points of your face. This provides an overall radiant effect, akin to a healthy, sunlit complexion. On the other hand, contouring involves using darker shades to create shadows for defining and sculpting specific facial features. It enhances the cheekbones, jawline, and nose, adding dimension and structure. While a bronzer contributes to general warmth, contouring strategically shapes and sharpens, creating a more sculpted appearance. Together, they harmonize, allowing you to customize your makeup and achieve a balanced and polished look with depth and definition.
There are certain mistakes that you should try to avoid when contouring, otherwise, they can make or break your look. Let’s get you familiarized with those in the section below!
Common Mistakes To Avoid When Contouring
Here are a few things you should keep in mind when contouring to ensure a stunning result.
- Using The Wrong Shade: Choose a contour shade that is 1-2 shades darker than your skin tone.
- Over-Blending Or Under-Blending: Blend evenly to avoid harsh lines but not so much that the contour disappears.
- Placing Contour Too Low: Apply just below the cheekbone to lift and define.
- Skipping Proper Tools: Use brushes or sponges suited for contouring for precise application and blending.
- Ignoring Face Shape: Customize contour placement based on your unique face shape for a natural look. For example, for a round face, contour under cheekbones and along the jawline to add definition and slim the appearance.
Infographic: Contour Your Cheeks Like A Pro In 5 Easy Steps
Contouring your cheeks is a great way to add definition and enhance your facial features. It’s an art, but you don’t need to be a makeup pro to master this art. Basic everyday contouring is super simple. To prove it, we have summarized a 5-step basic cheek contouring process in the infographic below. So, grab a brush, bronzer, and highlighter, and scroll down to get started!
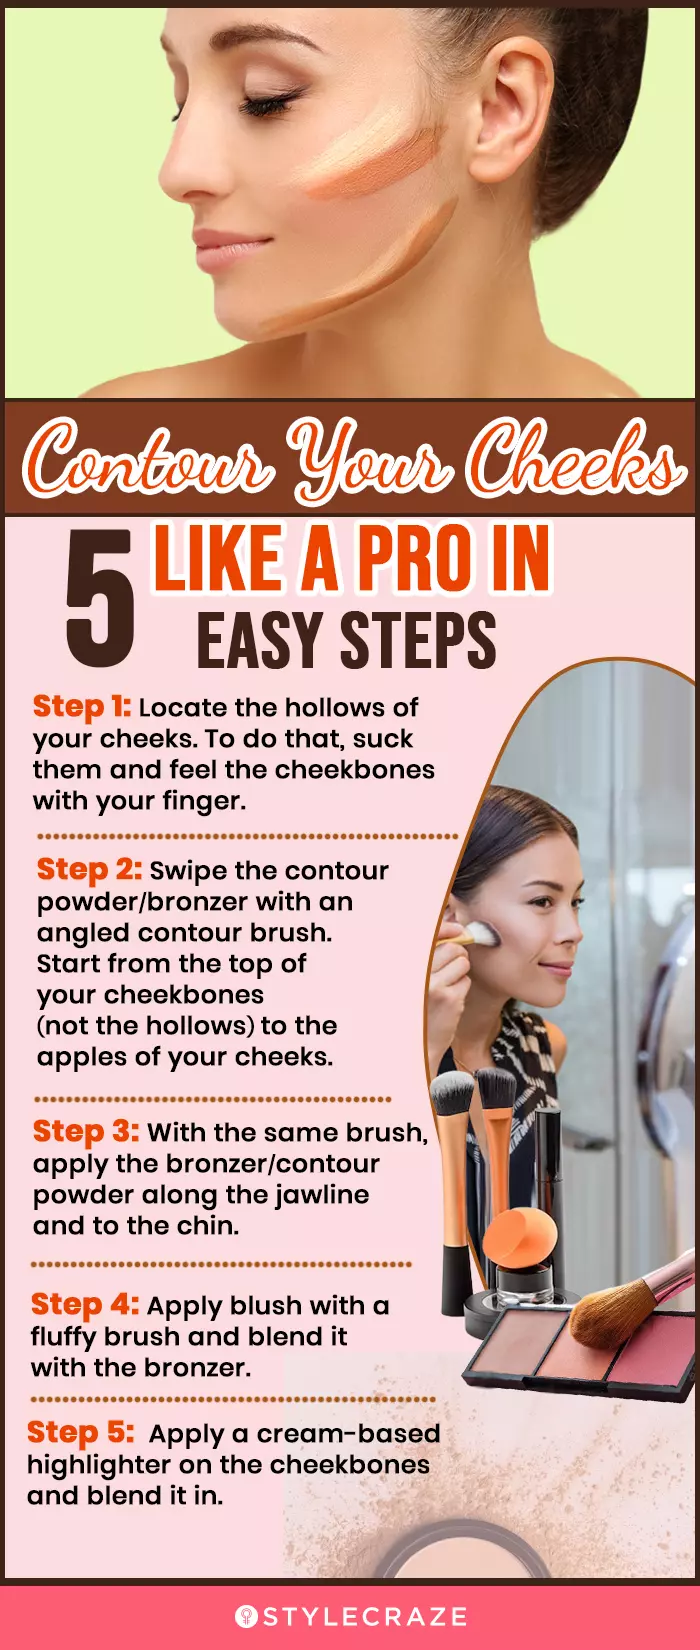
Illustration: StyleCraze Design Team
Contouring the right way gives your face shape a proper frame and a chiseled look. And now that you know how to contour cheekbones, you can stop yourself from holding back and turn your contouring game on. Don’t worry if it is not perfect in your first attempt. Contouring needs practice and precision. So keep trying till you succeed. Let this article serve as your ultimate guide as you try out different cheek makeup tips to level up.
Frequently Asked Questions
Do you contour under your cheekbone?
Apply a dark matte contour shade under your cheekbone. Use a soft-angled brush or a flat edge sponge for proper blending.
Do you set your face before or after contour?
Apply the setting powder after contouring as it helps set the contour. However, if you are using a pressed powder, apply it before contouring.
What’s the difference between bronzer and contour?
The main difference between a bronzer and contouring is the effect they add to your appearance. A bronzer adds warmth to the face while contour adds shadow and dimension to change or enhance your nose, cheekbones, and jawline.
Is it better to contour with cream or powder?
It depends on how you want to have the complete makeup look for any particular event. Creamy texture provides dewy natural finish while powdery texture gives matte finish. A cream contour is better for dry or normal skin, while a powder product is ideal for oily skin.
Illustration: Cheekbone Contouring: How To Contour Your Cheekbones Perfectly?
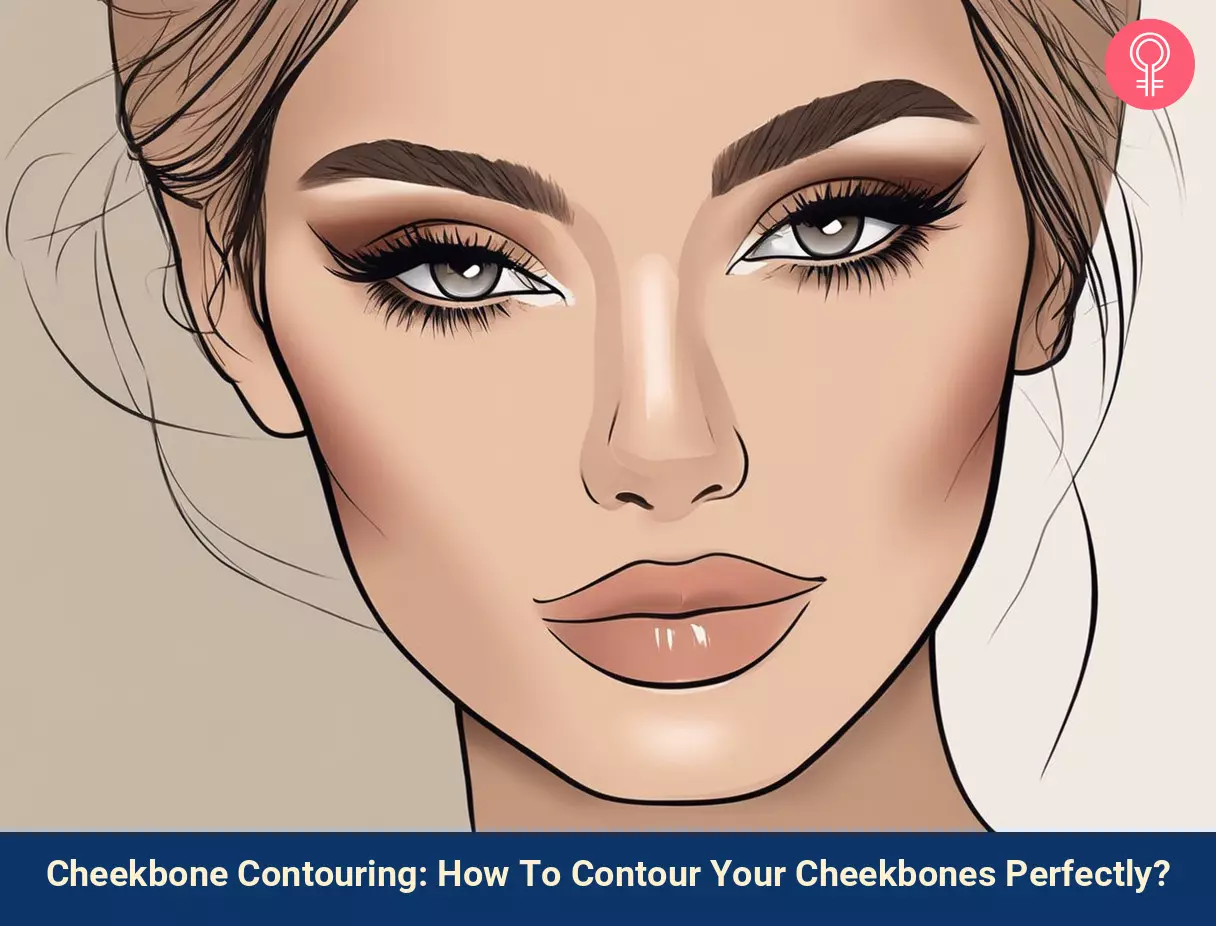
Image: Stable Diffusion/StyleCraze Design Team
Elevate your contour game with this quick tip video! Learn two distinct techniques to flawlessly contour your cheeks, adding dimension and definition to your face in no time.
Personal Experience: Source
StyleCraze's articles are interwoven with authentic personal narratives that provide depth and resonance to our content. Below are the sources of the personal accounts referenced in this article.
i. The Do’s of contouring your face; for beginnershttps://stylesbyseanna.wordpress.com/2016/07/12/the-dos-of-contouring-your-face-for-beginners/
Read full bio of Vaibhavi Gupte
Read full bio of Jyotsana Rao
Read full bio of Madhumati Chowdhury
Read full bio of Anu Pallavi










Community Experiences
Join the conversation and become a part of our empowering community! Share your stories, experiences, and insights to connect with other beauty, lifestyle, and health enthusiasts.