How To Do A French Pedicure At Home In 10 Simple Steps
Save yourself a trip to the salon as you become your own pedicurist at home.
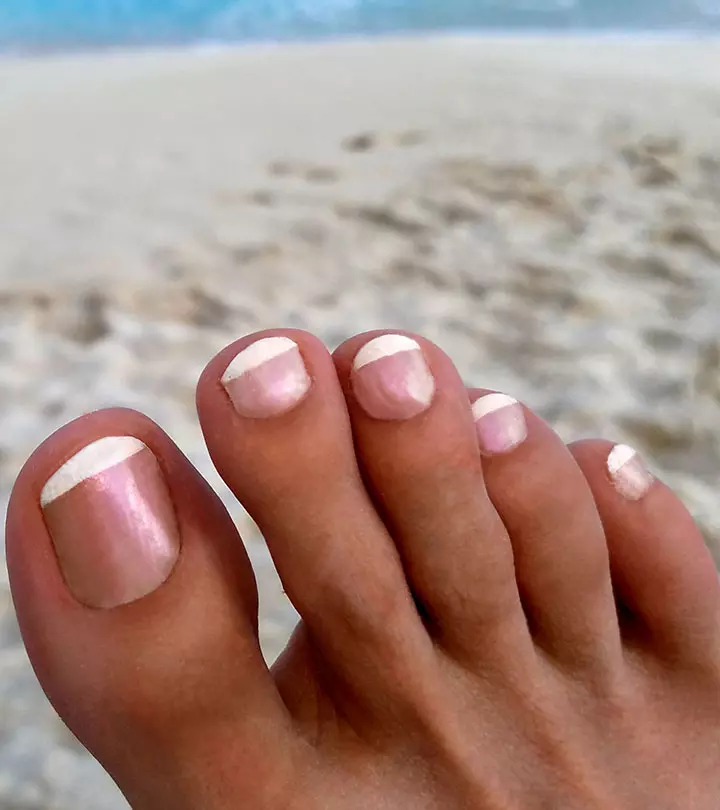
Image: Shutterstock
Not everyone wants to go to salons these days. Instead, people now search for ways to take care of their skin at home. The latest search among these is how to do a French pedicure at home. But, can you do it at home?
Yes, you can do a perfectly neat and salon-like French pedicure in the comfort of your home. Want to know how?
If so, keep reading for the ultimate at-home pedicure and French tip toes guide.
In This Article
What Is A French Pedicure?
A French pedicure is a method of decorating your nails with a thin white horizontal strip of nail color on the tips of your nails, with the plate of the nail either painted in clear, pink or neutral tone nail polishes. This pedicure, known for its simple and elegant look, gained popularity in French nail salons by the 19th century. Today, it is embraced worldwide and is the preferred choice for 80% of women in the USA and Europe (1). This classic style features a natural pink, beige, or nude base with a crisp white tip at the edge of the nail.
Among women who use nail care products, the French pedicure is a popular choice. According to research, between 85% and 90% of women use nail care products today. Women are the main users of nail cosmetics, which include nail polish, acrylics, silks, gels, and extensions. In 2018, nail cosmetics became an 8.36 billion dollar industry in the United States. If you are wondering how to do a French manicure, then the next section is for you.
 Trivia
Key Takeaways
- French pedicures consist of white horizontal tips over neutral, pink, or clear nails.
- To try a French pedicure at home, you need a pedicure kit comprising a nail polish remover, cotton balls, a nail clipper, a nail file, a tub, warm water, Epsom salt, a towel, exfoliating cream, pumice stone, and moisturizer.
- First, you prep, soak, scrub, and moisturize your nails and fingers, while trimming your cuticles.
- Then paint the nails, add French tips on toes, and allow them to dry.
Time to try the French pedicure! Scroll down.
You Need
- Nail Polish Remover
- Cotton Balls
- Nail Clippers
- Nail File
- Tub
- Warm Water
- Epsom Salt
- Towel
- Exfoliating Cream
- Pumice Stone
- Moisturizer
- Cuticle Trimmer
- Nail Separator
- Nail Polish (Opaque White And Transparent)
- Drying Spray
Note:
Always choose toluene-free nail polishes.
Step 1: Prep Your Nails
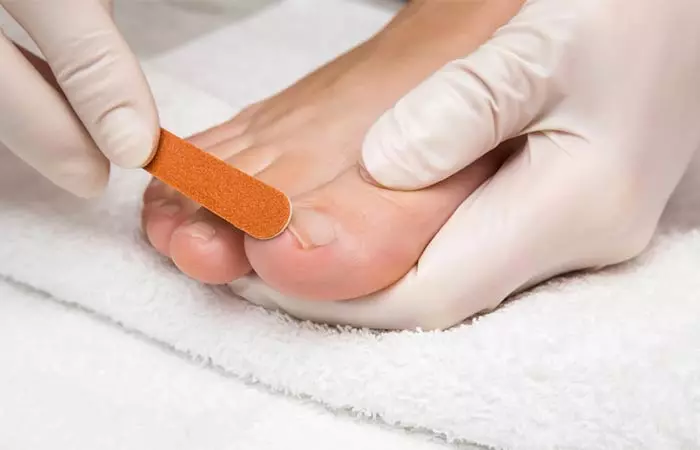
Before you even begin to do anything, first clean up your haggard nails. Remove the existing nail polish on it, cut them (leaving some nail for the French tips), and file them neatly. Here’s how to do it.
Wash your nails, then, with a cotton ball soaked in nail polish remover, gently rub the polish off your nails. Wash your feet again and let your nails dry.
Start to file your nails. Do it from one side to the other until they even out and become smooth. Make sure you keep your nails long to enable the French manicure. Then, one final cleanup before you soak your feet in the water.
Step 2: Soak Your Feet In Water
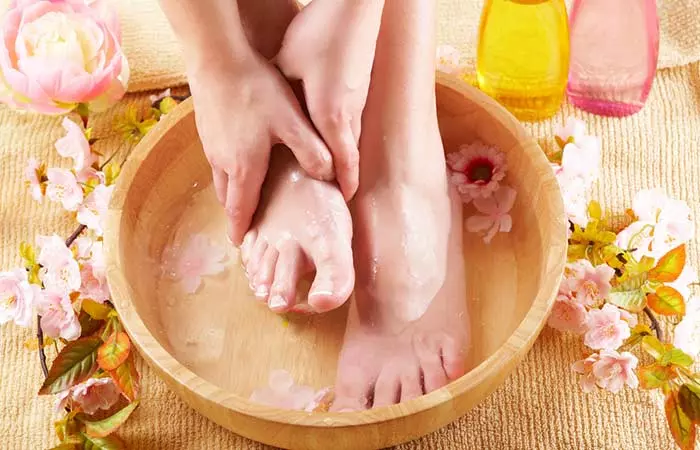
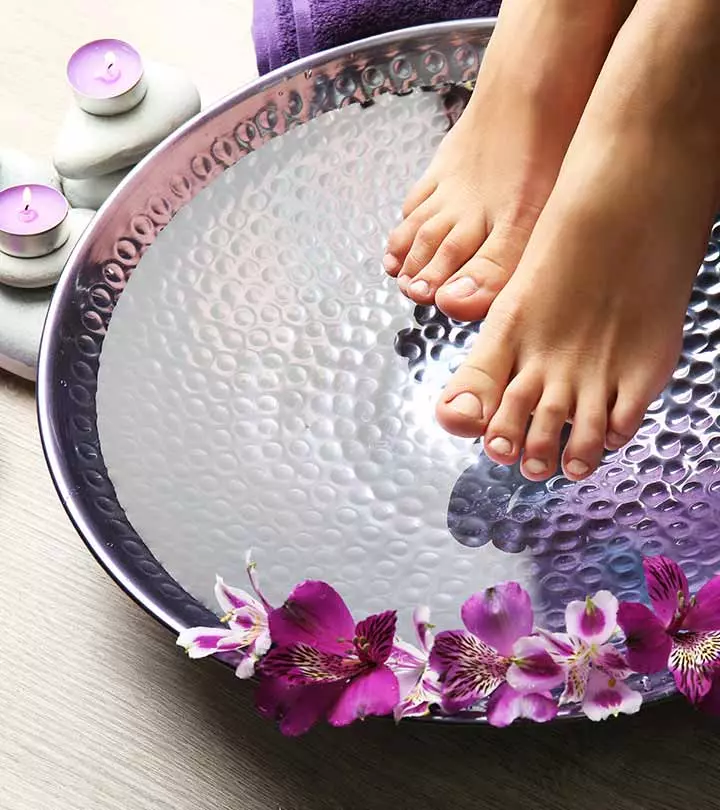
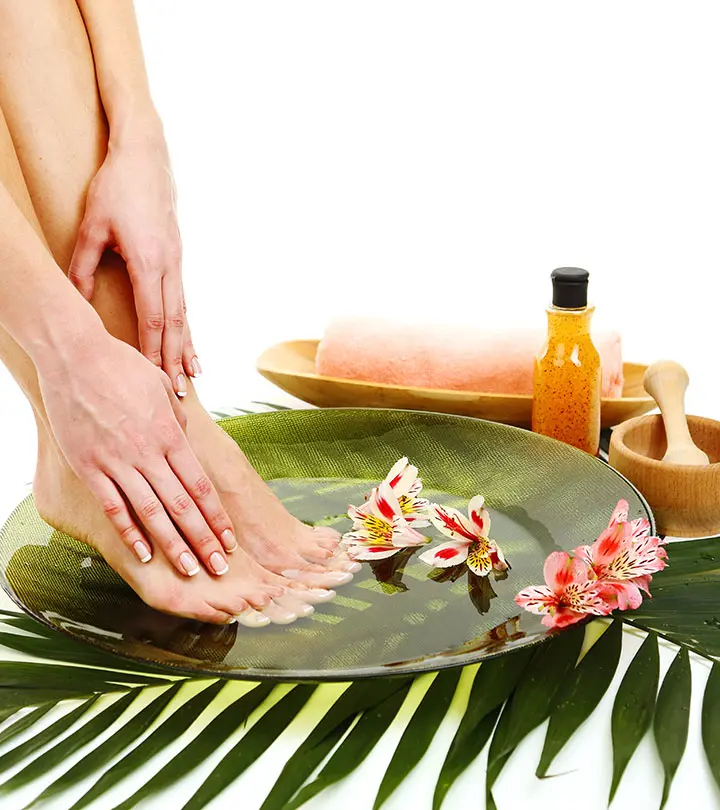
Ah, the best part – foot soak! Take a tub of warm water and add Epsom salt to it. You can even get a little fancy and add a few drops of soothing essential oils like lavender, rosehip, and grapefruit to it.
Soak your feet in the water and stay put for 10-20 minutes. It will soften the skin on your foot and make it easy to deal with rugged areas of the skin later. This helps the skin to rejuvenate, relax, and heal.
A small tip here – while you soak your feet in the water, you can unwind by reading a book or listening to some soothing music.
Step 3: Scrub Your Tootsies
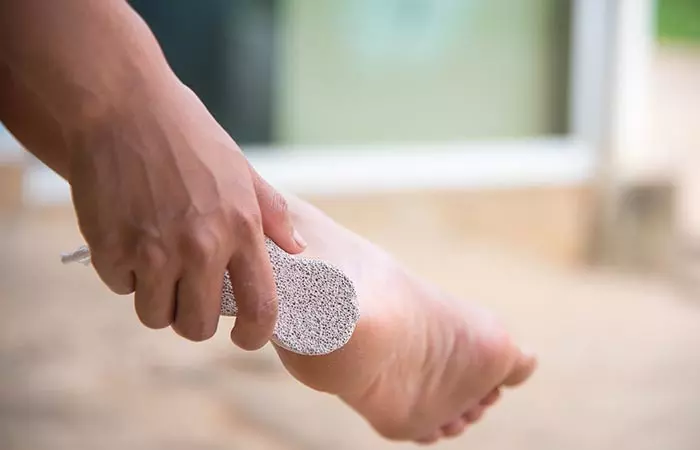
Next is scrubbing your feet. It is pretty simple and straightforward actually. Dry your foot with a clean towel once you remove them from the warm water. Take a foot scrub in your hand and start rubbing your soles.
Gently, in circular motions, scrub away the flaky dead skin. This exfoliating process also softens the thick calluses on your feet. Start with one foot and go on to the next one. Take your time.
You can also use a pumice stone and scrub the ends, tips, and back of your feet with it. Make sure you don’t scrub too hard though. Rinse and pat dry.
Step 4: Moisturize
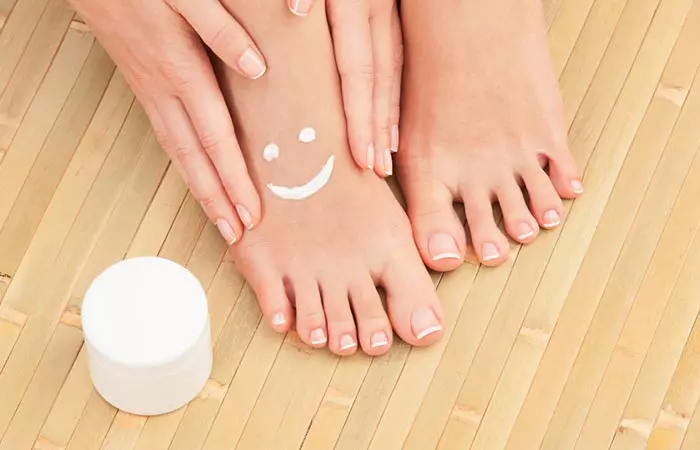
Now is the time to indulge. Lather your feet with foot creams or lotions and massage with your fingertips, applying slight pressure to the skin to reduce stress.
Choose a moisturizer whose texture and smell you love. Something juicy and fruity like mango butter or delicious like cocoa butter or shea butter. Go all the way, don’t limit yourself here.
Massage your feet for a good 10 minutes until the moisturizer gets completely absorbed into the skin. You’ll notice that the skin is fresh and glowing after you are done moisturizing.
Step 5: Use A Cuticle Trimmer
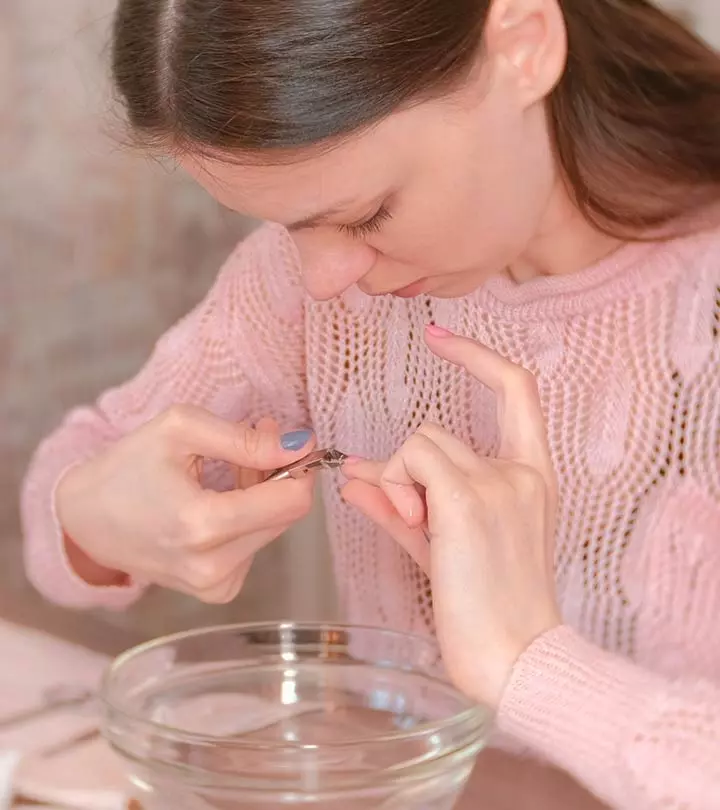
Time to give some TLC to your cuticles. Take some cuticle oil and massage it gently on the cuticles. Fix the edges and trim the dead and hanging skin.
Take a cuticle stick and push back the overgrown skin gently. Remove any hanging nails and make sure you don’t overdo any part of the cuticle fixing as that would be damaging. Rinse your feet and pat dry.
Step 6: Color Your Nails
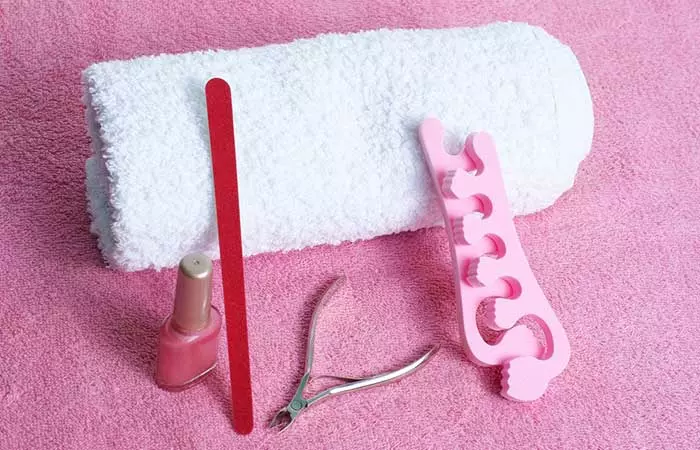
The fun part begins with coloring your toenails. Take toe separators and place them on your feet – they make painting your nails easier and fuss-free. Otherwise, you can use cotton balls to do the job.
Apply a coat of clear nail polish and let it dry for a few minutes. You can choose baby pink, beige or other skin color shades.
 Quick Tip
Step 7: Add The French Tips
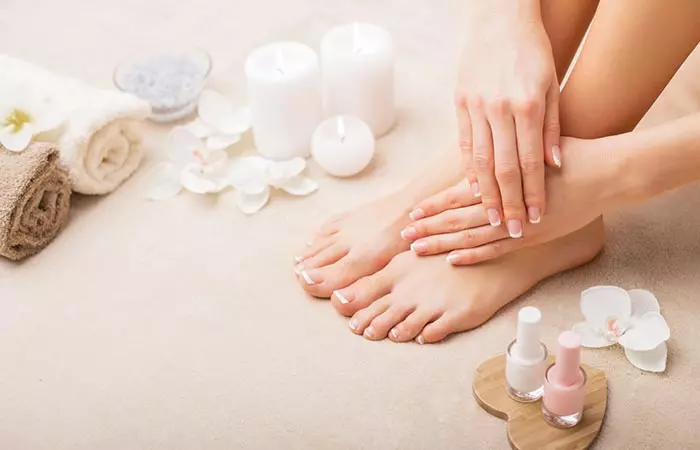
The main part – Frenching your nails away. It’s pretty easy. You just got to aim right. Take an opaque white nail polish and spread the nail paint horizontally on the tips of your nails from one side to the other as the first coat. Let it dry, then apply the second coat from the other side.
Make sure the color is creamy and pigmented. You need to get a thin white line at the tip of your nails.
If using a nail polish brush to do this seems too difficult, you can opt for a concealer brush or use nail strips to make the process easier. If there are any white patches left on the skin, you can just remove them with a brush soaked in a nail polish remover.
Step 8: Let The Nail Polish Dry
Dip your feet in cold water for a few minutes – it’ll help dry the polish quicker and also make it last longer. Wait till the nail polish is dry.
Remove your feet from the water and gently pat it dry.
Step 9: Apply The Second Coat
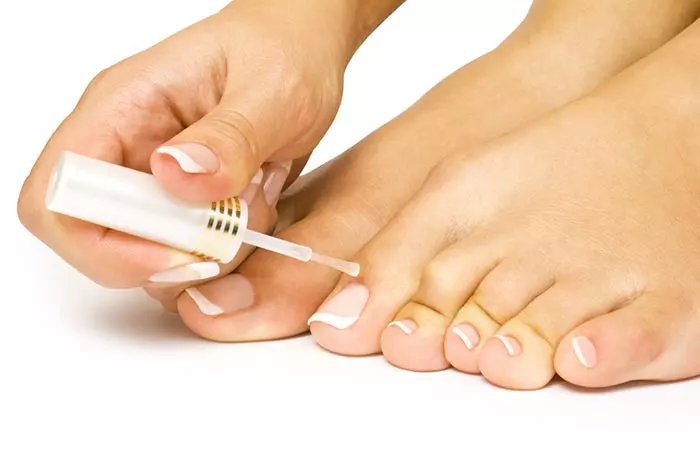
To put the entire nail look together, you must apply another coat of clear nail polish. Apply a single layer of clear nail polish to the whole nail. Finish the job in swift and even strokes – it helps to cover the nail in one layer and highlight the French-pedicured nails. You can also choose a very pale pink color as a top coat. Additionally, you may try some minimal nail art using white, pink, or nude nail rhinestones or stickers to jazz up your French tips.
Step 10: Spritz On A Drying Spray
Take a drying spray and spritz it on your nails from a distance. It helps dry your nails faster and gets you going without any danger of smudging the nail paint.
Make sure you do not spray too much on the nails to avoid using too much of the product.
Now that you know how to do a French pedicure, let’s explore some of its different styles that you can experiment with. Keep scrolling!
Different Types Of French Pedicures
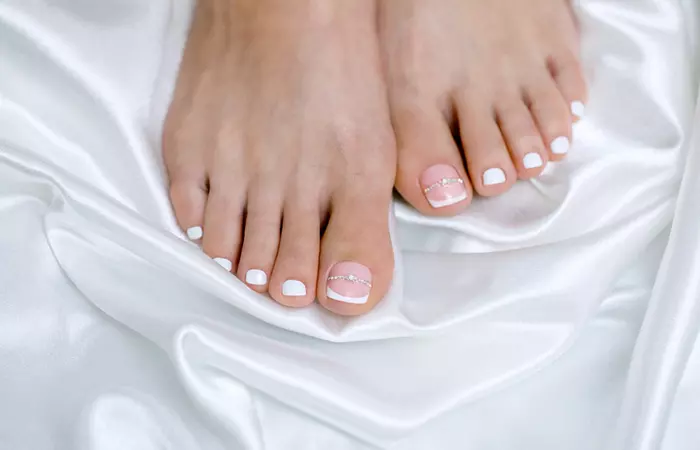
- Classic French Pedicure: This is the basic style that has been explained in the earlier section. It is one of the most popular minimalist designs you can opt for.
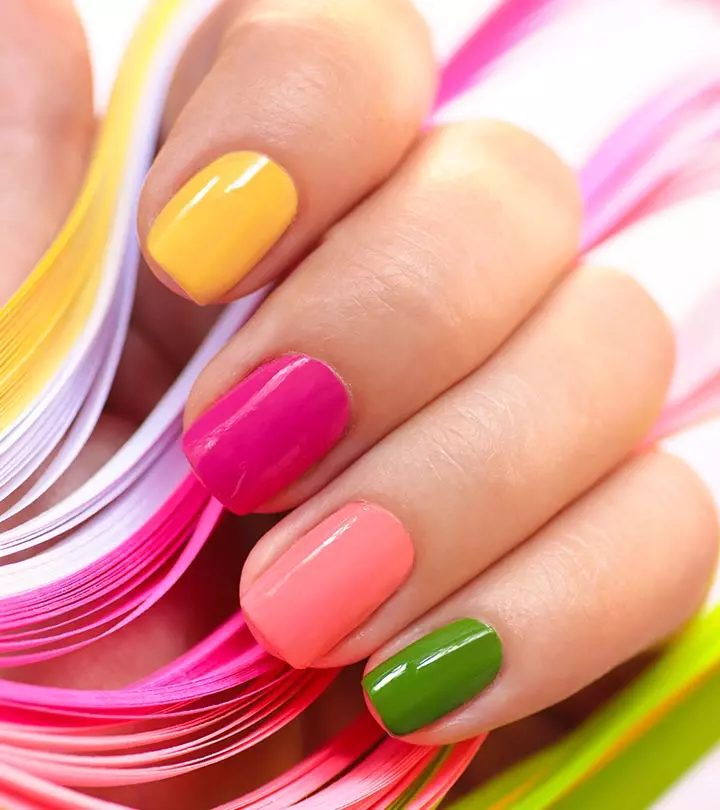
- Rainbow French Pedicure: This is another trendy style to try. It involves coloring the tips with all the shades of the rainbow, like orange on the big toe, yellow on the second toe, and so on.
- Embellished French Pedicure: You can apply attractive rhinestones on the toenails to achieve this style. Opt for any color for the French tips and simply decorate the toenails with rhinestones, crystals, studs, and pearls.
- Glitter French Pedicure: This requires simply doing the classic French pedicure design and then using transparent glitter nail polish as the top coat.
- Pastel Micro-French Pedicure: This style showcases delicate, ultra-thin tips colored in soft pastel hues, giving a refined yet contemporary update to the classic French pedicure.
- Metallic French Tips: You can add gold or silver metallic accents to the tips, enhancing the pedicure with a chic and sophisticated touch.
You have to be careful and avoid certain mistakes to achieve a flawless French pedicure at home. Learn more in the next section.
Common Mistakes To Avoid During A French Pedicure
A flawless French pedicure requires precision and proper care. There are a few mishaps that can completely ruin your nail look. Being aware of these faux pas can help improve your nail game. Here are some mistakes to avoid:
- Not applying a base coat!
A base coat prevents staining and helps polish adhere better. Without it, your pedicure may chip faster.
- Applying thick coats!
This can lead to uneven drying, smudging, and peeling. Instead, apply thin layers and let each coat dry completely.
- Not moisturizing your cuticles!
Pushing back and moisturizing cuticles is essential for a clean and polished look. Neglecting this step can make your pedicure appear messy.
- Not applying the top coat properly!
Always swipe the top coat over the nail’s edge to prevent premature chipping.
- Not shaping the French tip properly!
The curve of the white tip should complement the natural shape of your toenail. A mismatched shape can make the pedicure look unbalanced.
Even with careful application, issues can arise. Here’s how to fix them:
- Chipping Polish: If your polish chips quickly, reapply a top coat every few days to maintain longevity.
- Uneven White Tips: Use a French tip guide or stencil for a cleaner finish if freehand application is tricky.
- Bubbles in the Polish: Avoid shaking the nail polish bottle. Instead, roll it between your hands to mix the formula smoothly.
- Streaky Polish Application: Apply polish in three even strokes- one in the center and one on each side- to prevent streaks.
These tips can help you achieve a French pedicure at home. However, if you’re looking for some cost effective tips, the next section is for you! If your budget does not allow for expensive salon treatments, keep reading to learn more.
How To Do A French Pedicure On Any Budget: Product Recommendations
A great French pedicure doesn’t have to break the bank. Here are some options based on different preferences:
- Budget-Friendly Alternatives: If you are looking for affordability, consider basic pedicure kits with essential tools like a nail file, buffer, and cuticle pusher. Opt for long-lasting, fast-drying polishes and a strengthening base coat.
- Salon-Quality Experience At Home: Investing in professional-grade tools, such as a precision brush for perfect tips, a nourishing cuticle oil, and a high-shine gel top coat, can elevate your pedicure. Also, these tools tend to last longer and are more durable.
- Luxury Pampering: For a spa-like experience, choose hydrating foot masks, exfoliating scrubs, and premium nail treatments to enhance both the look and health of your nails.
Infographic: A Guide To Doing A French Pedicure At Home
It is incredibly easy to achieve a salon-perfect French tip pedicure at home. With enough time, patience, and practice, you need not spend an extra penny going to the salon ever again. We have summarized the step-by-step guide on how to do French tip toenails at home. Check out the infographic below to know more!
Some thing wrong with infographic shortcode. please verify shortcode syntax
A French pedicure involves decorating your nail tips with thin white horizontal stripes. The nail plate will be painted in pink or neutral tones. Owing to the growing popularity of this pedicure, people have now started researching how to do a French pedicure at home. The step-by-step guide to perform a French pedicure will help you create a salon-like experience at home. Following this DIY French pedicure will let you flaunt your feet with more confidence and style. Also, if maintained well, it will last for 15-20 days. Do let your creative juices flow and try some nail gems to add a flattering touch to your French toes.
Frequently Asked Questions
How do I make my French pedicure last longer?
Regular touch-ups and reapplications will help your French pedicure last longer.
What is a reverse French pedicure?
In a reverse French pedicure, the white coat is at the base of the nail in a curved shape, aligned to the nail’s base. A reverse pedicure does not necessarily use white and nude/pink shades.
How long will my French pedicure last?
That depends on how well you maintain your feet. The French pedicure can stand well for a good 15-20 days if maintained decently well.
How do I get a French pedicure off?
Just rub it off with a nail polish remover. Try to find an alcohol-free nail polish remover to maintain healthy nails.
What is the difference between a French pedicure and a regular pedicure?
A regular pedicure can have varied nail colors on the nail, unlike the white tips and nude color look of a French pedicure.
Are French pedicures in style in 2025?
Yes. Though French pedicures never really left, they are now back with a bang and are considered a classic in salons. In fact, color remixes and nail stickers are the new twist added to them.
Can you get a French pedicure on short nails?
Yes, French pedicure looks very natural and attractive on short nails and gives the nails an illusion of having long tips as the white tip gradient fades.
What does a French manicure look like?
French manicure is either shaped round or square with white polish on the tips of the nails. It looks good on short to medium-length nails.
Learn how to give yourself a perfect French pedicure with this easy tutorial. From shaping your nails to painting delicate tips, click on this video to elevate your foot pampering game effortlessly.
Personal Experience: Source
StyleCraze's articles are interwoven with authentic personal narratives that provide depth and resonance to our content. Below are the sources of the personal accounts referenced in this article.
i. How to do a French pedicure || Self french pedicurehttps://www.youtube.com/watch?v=yMIgsSzNgjE
References
Articles on StyleCraze are backed by verified information from peer-reviewed and academic research papers, reputed organizations, research institutions, and medical associations to ensure accuracy and relevance. Read our editorial policy to learn more.
- Not French manicure but onycholysis
https://pubmed.ncbi.nlm.nih.gov/25244179/
Read full bio of Dr. Seepika Jaiswal
Read full bio of Esha Saxena
Read full bio of Ramona Sinha
Read full bio of Monomita Chakraborty














Community Experiences
Join the conversation and become a part of our empowering community! Share your stories, experiences, and insights to connect with other beauty, lifestyle, and health enthusiasts.