Easy Homemade Lotion Recipe To Keep Your Skin Moisturized
Make your own at home to keep your skin feeling, looking, and smelling divine.
Image: Shutterstock
Commercially available moisturizers can be effective, but they may contain harmful chemicals and preservatives. In that case, why not try out a homemade lotion recipe? Yes, you heard it right. Preparing a lotion is not as difficult as you have thought it to be. Besides, you can customize the lotion as per your skin needs and choice.
All you need is a few ingredients and a little patience to have your moisturizer ready! So, are you up for it? In this article, we will look at an easy recipe to make a homemade lotion. Check it out!
In This Article
Ingredients You Will Need For Homemade Lotion
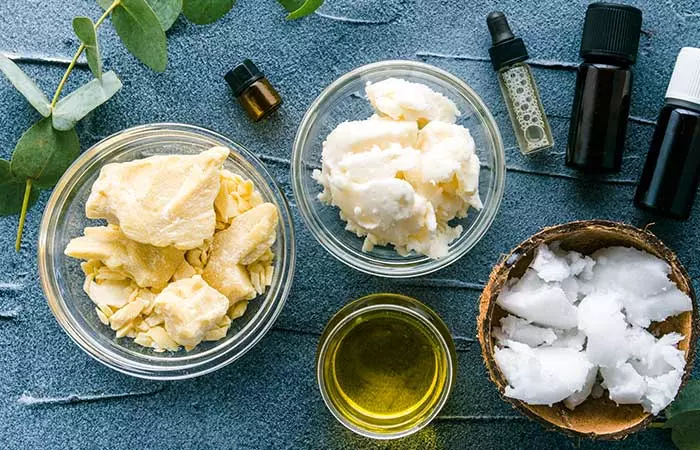
The first step is to know what ingredients you need. Homemade lotions are a combination of three ingredients:
- Oil
- Water (distilled water and not your regular tap water)
- Emulsifier
The consistency and texture of the lotion depend on the proportion of these three ingredients and the type of ingredients you use. Here is a breakdown of the ingredients that you will need to prepare a natural body lotion:
1. Water
Water constitutes about 70%-80% of the body lotion. Water makes the lotion thinner and easy to apply. Using only body butter and oils for your lotion will make it greasy and not give it a silky consistency.
2. Butters And Oils
Body butters and oils are rich in antioxidants, nutrients, and skin healing properties, depending on the type of oils and butter you are using. These are excellent ways to moisturize your skin and are especially beneficial for extremely dry skin. They can also help reduce the appearance of fine lines and wrinkles. The most common oils and butters used for making lotions include:
- Shea butter
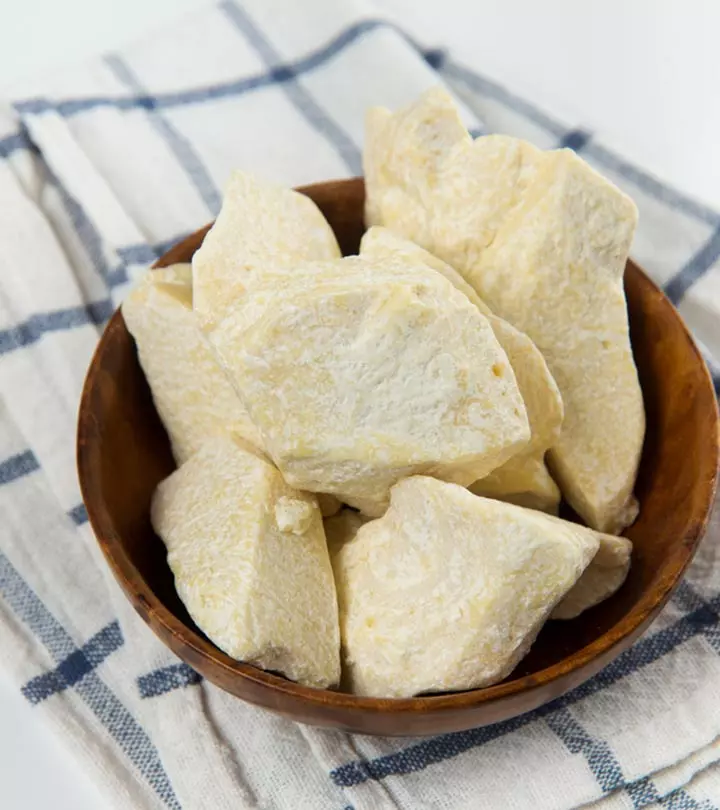
- Cocoa butter
- Sweet almond oil
- Avocado oil
- Sunflower oil
3. Emulsifiers And Wax
You cannot mix oils/butter with water. Emulsifiers (or emulsifying wax) help you mix and stabilize both. Emulsifiers contain components that can work with both water and oils. They act as glues to bind them together in your DIY lotion.
DIY body lotions use only 10% or less of emulsifiers. Remember, you can’t use any wax, such as beeswax or candelilla wax, for making lotions. These will not act as emulsifiers.
Depending on the type of emulsifier you are using, the texture of your lotion will vary. Some of the common emulsifiers that are available on the market include:
1. Emulsifying Wax
This is a plant-based emulsifier and can constitute 3%-5% of the total recipe.
2. Polawax Emulsifying Wax
This emulsifying wax can constitute 3%-6% of the total weight of your lotion recipe.
3. BTMS 50
This vegetable-based emulsifying wax can be used at 1%-15% of the total weight of your lotion recipe.
4. Olivem 1000
This is derived from the olive tree and can be used at 1.5%-3% of the total weight of the recipe if it is a light lotion and at 3%-8% of the total weight if it is a thick lotion.
Using water in your lotion makes it easy to apply. But, it also turns your lotion into a breeding ground for bacteria and molds, leading to contamination.
Ina, a blogger, shares her DIY Dream Cream recipe. She emphasizes the use of the main ingredients to provide the skin with the moisture it deserves. She mentions, “This DIY version is not that hard to make, with simple ingredients and not a single wax in sight,” making it an accessible and effective DIY body lotion. (i)
Keeping the lotion inside the refrigerator is not going to prevent bacteria and mold unless you use a preservative.
Key Takeaways
- You will need oil, distilled water, and an emulsifier to make homemade lotions.
- The lotion will feel grainy if you don’t let the emulsifiers dissolve completely.
- You can use preservatives like Leucidal, Rokonsal, and Geogard 221 (Cosgard) for the same.
Preservatives For Homemade Lotion
The word “preservative” might sound scary, and you might think it kills the very purpose of making a natural body lotion. Don’t worry, you will find natural preservatives that can give your homemade lotion a shelf life of 2-3 months. A few mild and natural preservatives that you can use include Leucidal, Rokonsal, and Geogard 221 (Cosgard). They are all approved by ECO-CERT.
A lot of people and DIY enthusiasts believe that coconut oil, essential oils, vitamin E, and potassium sorbate act as natural preservatives for homemade lotions and other skin care products. Although these ingredients may have antibacterial or antifungal properties, they cannot prevent bacteria and mold. Vitamin E oil and grapefruit seed extracts may slow down the rancidity of the oils in your lotion, but they cannot prevent molding. On the other hand, potassium sorbate does not prevent bacteria formation in the lotion.
Hence, it is important to use a preservative in any homemade skin care product (if you wish to store it for over a month).
Apart from these, you will need colors (water-soluble ones) and additives, such as glycerin or fragrances. However, these are optional.
Now, let’s move on to the recipe for your DIY lotion.
Homemade Lotion Recipe
You Will Need
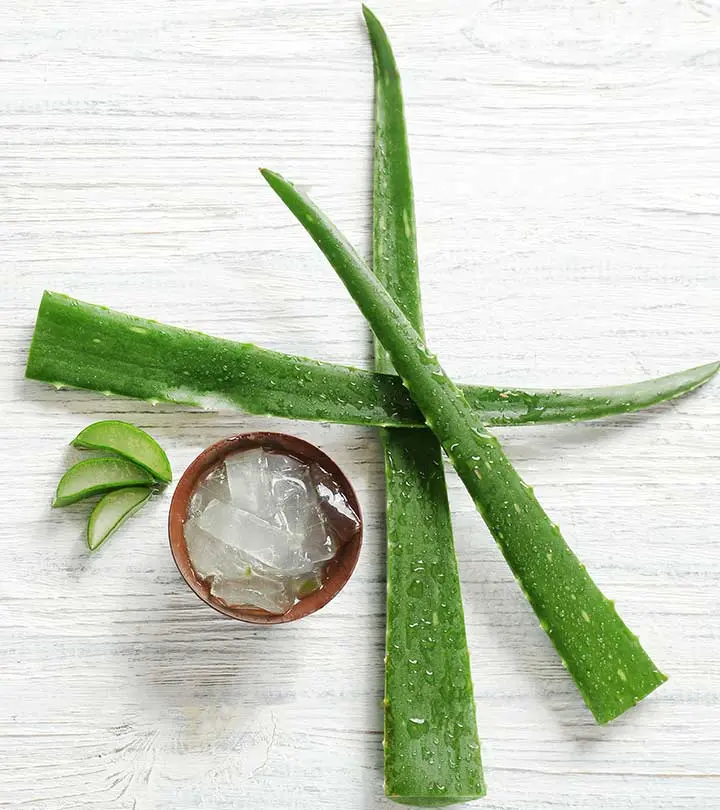
- 65 mL distilled water (you may use floral water or distillates or the same amount of pure aloe vera gel instead of distilled water)
- 30 mL oil (pick any oil of your choice, such as jojoba, sweet almond, grapeseed coconut, or avocado oil)
- 4 grams of emulsifying wax
- 3 drops of lactic acid
- 0.6 grams of Rokonsol or 3.5 grams of Leucidal
You May Also Add (Optional)
- 0.5% of fragrance
- Glycerin (less than 5% of the total recipe) or Vitamin E oil
- Hyaluronic acid (2% of the total recipe)
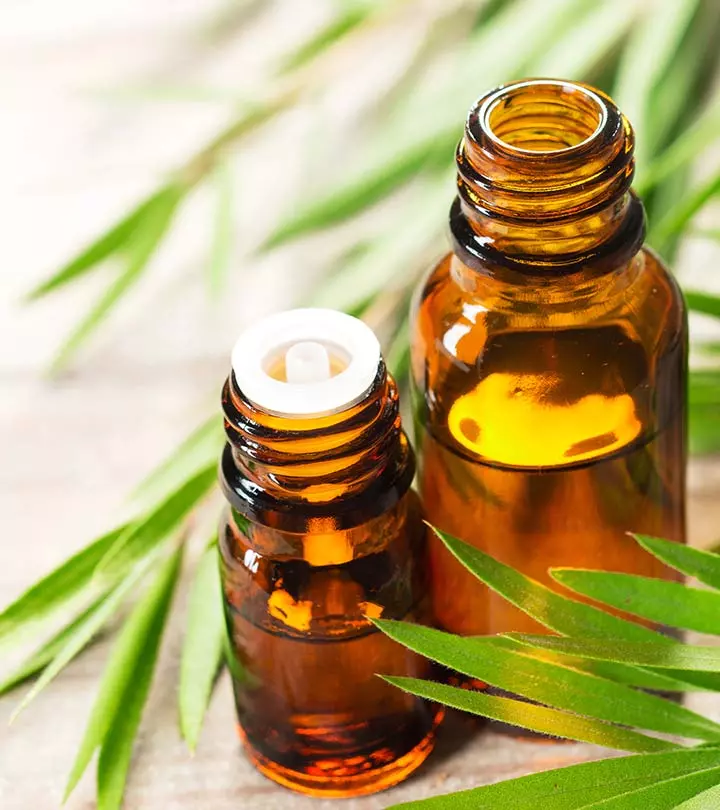
- 10 drops of 100% pure essential oil of your choice
Note: You may tweak a few ingredients (except for the basic and must-have ingredients) and add oils and fragrance depending on your personal preferences.
Also, use a scale or measuring cups to make sure the measurements are correct.
 Quick tip
Method
- Measure the distilled water in a clean glass bowl and warm it to around 70º-75ºC. Heating the water is necessary to bring it to the same temperature as the oils. This helps in proper emulsification.
- Measure the oils and wax and add them to another bowl. Heat the wax and oil(s) in a double boiler (heat water in a bigger bowl and place the oil and wax bowl in it). Keep stirring the oil and wax. Warm it to around 70º-75ºC.
- Add the water to the hot oil and wax mixture and whisk it. Keep whisking the water with oil and wax until the mixture gets thicker and opaque. Make sure to maintain the temperature of the water as well as the oil-wax mixture. Else, there will be problems with the emulsification process, and they will not mix properly. If that happens, don’t worry. Heat the mixture again in a double boiler and keep whisking until it is mixed well.
 Quick tip
- Let the mixture cool down a bit.
- Test the pH of the mixture using a pH strip. If you are using Leucidal, it can work with a pH range of 3-8. However, if you are using Rokonsol, it will work only if the pH is lower than 5.5.
If the pH of your lotion is higher than 5.5, and you are using Rokonsol, add a few drops of lactic acid to the mixture and test the pH. Continue once the pH is lower than 5. If you are using Leucidal, you will not need lactic acid.
- Once the mixture has cooled down, add the preservatives. At this point, you can add the heat sensitive additives (essential oils or glycerin or vitamin E, hyaluronic acid, a few drops of color, etc.) and continue whisking.
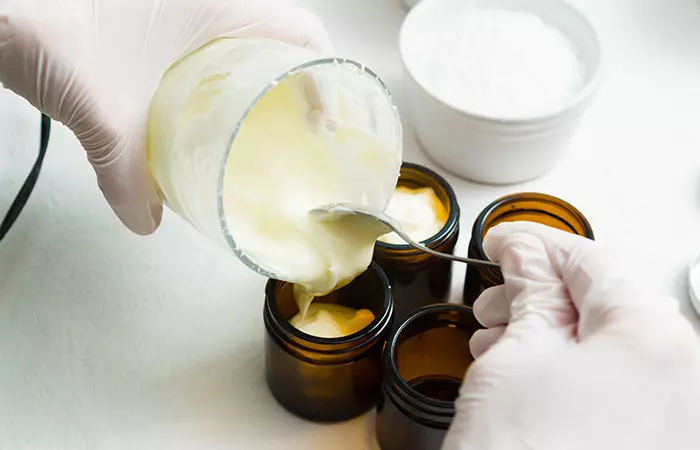
- Once all the ingredients are mixed, transfer the lotion to airtight containers or silicone tubes or containers.
- Let the lotion cool down completely. Once it has come down to room temperature, cap the container or tubes.
Like any other bath and cosmetic products, making your own lotion comes down to personal preference. The recipe above is a good starting point, but it can be modified with your favorite ingredients. If you are new to making lotion at home, it may take some time and a few attempts before finding the appropriate combination for your skin. Even if you are meticulous, there is a chance you will make a mistake somewhere along the way. Start with small quantities, and once you have mastered it, you will be able to make lotion at home in no time.
Frequently Asked Questions
How can I thicken my lotion naturally?
Adding melted stearic acid may help thicken the lotion naturally.
Is shea butter better than lotion?
A body butter (like shea butter) is more natural, thick, and better for rougher skin whereas a lotion spreads easily and absorbs to the skin better. Also, it is best to not use shea butter if you have acne-prone skin as it may clog the pores.
Can I use coconut oil as lotion?
You can use coconut oil to improve the hydration of the skin. However, it is best not to replace the lotion or moisturizer with coconut oil.
Is oil or lotion better for massage?
Oil is better for massage as it glides along well and absorbs into the skin slowly. Slow-absorbing oils are good for massages that involve repetitive movements as you need not reapply or use a lot.
Discover how to make your own body lotions using butters and essential oils. Hit the play button for a detailed, step-by-step guide on creating this DIY lotion.
Personal Experience: Source
StyleCraze's articles are interwoven with authentic personal narratives that provide depth and resonance to our content. Below are the sources of the personal accounts referenced in this article.
(i) DIY Body Lotion inspired by LUSH Dream Creamhttps://www.themakeupdummy.com/2014/03/02/diy-beautiful-skin-cream-similar-to-lush-dream-cream/#DIY_Body_Lotion_inspired_by_Lush_Dream_Cream
Read full bio of Dr. Priya Gill
Read full bio of Ramona Sinha
Read full bio of Anjali Sayee
Read full bio of Swathi E




Community Experiences
Join the conversation and become a part of our empowering community! Share your stories, experiences, and insights to connect with other beauty, lifestyle, and health enthusiasts.