How To Apply Makeup Like A Pro – A Step By Step Tutorial
No need to spend big bucks at a salon to look beautiful for a big event – learn to do it yourself!

Image: Shutterstock
“There is no right or wrong way to apply makeup. Makeup is self-expression!”, says Lindsay Kastuk, a commercial and editorial makeup artist based in New York City. No thumb rule can decide what will enhance your favorite features and create your desired look. However, perfecting the basics is the key to skillful makeup application. Applying makeup products the right way can make all the difference.
Whether you are trying makeup for the first time or have attempted it before, our step-by-step guide can help you achieve a flawless look. From winged liner techniques to cut-crease halo eye hacks, this tutorial will guide you about how to apply makeup step by step like a pro. Keep reading for simple makeup tricks!
 Keep In Mind
- Choose The Right Powder: Select a setting powder that works well with your skin type and tone. If you have oily skin, choose a powder that controls shine, while dry skin types should look for powders with hydrating ingredients.
- Use The Correct Finish: If you have oily skin, opt for a matte bronzer to avoid looking shiny or greasy. If you have dry skin, you can use a slightly shimmery bronzer for a luminous finish.
- Use A Steady Hand: To avoid wobbly lines, make sure your hand is steady when applying eyeliner. Rest your elbow on a flat surface to provide support and help steady your hand.
- Apply In Thin layers: Start by applying a thin layer of mascara to your lashes, wiggling the wand from the base of your lashes to the tips. Allow it to dry before applying another layer.
- Check Your Makeup In Natural Light: Before leaving the house, check your makeup in natural light to make sure it looks natural and flawless.
In This Article
How To Apply Makeup Like A Pro

It is imperative to start with a clean palette before applying makeup. Wash your face with a gentle cleanser and remove any old makeup to prevent your face from appearing cakey and unnatural. Cleansing your face before makeup application prevents clogged pores and skin irritation. You can use a makeup remover or baby oil to get rid of makeup residue.
Here’s how to do makeup step-by-step like a pro!
Step 1: Start With A Moisturizer
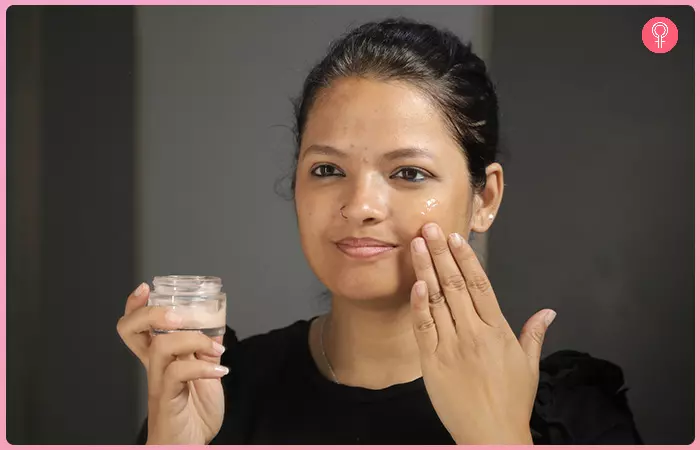
Make sure to complete your skin care routine before reaching for any makeup tools. Prep your skin with a moisturizer or serum to create a good base. This will keep your skin hydrated and firm and help lay your makeup properly. If your skin is not moisturized enough, the foundation will look cakey and heavy and is deposited on the dry areas of your face.
Step 2: Apply Primer
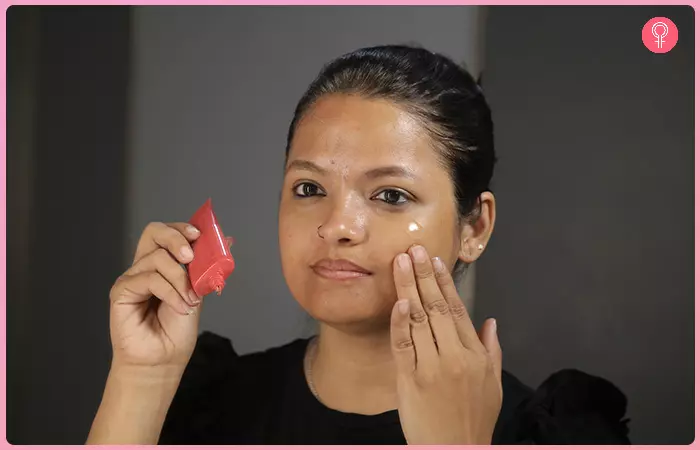
Lindsay mentions, “Primer is applied after your moisturizer and SPF but before your foundation. Generally speaking, you want to apply your primer all over your entire face. Some primers are made for specific areas (redness, enlarged pores, oiliness), so you would want to apply it only to the areas that the primer is meant to work for.”
Primer acts as a barrier between your skin care and makeup and prevents the makeup from sinking into your pores. It helps your makeup appear smooth and long-lasting and gives an airbrushed finish. Use a primer to fill fine lines and large pores and create an even canvas for your makeup to glide smoothly and not look cakey. There are various types of primers that cater to different skin concerns. For example, a mattifying primer is ideal for oily skin, while a hydrating primer benefits dry skin. You can also get color-correcting primers that can neutralize redness and create a smooth canvas for your makeup. If you want to sport that glowy glazed donut skin, use an illuminating primer to add a bit of sheen.
Mary, a blogger, shared her makeup routine that’s curated to her face shape, explaining, “I always wash my face, use toner and acne medication as needed, moisturize, and then prime before doing anything else. This allows the moisturizer and primer to be absorbed into the skin so my foundation and brush aren’t met with a slippery surface. Toner and primer both help tighten and brighten skin and make pores less noticeable, but occasionally I will skip them if I’m in a real hurry (i).”
 Quick Tip
For better coverage and application, go for a matte primer if you have oily skin and a gel primer if you have dry skin.
Step 3: Set The Base With Liquid Foundation
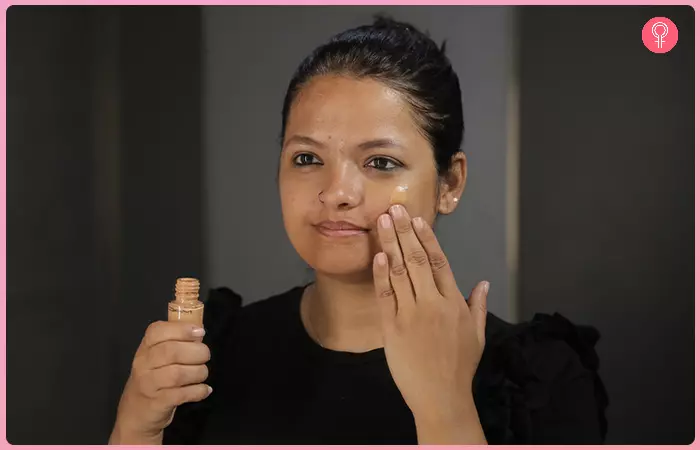
Choose a foundation depending on your skin type and tone. If you have oily skin, go for a matte finish and shine control foundation or a whipped mousse foundation that’s airy and offers light coverage. For dry skin, choose a dewy, hydrating foundation. While, if you want to nail the ‘no-makeup makeup look’ use a BB cream, skin tint, or a lightweight, sheer foundation to make the skin appear naturally flawless. On the other hand, if you are looking for a product that offers you the best of both makeup and skincare, opt for a serum foundation that is lightweight, effortlessly blends into the skin, and offers a natural-looking finish. You need to play around with these products and figure out what is best for you.
Color-match your foundation based on pink or yellow undertones. You probably have a pink or cool undertone if you have fair skin, whereas a yellow or warm undertone is found on people with Asian or olive skin. Also, decide the coverage of your foundation (full, medium, and light) based on your skin condition and the extent of imperfections you want to hide.
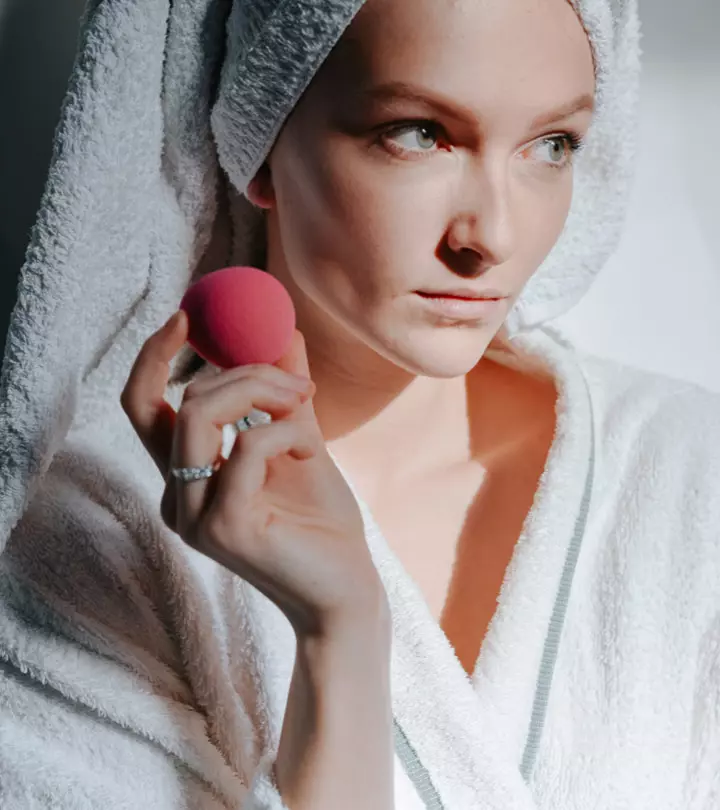
Once you choose the best foundation for your skin tone and type, here’s the next big question: How to apply foundation? Lindsay Kastuk says, “This [foundation] can be applied in many ways! You can use many different types of brushes (fluffy, kabuki, flat brush), but you always want to make sure the brush is a synthetic fiber when using liquid foundation. You generally want to start the application where you feel you want the most coverage! The most common way to apply is by putting a few dots all over the face and using a brush to blend the foundation out.” If you don’t want to use a brush, you can also use a sponge or beauty blender.
Step 4: Conceal Where You Need
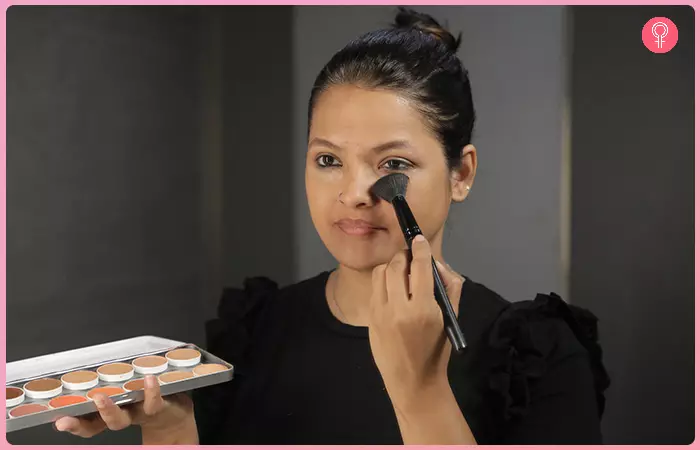
Concealer is amazing to make you look more awake and get rid of shadow, dark areas. But how to apply concealer correctly? Simple! Pick a product that is two shades lighter than your foundation or natural skin tone. Dab the concealer on your skin with your fingers or a beauty blender to make it look natural.
Lindsay comments, “Concealer is generally used to spot treats and cover areas you would like to be covered. Some of the most common areas of concealer are placed under the eyes (to cover dark circles or redness), around the nostrils (to cover redness), and on the forehead. It can also be used to cover any spots or pimples that you might have. Concealer is usually just a higher pigmentation than foundation, meaning it is more opaque in coverage – something you generally don’t use all over the face.”
Step 5: Brush Some Setting Powder
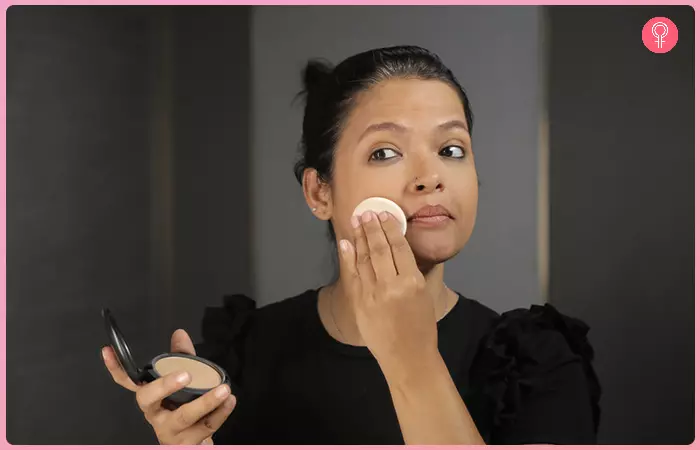
Set your makeup base with loose, compact, or setting powder. But remember, when it comes to powder, less is more. Use just the right amount of powder to set your makeup. Apply in areas where you tend to get shine and oil, and your makeup might break down.
Lindsay Kastuk, states, “I always use a light dusting of finishing powder as I like the skin to remain radiant and glossy. I apply finishing powder with a small fluffy brush in areas that tend to crease or get oily. Areas that tend to crease are under the eyes, around the mouth and the forehead. Everyone gets oily in different places, but you want to concentrate finishing powder in those areas as well.”
Step 6: Contour With Bronzer
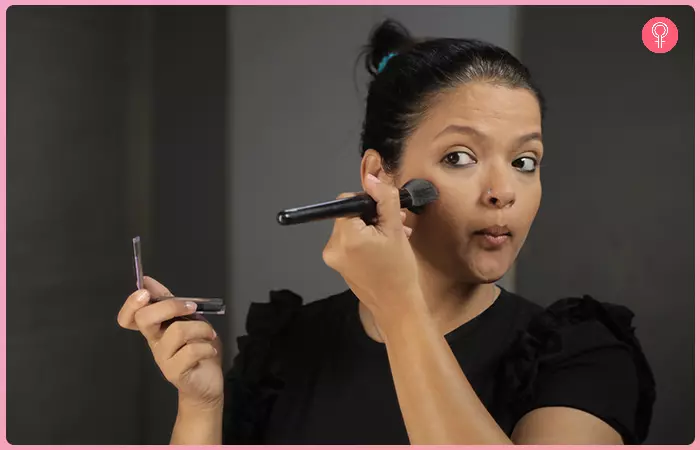
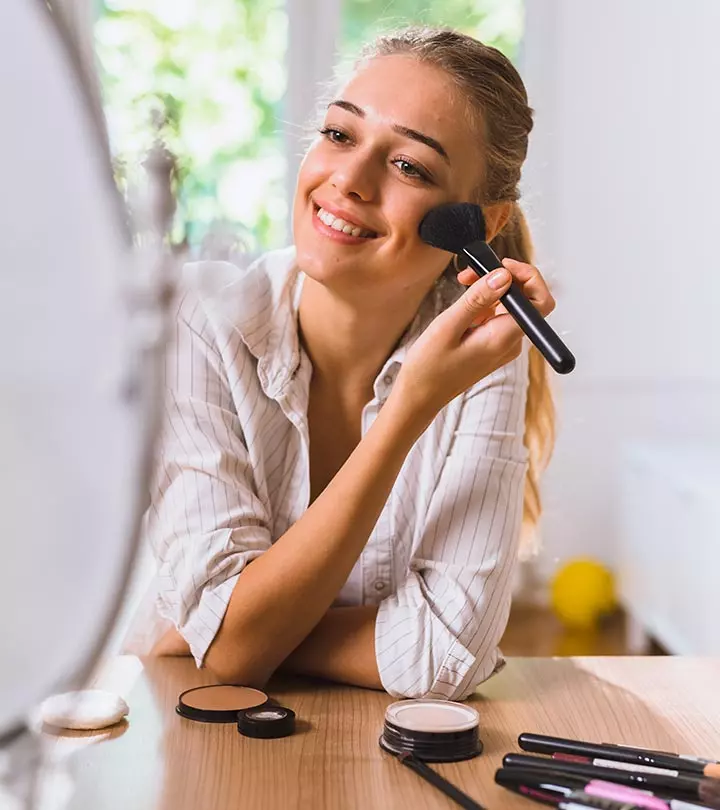
Bronzer is an instant pick-me-up that imparts a beautiful glow. Lindsay stresses on using the bronzer in a proper way. Let’s see what she has in store about this step: “I apply bronzer to my clients to give a sun-kissed glow. I apply bronzer with a larger fluffy brush to the high points of the face – where the sun would naturally hit you. The forehead, the tops of the cheekbones, and the nose.”
To get the look right make sure to choose a bronzer. The ones with oily skin should opt for powder-based bronzers to get that coveted tan minus the unwanted shine. Individuals with dry or mature skin should go for cream or liquid bronzers to get a nice moist finish.
If you are someone with a fair skin tone, go for a sheer bronzer with a rosy undertone. Those with a medium complexion should opt for an amber or golden-tone bronzer to get a youthful radiance. People with olive skin tone can go with a neutral shade of bronzer to mimic a natural tan. While, dark-skinned beauties can go with golden browns, cocoa, or chocolate-toned bronzer to add a touch of warmth to your skin without making it look washed out.
Step 7: ‘Blush’ It Up
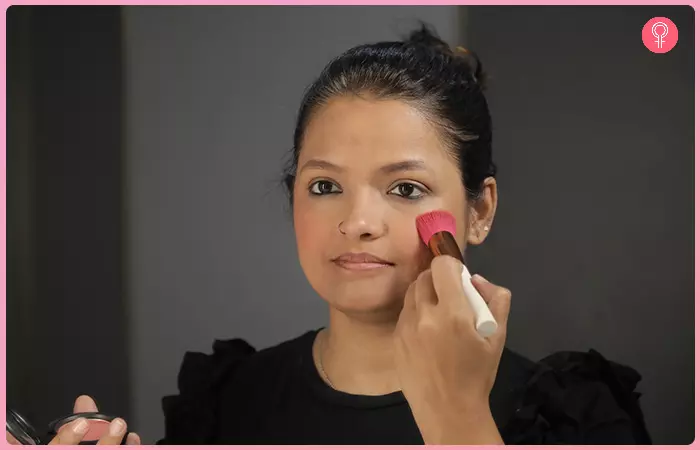
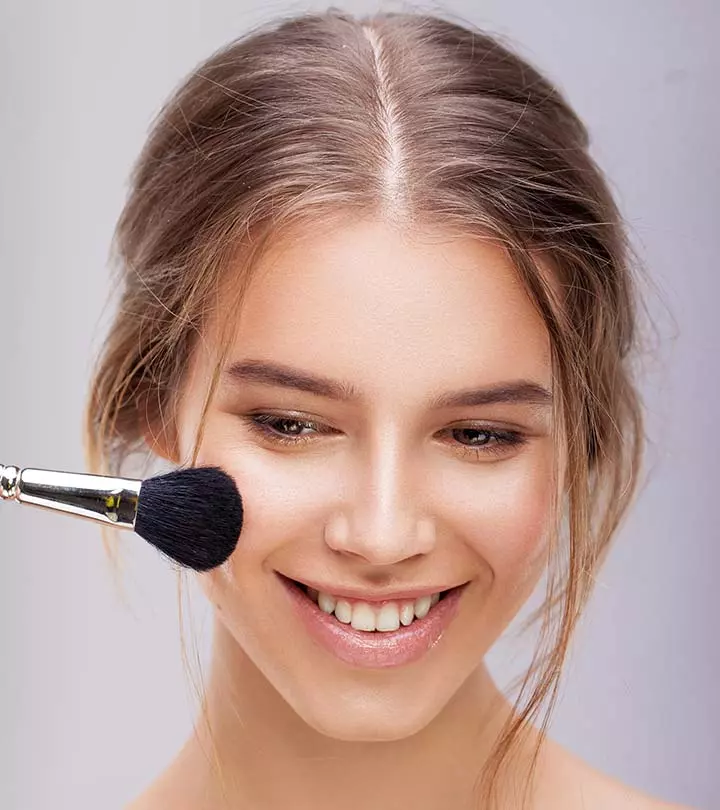
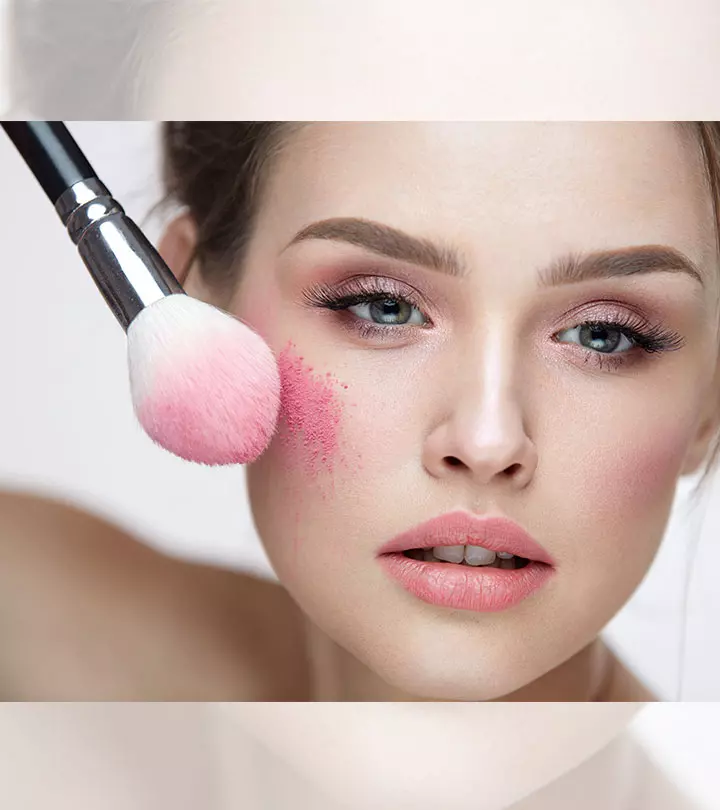
Blush brings color to your face and is a game-changer. Swipe some blush to the apples of your cheeks and blend back to the top of your ears. This method is ideal for those with oval or diamond face shapes as it helps to shorten the face or prevents the angular features of the face from appearing too sharp.
If you have a round face, apply blush slightly above the apples of your cheeks and extend it towards the temples to get a lifted look. Those with a heart-shaped face should aim to apply blush on the cheekbones in a ‘C’ shape extending it towards the temples to make your face appear chiseled. Square-face beauties should opt for blush on lower cheeks to cut down the boxiness of the face.
According to Lindsay, “Blush is a big trend for spring. Blush can be applied anywhere you’d like but definitely use a medium-sized fluffy brush for this one. You want to make sure you have a light hand. You can always build up the color; it is harder to take it away.”
You can go for soft rose, baby pink, pale peach, or coral hues if you have a fair skin tone. Those with medium skin tone can opt for blush colors like berry, terracotta, or a sweet peach tone which features a mix of both warm and cool tones, ideal for those with medium skin with neutral undertones. People with olive skin tones can look for bold pink, earthy pinks, or peachy-pink hues with golden shimmer to emphasize the skin’s natural radiance. The ones with deep skin tones can opt for berry, plum, and brick red tones that pair really well with the skin.
Step 8: Apply Eyeshadow
Skipping primer is among the most common makeup mistakes. So, before applying your eyeshadow, use a primer to create a smooth base. Blend a transition shade into the crease with a fluffy brush. Apply a deeper color to the outer corner of the eyes and mix it in. To make the lid and inner corner brighter, choose a lighter tone. Blend thoroughly between each step for a smooth finish. Use a smaller brush to define the bottom lash line precisely. In order to gain control, always start with a little product and increase over time. To achieve a refined look, Practice blending to highlight the shape of your eyes while sticking to a uniform color palette.
However, if you are looking for shades that can accentuate your features and look the best on you, we suggest picking an eyeshadow color according to your skin tone. If you have a fair skin tone, opt for soft colors taupe, champagne, bronze, brown, beige, ivory, bone, soft plum, or amber gold to add brightness to your look. Those with medium skin tone can look for hues such as rose gold and other warm illuminating shades with a metallic finish. Individuals with an olive skin tone can choose teal blue shades to complement their skin tone. If you have a deep skin tone, reach out for shades like plum, expresso, copper, vibrant green, or warm berry shade.
Step 9: Do Your Eyebrows
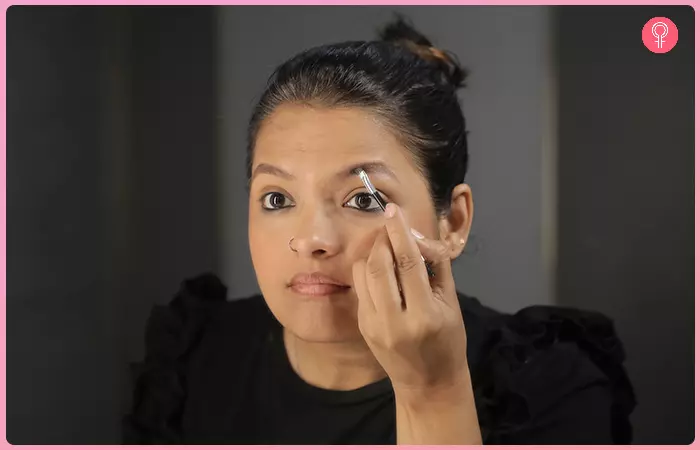
You can use brow liner or eyebrow pencil or gel to shade or fill in your eyebrows. Unless you have blonde hair, use a product two or three shades lighter than your hair color. Follow the natural curve of your brows and create a well-defined arch with an eyebrow brush (spoolie on one end and angled-tapered side on the other).
Step 10: Define Your Eyes With Eyeliner
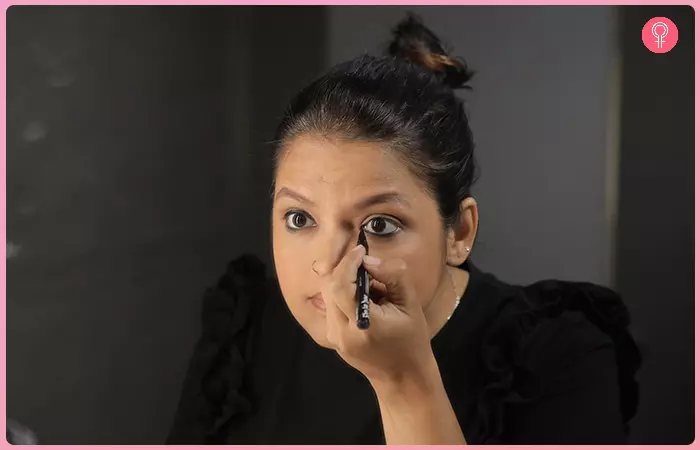
Apply eyeliner before mascara and after applying eyeshadow or doing your eyebrows. Use waterproof eyeliner and use it in your waterline for added definition. You can choose a gel, liquid, or pencil eyeliner.
Check out some best ways to apply eyeliner by Lindsay Kastuk.
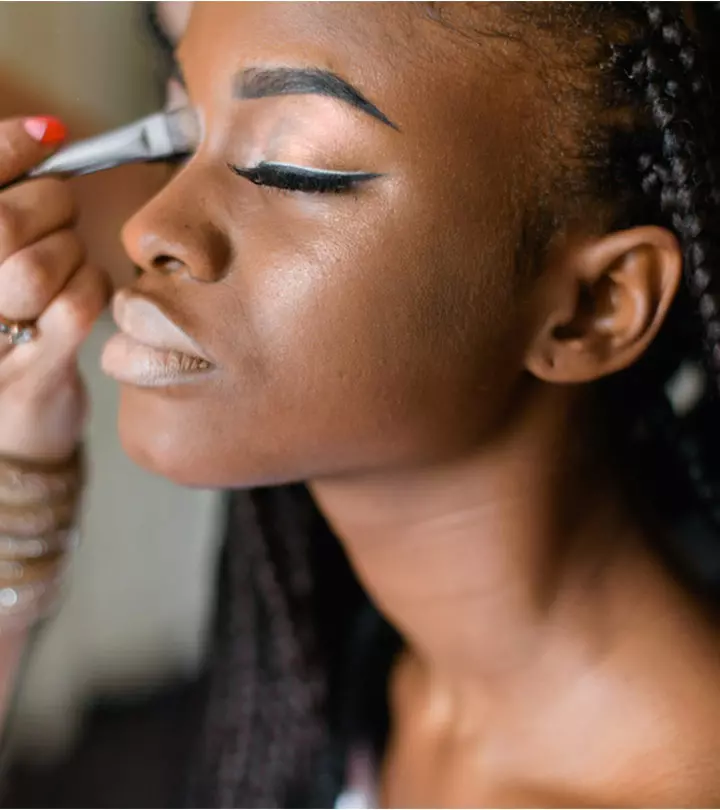
“This depends on what kind of eyeliner you like! I love using a gel liner and a brush, I feel like I have more control this way, and my lines are much more crisp. If you are looking for a classic line (no flick or wing), start as close to the base of your lashes as you can and just follow your lash line. You can build the thickness of the line from there!”
 Quick Tip
If you have small eyes, keep the dark eyeliners away from the inner corners of your eyes to make your eyes appear bigger.
Step 11: Use Mascara
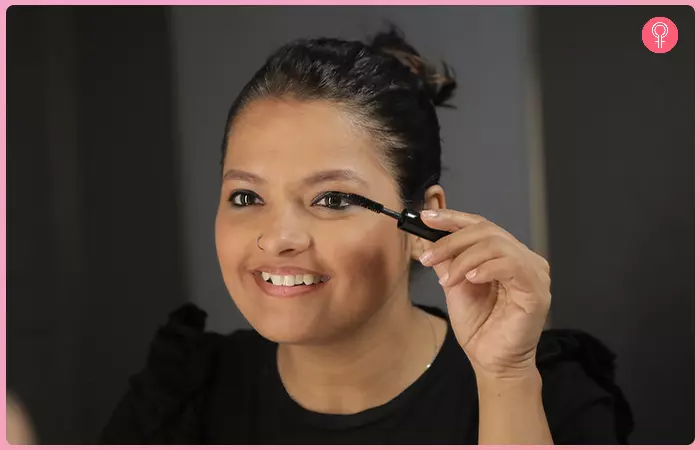
Make your lashes fuller, thicker, and longer with mascara. Try to use a lightweight or air-whipped formula so that your lashes do not feel weighed down. Also, do not skip on eyelash curler before applying mascara if you want to hold your curl. Lindsay suggests, “Always start at the base of the lashes! You want to get as close to the base of the lash and pull the rest of the product through to the tip of the lash. Ensuring you get the base of the lashes creates volume at the lash line and makes the lashes look fuller.”
Step 12: Add Highlighter
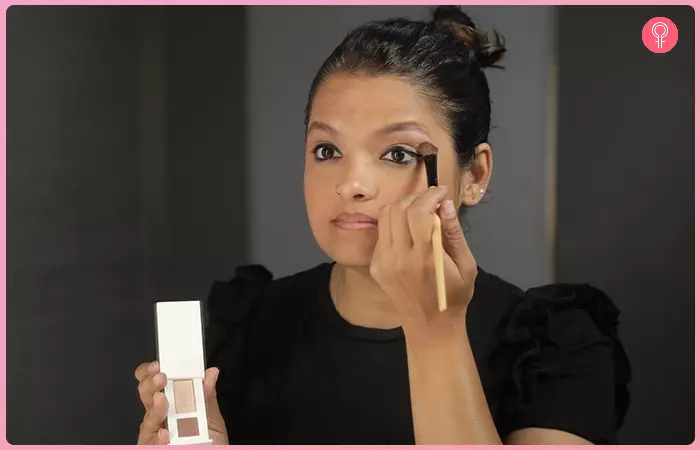
Highlighter will provide a final touch to your face makeup steps. Blend your highlighter on the ‘high’ points of your face where the sun would hit naturally. If you are a beginner, go for a powder highlighter.
Lindsay Kastuk claims, “Highlight can be applied with a smaller fluffy brush or with your finger too because it is a smaller area. The tip of the nose, the cheekbones, and a bit on the cupid’s bow are my favorite places to highlight. The product catches the light and highlights those areas of the face.”
Step 13: Tint Your Lips
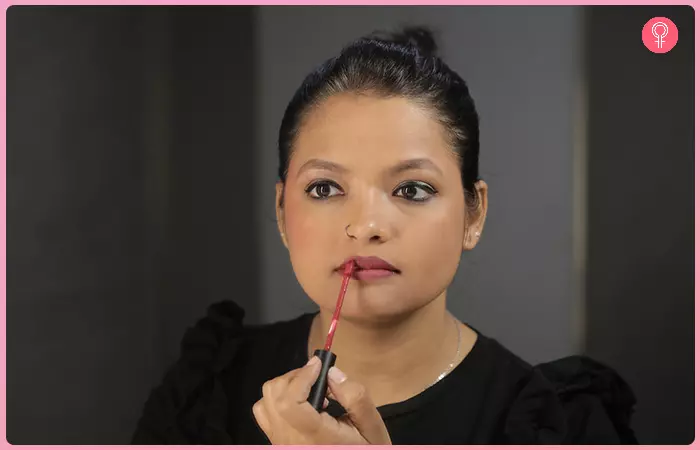
Outline your lips with a lip liner and select a lipstick of your choice. If you have a fair skin tone, choose lip colors like classic red, mauve, soft pink, and peach nude. Those with medium skin tones can opt for coral, wine red, and warm nudes to flatter medium skin tones. Individuals with olive skin tones look best in brick red, terracotta, and deep red hues. Those with deep skin tones can go plum, coral pink, rich brown shades, or brick red colors to enhance their natural beauty. Match the color of your liner with your lipstick shade. If you want to create fuller lips and a larger pout, make the line over your lips (outside your natural lip line). You can also follow what Lindsay Kastuk has been doing for years – “Lipgloss is an easy “throw on” for any makeup look! A quick swipe over bare lips or over any lipstick you might have.” Lip gloss applied as makeup makes your lips look plumper.

Note: These are the essential steps to getting glowing skin makeup like a pro. You can use a setting spray or powder to hold everything together and make your makeup long-lasting.
There are a few common faux pas that can ruin your perfect makeup look. Take a peek at some common mistakes you need to avoid to make your makeup look perfect.
Key Takeaways
- Always start your makeup after cleaning your face.
- A primer helps your makeup appear smooth and last long.
- If you do not follow a proper makeup application technique, it will look cakey and fake.
Common Mistakes To Avoid
Makeup is a great way to enhance your natural beauty, but even a small misstep can affect the final look. Avoiding these common mistakes can help ensure a flawless finish every time.
1. Skipping Primer: Applying foundation directly on the skin can cause the product to settle into fine lines and look uneven.
2. Using The Wrong Shade Of Foundation: Test the foundation on your jawline, and not your hand in natural light before buying. Ensure your neck and face are the same color before heading out.
3. Applying Too Much Concealer: Use a small amount of concealer and focus on dabbing it gently with a brush or sponge. You can also always add on more product if needed, however, you cannot remove extra product without causing a mess.
4. Not Setting Your Makeup: After applying your foundation and concealer, use a translucent powder to set your makeup.
5. Skipping Lip Liner: Always outline your lips with a lip liner that matches your lipstick or lip gloss shade. This prevents feathering and ensures a neat finish.
6. Overdoing Blush Or Bronzer: Apply the blush or bronzer lightly. Build up the color gradually, focusing on the areas where the sun naturally hits your face. Blend well to avoid harsh lines.
7. Using Dirty Makeup Brushes: Clean your brushes regularly. This ensures a smoother makeup application and prevents skin irritation.
8. Neglecting Eyebrows: Use a brow pencil or powder that matches your natural hair color and use small, light strokes to fill in sparse areas.
9. Overlining Lips: Line just slightly outside your natural lip line if you want fuller lips. Use a nude or lip color that compliments your lips.
10. Not Blending Enough: Blend everything from foundation to eyeshadow and contour thoroughly. A good blending brush or sponge can make all the difference.
The key to great makeup is in the details. By keeping these tips in mind, you will look and feel your best.
Infographic: 12 Easy Steps To Apply Makeup Like A Pro
Applying makeup can be tricky for beginners. It’s often confusing to figure out the correct order of product applications and how to use them. We hope the information shared in the article will help you understand the basics and master the art of makeup. The infographic below contains a quick overview of the 12-step process of step-by-step makeup application. Take a look. Illustration: StyleCraze Design Team
We have covered all the basic techniques in this beginner’s guide on how to put on makeup. Once you have mastered these basics, you can move on to more experimental steps on how to apply makeup to find the unique style that speaks to you. Besides the makeup itself, there are other things you need to keep in mind when you start learning these skills. Adopting a good skincare routine is fundamental to maintaining the good health of your skin when you do not have any makeup on. In addition, no matter how tired you are at the end of the day, you must remember to take off all your makeup and clean your face thoroughly before you go to bed. There! You are all set to dive into the wondrous world of makeup!
Frequently Asked Questions
Do I put foundation on my eyelids?
Never put foundation on your eyelids. It may cause your eye makeup to move around and into your eyes.
What is BB cream?
BB creams are also called beauty or blemish balms. They can reduce the appearance of wrinkles, pores, and other imperfections.
Is wearing makeup attractive?
Yes, makeup can increase your attractiveness. Makeup products are made to enhance your natural beauty and conceal any blemishes. However, it is important to apply it the right way. Overusing or incorrect application of makeup can make you look funny.
Should we wear makeup every day?
If you want to wear makeup every day, by all means, do it. However, make sure you use quality products and take them all off before you sleep. Avoid wearing heavy makeup daily. Instead, opt for simple and natural makeup looks.
Can makeup cause headaches?
Makeup rarely causes headaches unless you are allergic to the ingredients present in your makeup products. Ingredients like formaldehyde and propylene glycol (PG) may be responsible for your headache.
Can makeup affect eyesight?
Yes, makeup may affect eyesight if there are irritants in your eye makeup products and even cause infection. Make sure to check the ingredients before applying, especially in your eye area.
Illustration: How To Apply Makeup Like A Pro
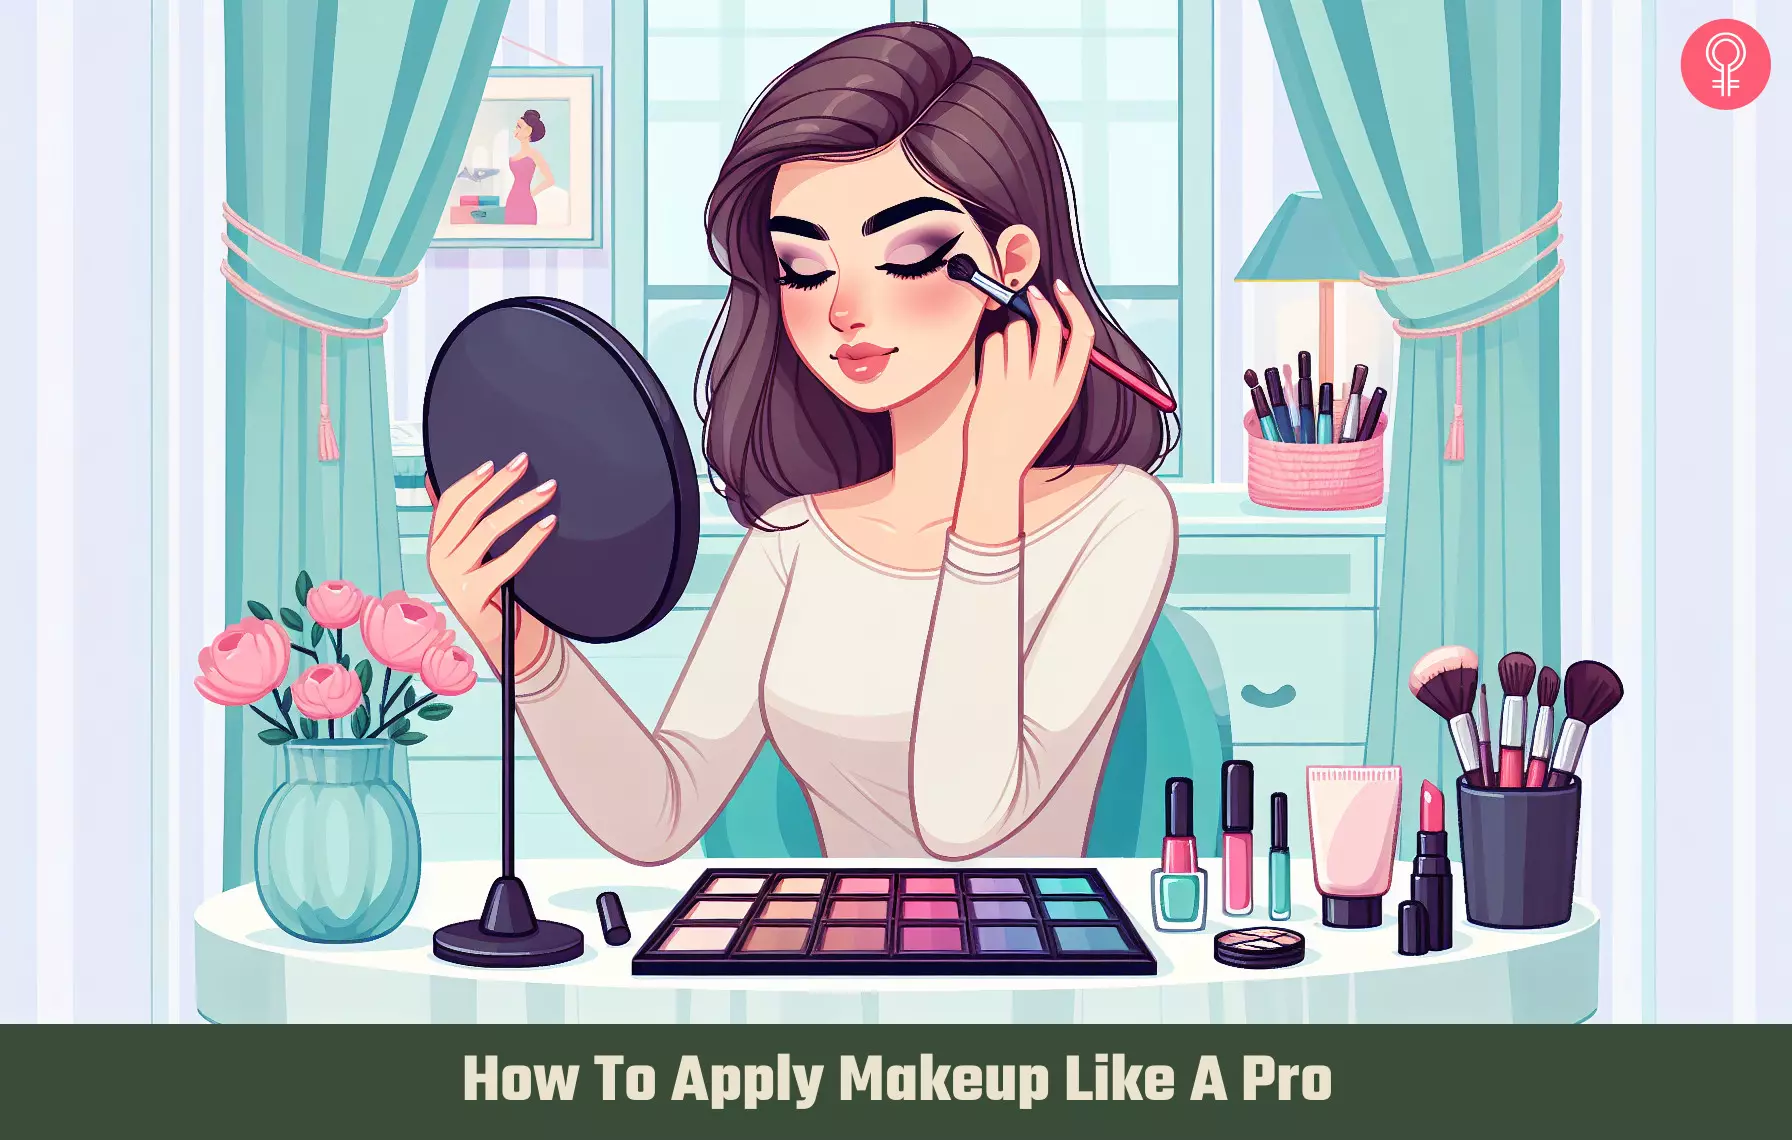
Image: Dall·E/StyleCraze Design Team
Learn the correct order of makeup application from a professional. Watch this video for the best tips and tricks to achieve the perfect look every time, hassle-free!
Personal Experience: Source
StyleCraze's articles are interwoven with authentic personal narratives that provide depth and resonance to our content. Below are the sources of the personal accounts referenced in this article.
i. How I apply my makeuphttps://mytripdownthebeautyaisle.wordpress.com/2013/11/17/how-i-apply-my-makeup/
Read full bio of Shelly Shimoni
Read full bio of Shreya Mukherjee
Read full bio of Subhrojyoti Mukherjee
Read full bio of Joyce Joyson










Community Experiences
Join the conversation and become a part of our empowering community! Share your stories, experiences, and insights to connect with other beauty, lifestyle, and health enthusiasts.