How To Apply Nail Extensions Perfectly? – With Steps And Pictures
Learn to make your own quirky nail looks with these easy extension application tips.
Image: Istock
All of us love well-groomed hands and feet, but everyone knows how to apply nail extensions. Since ancient times, women have painted and accessorized their nails. Historically speaking, long nails represented status and wealth in ancient Egypt.
While some are blessed with strong and beautiful nails, others have to pay a lot of attention to their regular manicures to get that neat and pretty look. As a result, artificial nails or extensions are popular in the current fashion industry. Global personalities like Billie Eilish, Cardi B, Beyoncé, and many others have often been spotted with long claw-like nails. They are made with acrylic, fiberglass, or gel, and the process is known as sculpting.
Swipe up to learn more about how to apply nail extensions. The article also mentions tips, tricks, and a step-by-step tutorial for applying nail extensions. Read on!
 Keep In Mind
- Prepare Your Nails: Prepare Your Nails Gently buff your nails to create a rough surface that will help the nail extensions adhere better.
- Select Correct Size: Prepare Your Nails Choose the right size of extensions for your nails. If they are too big, they will not adhere properly and if they are too small, they won’t cover the entire nail.
- Apply Topcoat: Prepare Your Nails After applying extensions, seal them and apply a topcoat to give them a glossy and natural finish.
- Aftercare: Prepare Your Nails Wear gloves while washing up, cleaning, or cooking with spices as they can leave a stain on the nail extension.
In This Article
Popular Options For Nail Extensions
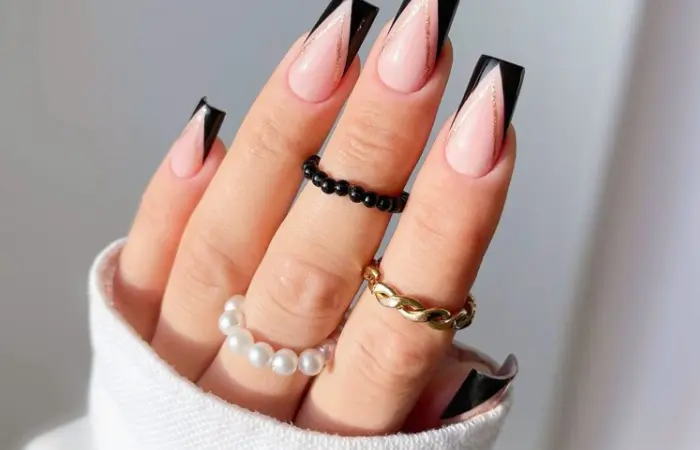
Nail extensions have become a go-to solution for those looking to enhance the glam of their nails. With numerous options, each type offers unique benefits tailored to different preferences and lifestyles.
When it comes to nail extensions, the choice is influenced by several factors. Some methods are renowned for their durability and strength, while others are celebrated for their natural appearance. The right nail extension for you is determined by factors such as the desired finish, maintenance level, and overall nail health.
Whether you need strong, durable nails that can withstand lots of activity or prefer a more natural look with a glossy finish, there’s a suitable option for you. Acrylic nails and gel nails are just two of the many choices available.
For those looking for a gentle, lightweight solution or needing nail repair, silk nails provide a natural and delicate alternative. Consider how much maintenance you are willing to invest in, the look you are going for, and the strength your nails need to make the best decision!
Let’s delve into the world of nail extensions, exploring the most popular types. This guide will assist you in making an informed decision based on your preferences and needs.
Acrylic Nails Extensions
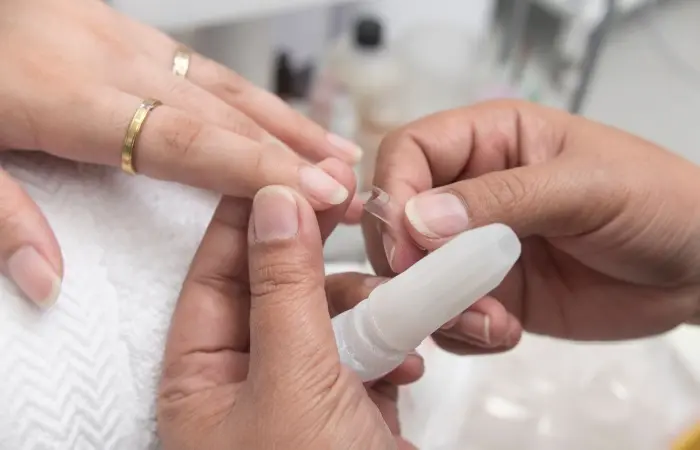
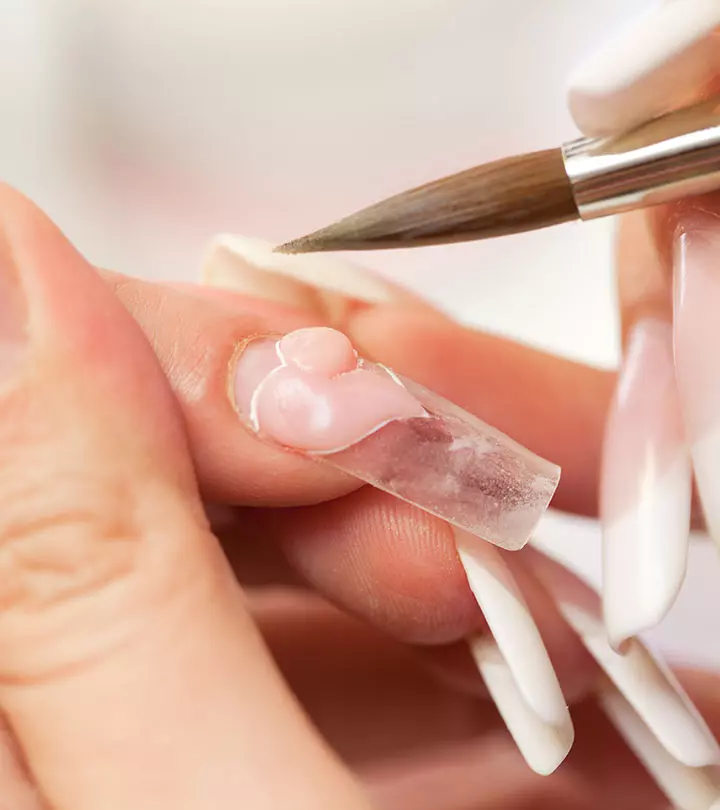
The acrylic nails are created by mixing liquid monomer and a powder polymer, which when combined form a hard protective layer that is sculpted over the natural nail. These nails become hard when exposed to air. To do extension an artificial tip is added on the nail before using acrylic mix. After that, the nail extensions are shaped, buffed for a shiny finish.
 Did You Know?
Key Takeaways
- There are three types of extensions: acrylic, gel, and fiberglass or silk nail extension.
- To apply artificial nails at home, clean your nails, prep, and shape the nails by pushing cuticles back and buffing them.
- Choose the perfect nail size, apply the nails with glue, and leave them for 30 seconds.
- Shape the artificial nails, clean them, and apply nail polish or do nail art.
Gel Nails Extensions
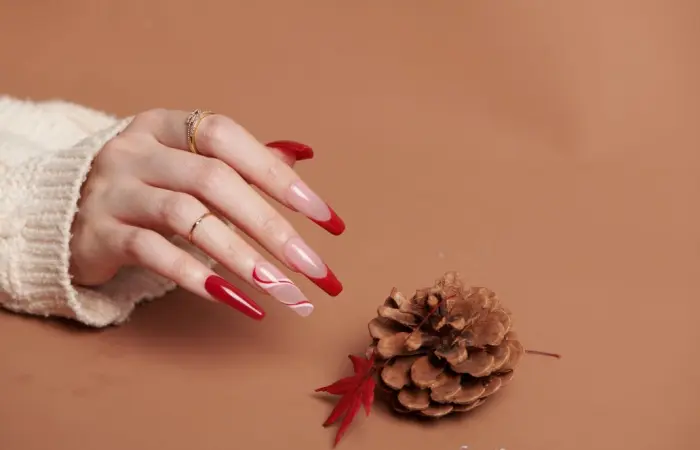
Gel is a softer consistency than acrylic, that is applied either on top of an artificial nail extension, or directly onto the natural nail bed to strengthen the nail and promote long nail growth naturally. It differs from acrylic in terms that no mixing is required to create gel and the nails must be cured in a UV lamp to create strong gel extensions.
Fiberglass Or Silk Nail Extensions
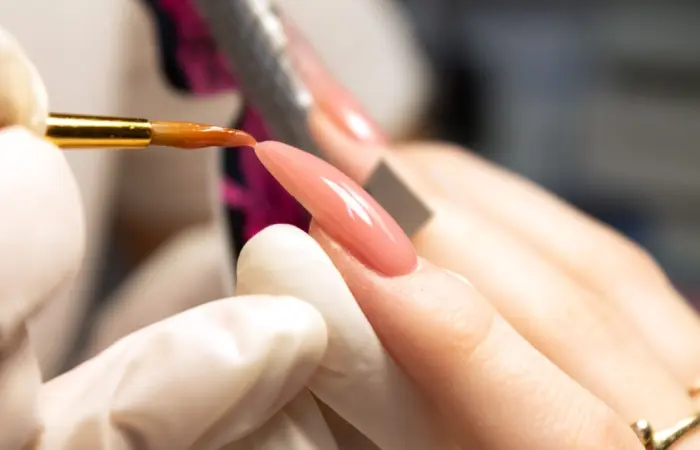
This is a less popular approach. This process involves cutting pieces of fiberglass or silk to fit the nail bed or tip, before sealing them into position using resin or glue. These are the three different types of nail extensions that can be done to get longer nails but all of them require the help of a professional artist slash nail technician and a proper nail salon.(of course they can be done at home but then you require to buy all those expensive products and most importantly lots of practice to get them done at home.)
BIAB (Builder In A Bottle) Nail Extension
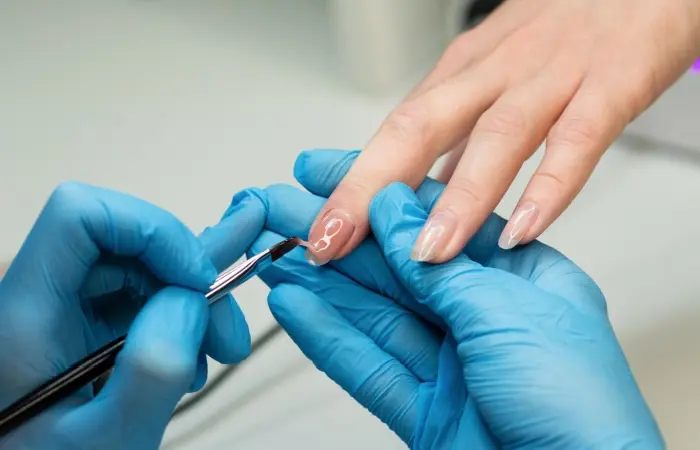
BIAB is a relatively new method for nail extensions that has gained popularity due to its simplicity. This process involves applying a thick, gel-like product in a bottle, which is used to build and shape the nails. The gel is applied directly to the natural nails and cured under a UV or LED lamp to create a long-lasting extension. BIAB provides a more flexible and durable alternative to traditional acrylics and can be used to extend the nails or as a base for nail art. Similar to other types of extensions, BIAB nails require the expertise of a professional nail technician to ensure proper application, although with the right products, some people attempt it at home.
Dip Powder Nail Extension
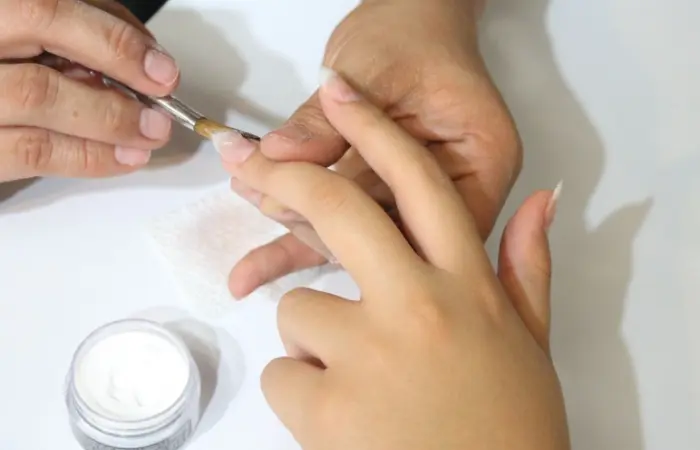
Dip powder nail extensions are a popular choice for those looking for long-lasting manicures without UV light. The process involves applying a base coat to the natural nail, followed by dipping the nail into a container of colored powder. This is repeated for several layers to build up the extension, and each layer is sealed with a top coat. Dip powder nails are known for their strength and are less likely to chip or break compared to traditional nail polish. They also tend to be lighter than acrylics while offering more flexibility.
Like other nail extension methods, dip powder nails require a professional nail technician to apply them properly. However, some enthusiasts prefer doing it themselves at home with the right tools and practice.
Express Nail Extension
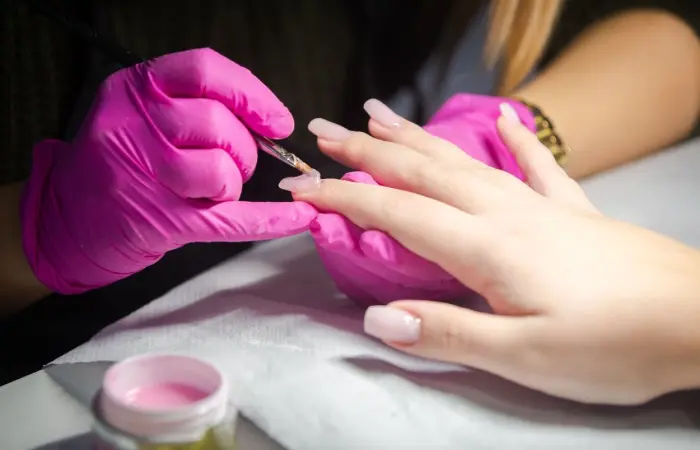
Express nail extensions offer a quicker way to achieve longer, stronger nails without the extensive time commitment required by other methods. This process typically uses pre-made tips or forms applied to the natural nail, followed by a gel or resin coating. The key advantage of express extensions is their fast application time, often completed in less than an hour. Unlike other methods, express nail extensions require minimal preparation and typically don’t involve the intricate layering process in acrylic or gel extensions. While these extensions are designed for short-term wear, they are ideal for those who want an immediate transformation. However, because they may not be as durable as acrylics or gels, express extensions are best suited for those looking for a temporary change or for special occasions.
Acrygel Nail Extension
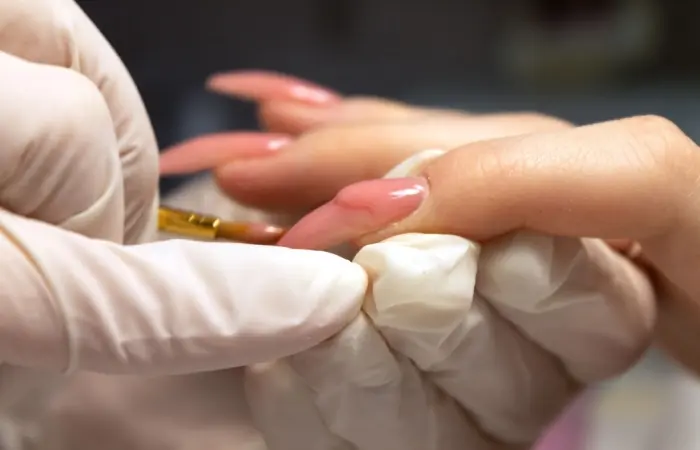
Acrygel nail extensions combine the best features of acrylic and gel nails. This method involves using a gel formula mixed with acrylic powder, which is applied to the natural nail or nail tip to create extensions. The mixture is then shaped and cured under a UV or LED lamp to provide a durable and long-lasting finish. Acrygel extensions are known for being less prone to cracking than traditional acrylics, offering the flexibility and natural shine of gel nails.
One key benefit is that when applied correctly, they are less likely to damage natural nails, and they tend to be lighter and more comfortable to wear.
Proper aftercare is essential to maintain the health of natural nails and prolong the lifespan of the extensions.
Hard Gel Nail Extension
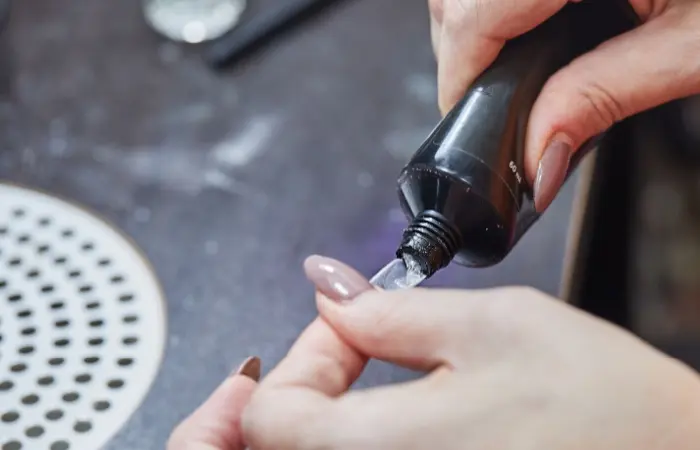
Hard gel nail extensions are popular for those seeking strong, durable, and natural-looking nails. The process involves applying a thick gel formula to the natural nail or nail tips, which are then shaped and cured under a UV or LED light to harden. Unlike soft gels, which remain flexible, hard gels form a rigid structure, providing more strength and longevity to the nails.
This makes them ideal for those who want longer nails resistant to chips and cracks. Hard gel extensions are highly customizable, allowing various lengths, shapes, and nail art designs.
One of the main advantages of hard gel is its ability to create a smooth, glossy finish without additional polishing.
Regular maintenance and proper aftercare are essential to maintain the integrity of the extensions and promote nail health.
So, how can you apply nail extensions at home because it’s very expensive to get them done in a salon?
 Trivia
There are several types of artificial nail tips available on the market to do nail extensions at home. You can try with these:
How To Apply Artificial Nail Tips At Home
Wondering how to apply nail extensions at home? You will need the following things:
1. Artificial tips: There are several types of nail tips available on the market, like white, clear, colored, glitter, with design etc. These tips are basically made of plastic. Get the one which you prefer.
2. Nail glue: Nail glues are easily available now.
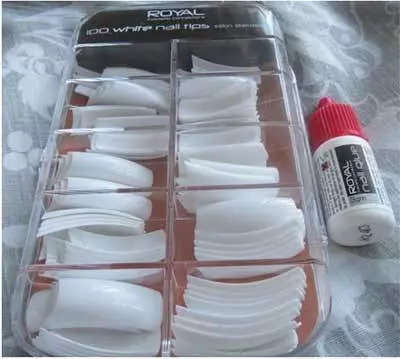
3. Manicure kit: Nail file, buffer, cuticle pusher and nipper.
4. Scissors or nail tip cutter.
Stepwise Tutorial
Step 1
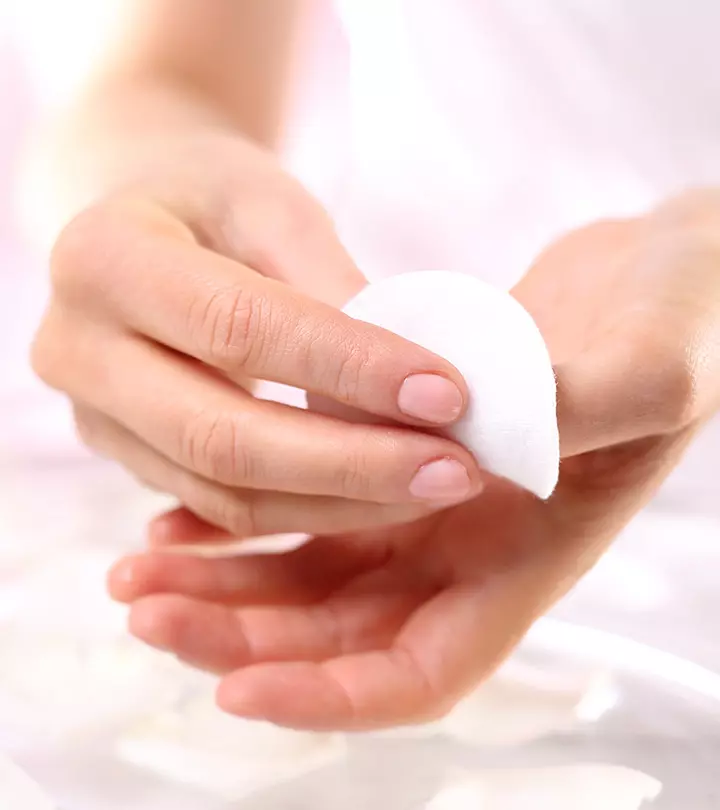
To start, first prepare your natural nails; wash your hands, removes any polish or glue or anything with the help of acetone.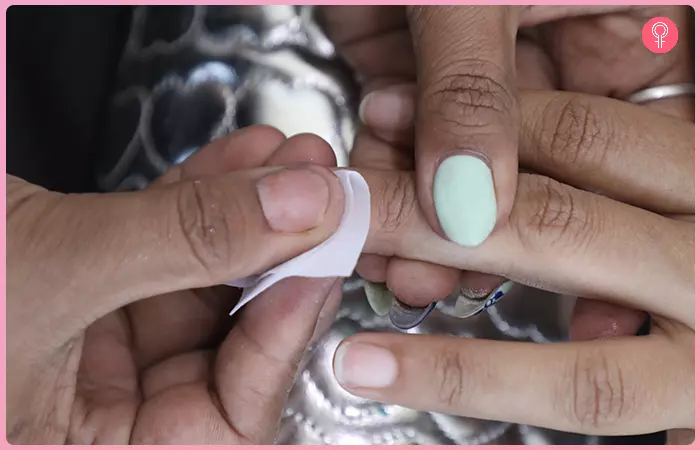
Step 2
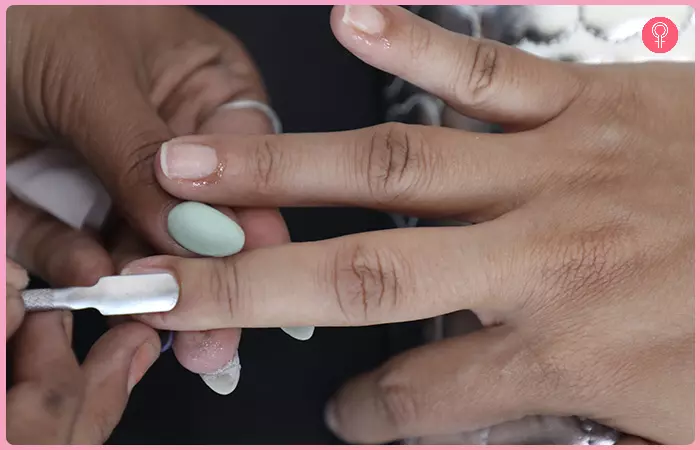
Push your cuticles back.
Step 3
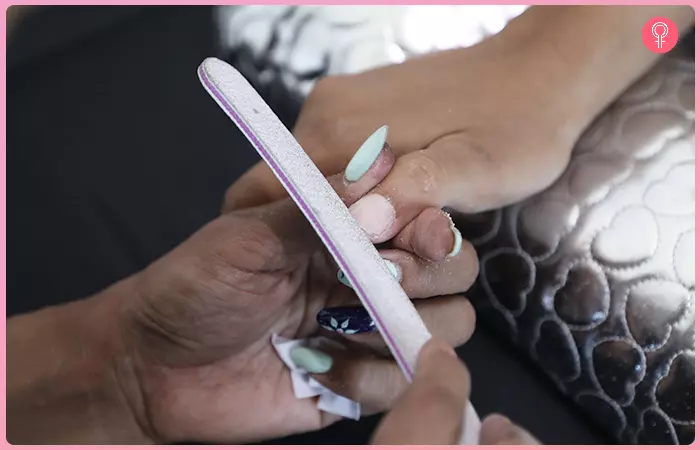
Now buff your natural nail lightly so that it doesn’t have any shine and moisture on it.
Step 4
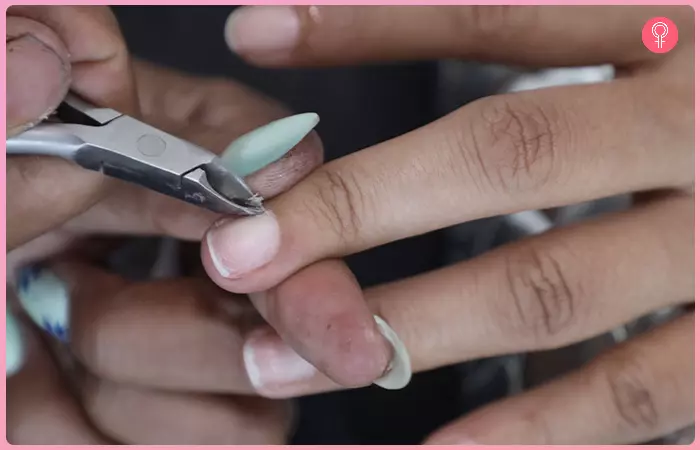
If your natural nails are long, then cut them and trim the corners for better grip of artificial nails.
Step 5
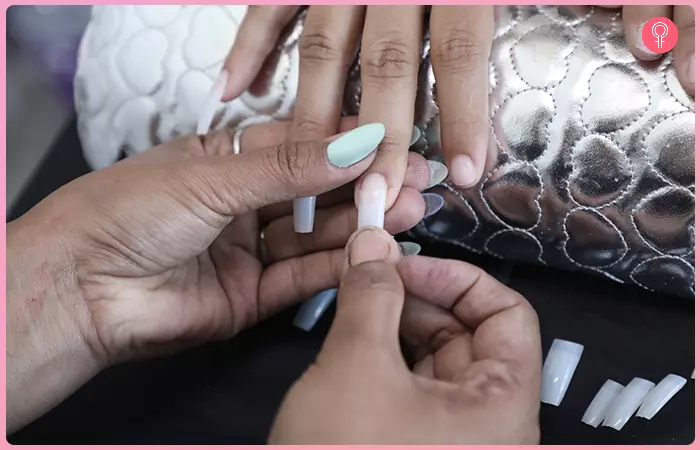
Now the important step, choosing an appropriate size of nail tip. This step is important as it will look very bad if you choose a wrong size. Take time and choose the exact size of tip which matches the c-curve of natural nail bed (from left to right). If the tip is slightly wider, then you can file it down.
Step 6
Once you choose your tip, apply glue on the hollow part of the tip and apply it on nails. Give it a little pressure to avoid air bubbles. Be careful as the glue is very sticky.
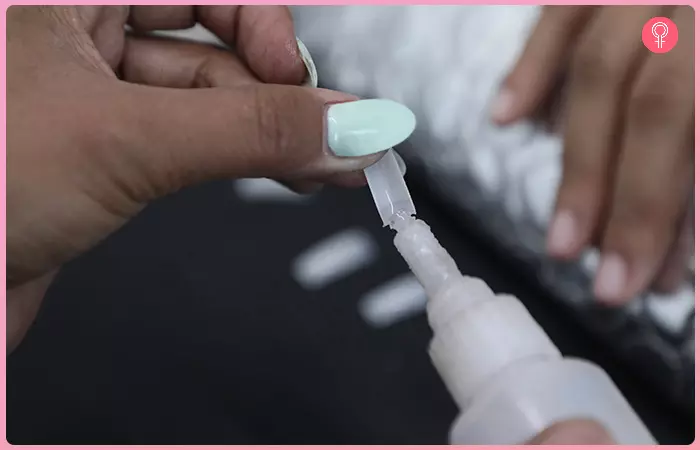
Step 7
Leave it on for 30 seconds. After that cut the tip a little longer than you desired length with the help of a tip cutter or scissors. (as filing and shaping will make them shorter).
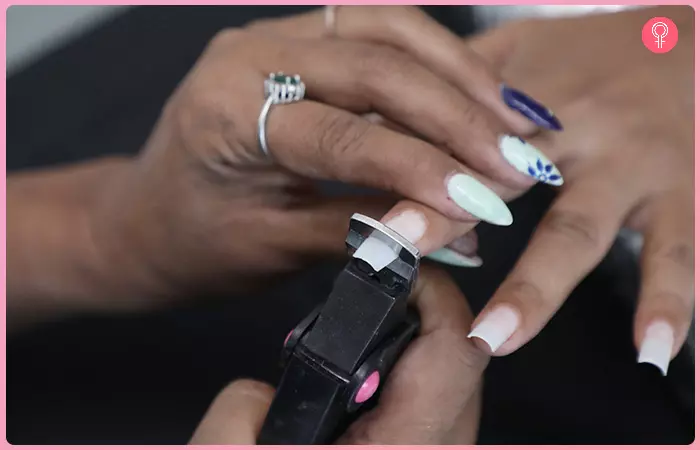
Step 8
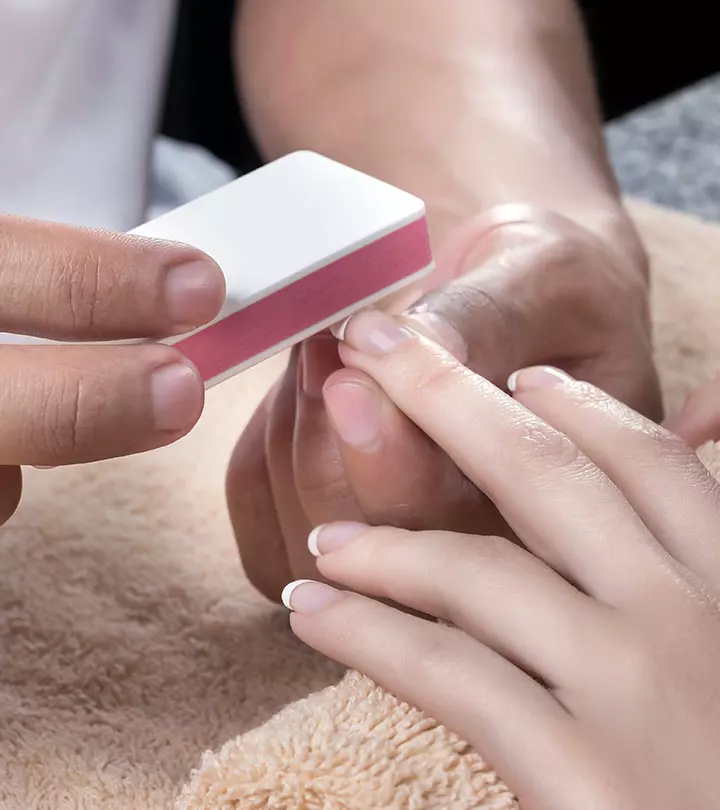
Shape your tips and sides of the artificial nail (to make them an exact fit on the nail bed). Buff them to finish.
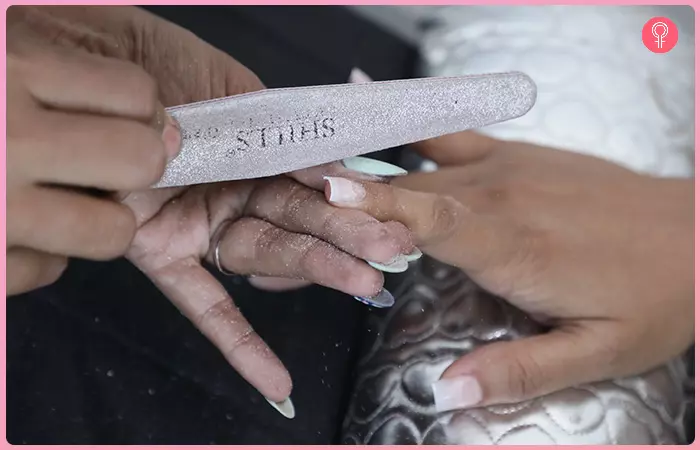
Step 9
Now take your nail buffer and start buffing lightly where the artificial tip meets the natural nail to make an even surface. Don’t buff on natural nails, try to do it on artificial tips only. Do it slowly so that you can see what you are doing and are not accidentally buffing the whole artificial tip at the nail bed.
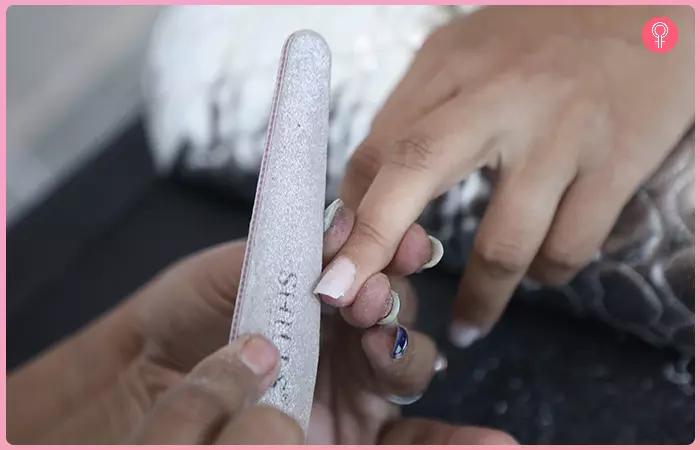
Step 10
Clean your nail and apply the base. Apply nail polish design; do nail art on the new long nails and finish off with nail primer for a neat look.
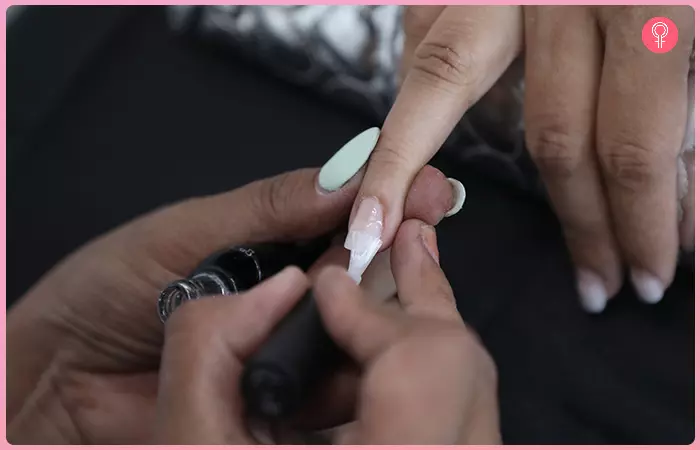
It will need a little practice but you will learn very easily. To remove tips, simply soak them in acetone for 10 minutes and the tips will easily come off. You can remove and do different manicures on the same tips if you get bored after 2-3 days. I personally did 3-4 manicures on the same tips.
Aradhana Agarwal, a blogger, shared her experience of getting nail extensions done: “Nail extensions can feel super weird at first. It takes a few days to adapt. They’re nothing, not even remotely close to your actual nails, you feel they’re too plastic-ey (i).”
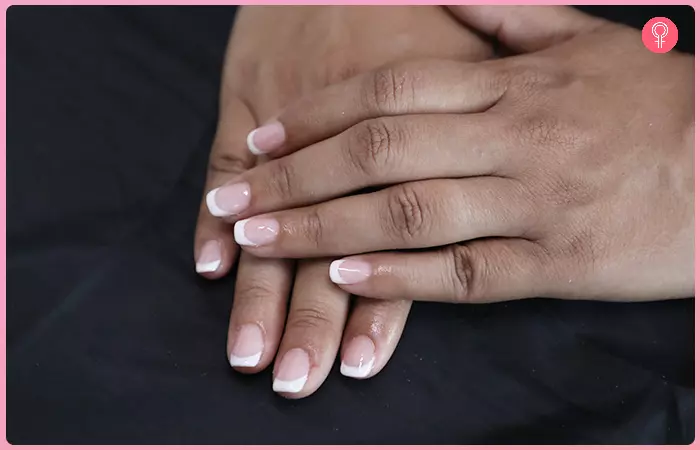
Here’s one of my manicures using artificial tips:
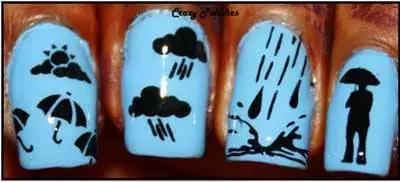
Don’t be scared of the red/yellow skin. This happens because of henna.
Taking care of your nail extensions is essential to keep them looking good and long-lasting. You can protect your nails from damage and maintain their shine by following a few simple tips. Read on to know more!
Nail Care And Maintenance
Here are some simple tips to help you maintain your nail extensions:
- Keep your nails clean and dry to prevent bacteria buildup.
- Moisturize your cuticles regularly to keep them healthy.
- Avoid using your nails to open things, as this may cause them to break or chip.
- Wear gloves while doing household chores like washing dishes.
- Visit a nail technician for maintenance or repairs if needed.
Infographic: Simplified Steps To Apply Nail Extensions
Not everyone can grow beautiful and strong nails. The next best option is to use artificial nail extensions. If you are someone who has never used nail extensions, a few simple steps can help you.
Check out the infographic below to get an idea of the simplified steps for applying nail extensions. Illustration: StyleCraze Design Team

Nail extensions are a great way to flaunt your style and add beauty to your hands. If you know how to apply nail extensions, you can get a pretty and neat look in no time. These nail extensions are available in gel, acrylic, and fiberglass. With the step-by-step tutorial mentioned above, you can easily apply these nail extensions at home. Although it may seem difficult initially, you can learn to apply these extensions easily with regular practice. You can also experiment with different nail art designs to add a pop of color and style to your look! But don’t forget to cater to proper nail care and nail health post the extensions as they can damage the nail bed and make them prone to breakage. It is important to keep nail maintenance in mind. Stick to safe nail removal methods that do not harm your cuticles and nails.
Frequently Asked Questions
How long do nail extensions last?
Nail extensions usually last 3-4 weeks before your nail grows, creating a gap between the cuticle and the extension.
Do nail extensions fall off?
No. Nail extensions usually don’t fall off on their own. You have to either cut them off when your nail becomes too long or get them removed at the salon.
How can I safely remove nail extensions at home?
Soak your nails in acetone for 10-15 minutes to loosen the adhesive. Gently push off the extensions with a wooden stick or soft tool. Avoid peeling or pulling off the extensions to prevent damage to your natural nails.
Which lasts longer – gel or acrylic nails?
Gel extensions last over 3 weeks, while acrylic nails need refilling or removal after 1-2 weeks.
What is better for your nails than acrylic?
Gel nails are a better alternative to acrylic nails, as they are not only easier to apply but also easier to remove. Unlike acrylics, which can sometimes cause damage during the removal process, gels are gentler on your natural nails. However, if you know how to remove acrylic nails correctly without causing harm, they can be good too.
Learn how to create beautiful gel nail extensions with this step-by-step tutorial video below. Get ready to create stunning nails with ease and flaunt them like never before!
Personal Experience: Source
StyleCraze's articles are interwoven with authentic personal narratives that provide depth and resonance to our content. Below are the sources of the personal accounts referenced in this article.
i. The nail extension experiencehttps://thegirlinthemirrorcoin.wordpress.com/2019/08/09/the-nail-extension-experience/
Read full bio of Gabrielle Richens
Read full bio of Jyotsana Rao
Read full bio of Madhumati Chowdhury
Read full bio of Vaishali Sinha




Community Experiences
Join the conversation and become a part of our empowering community! Share your stories, experiences, and insights to connect with other beauty, lifestyle, and health enthusiasts.