How To Dye The Ends Of Your Hair: Step-By-Step Guide
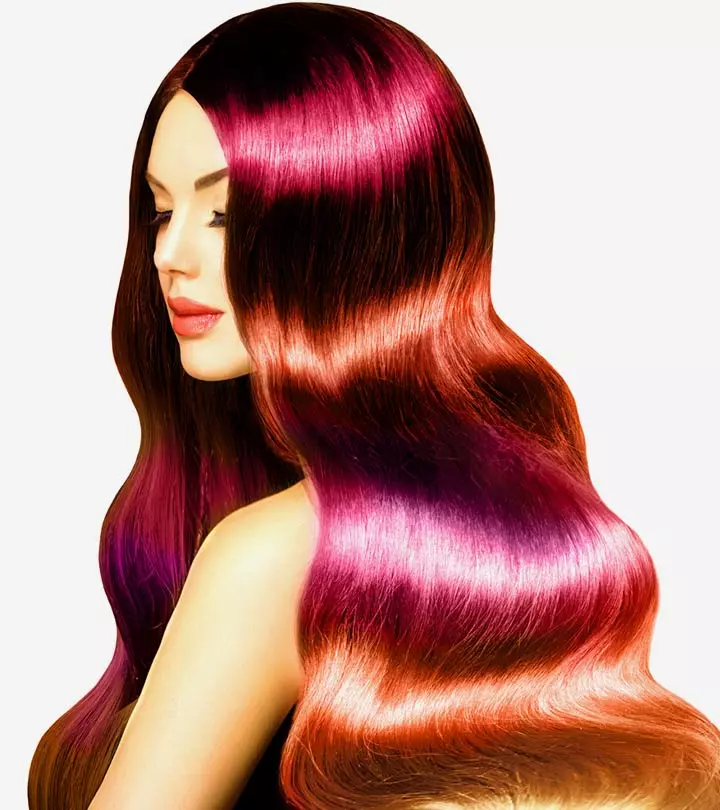
There is no stopping you if you know to color your hair the way you want.
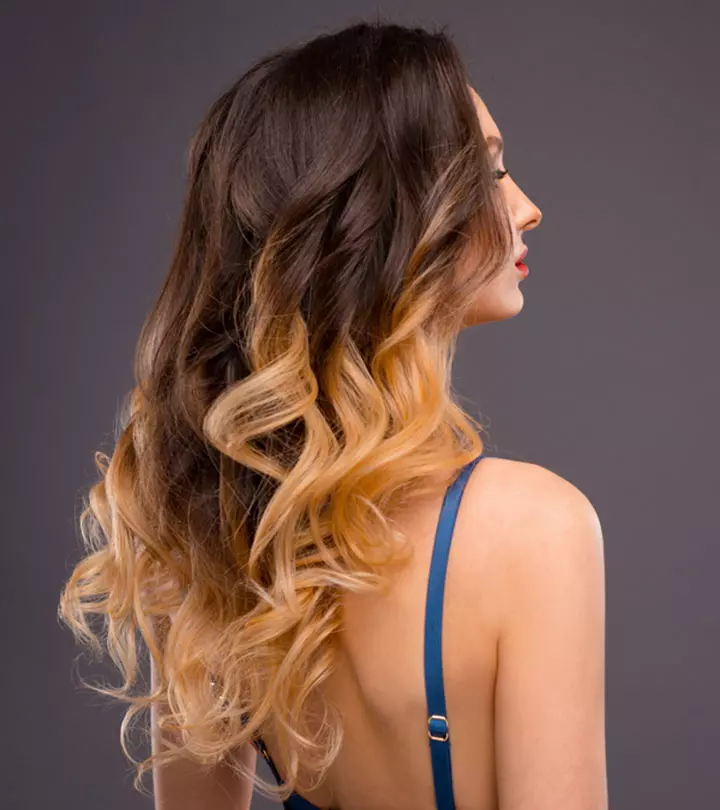
Image: Shutterstock
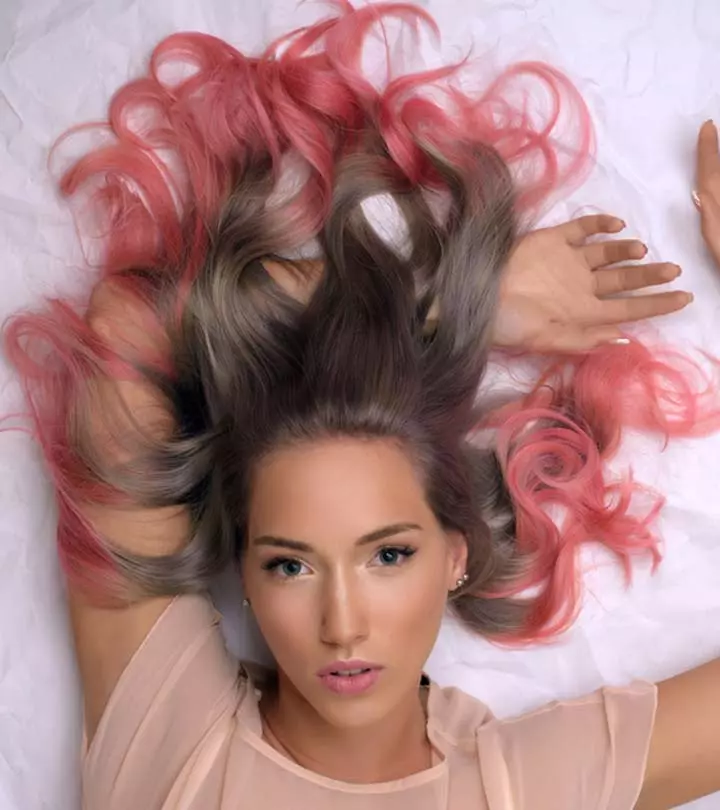
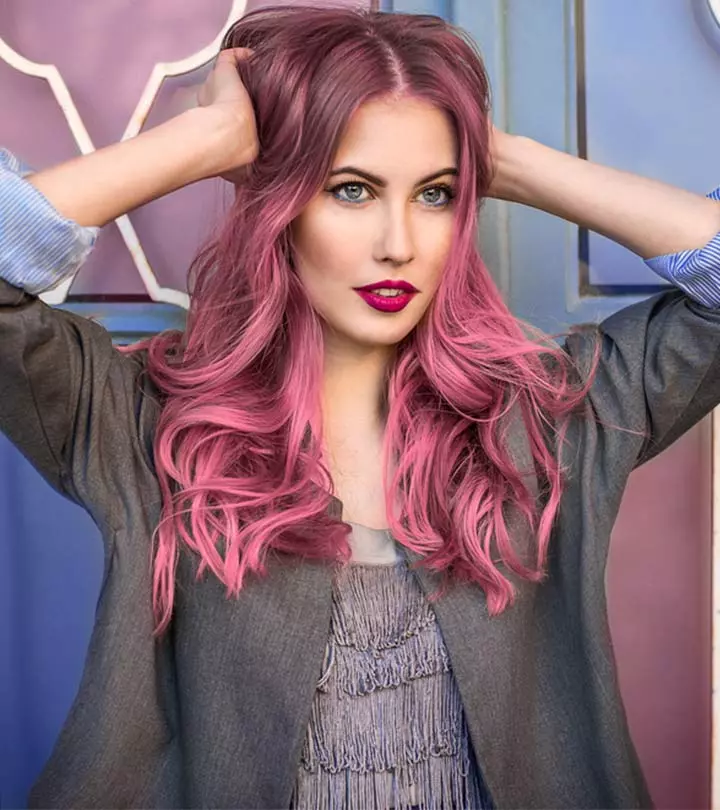
Dyeing only the hair ends is a popular fashion trend and creates a different look and adds some pop to any hairstyle. Additionally, it gives your hair a dense appearance. If you do not know how to dye the ends of your hair, we can help. Keep reading to get a clear idea of the popular dip-dye technique and tips to color the hair ends with a brush. Scroll down.
Before you dye the ends of your hair, there is one important thing you need to remember: saturation is key. Therefore, make sure you purchase enough bleach and hair color to fully saturate the portion of your hair you desire to color.
Now, let’s get started!
In This Article
How To Color The Ends Of Your Hair
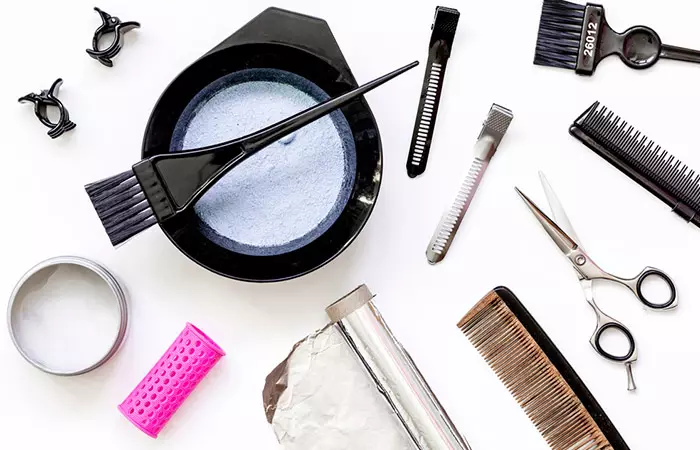
You Will Need
- A hair coloring kit (you may need a bleaching kit as well, depending on the hair color you choose)
- Shampoo
- Conditioner
- Elastic bands
- Bowl
- Comb
- Gloves
- Foil (aluminum)
- Timer
- Towel
- Hairdryer
- Plastic wrap
Procedure
- Remember to wear old clothes. Apply some petroleum jelly to your skin, close to your hairline. The jelly keeps the hair color from affecting the skin. Put on your gloves.
- Do a strand test. Before coloring all your hair ends, apply the dye to a small section to check how the color turns out. This will help you see if the shade works for your hair and prevent any unwanted surprises.
- Part your hair down the middle with a comb, dividing it into two sections. Braid both the sections of hair from the point you want to add the color and the ends. Secure the braids using elastic bands.
- Mix the developer and activator as per the instructions on the dye box. Use the bleaching kit (if you have one) similarly.
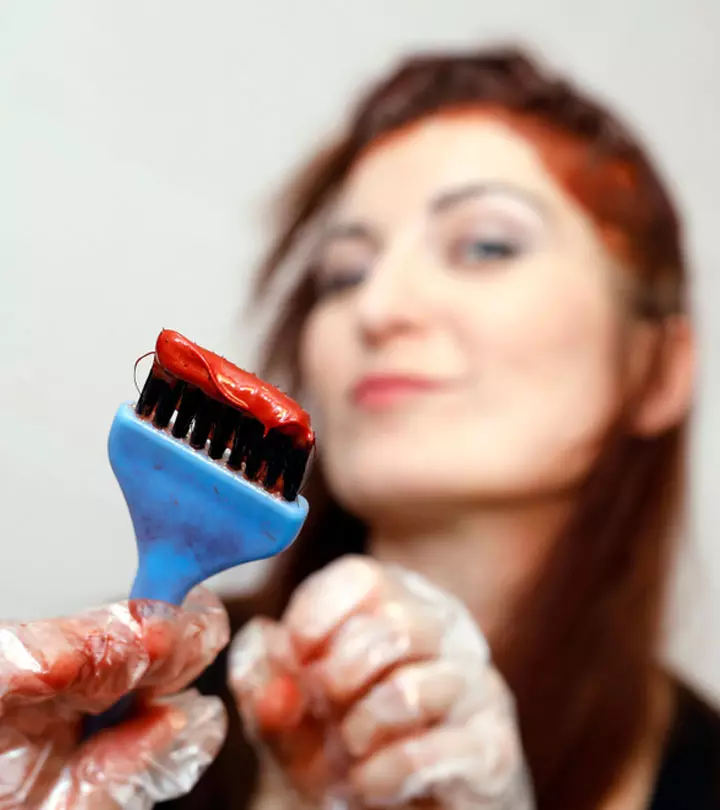
- Spread out the hair ends and apply the color or bleach. Ensure there are no dark spots and that the color has been distributed evenly.
- Use aluminum foil to cover the colored ends. The oil keeps the coloring from getting becoming messy.
- You can also layer the aluminum foil to add different colors to your hair ends.
- Let the color or bleach sit for some time. Keep checking if your hair is developing the desired color. The duration of this process can vary from person to person, depending on their hair type and texture. You can also use a timer to remind yourself to keep checking your hair color. Do not leave the bleach for too long, as it can leave the hair fibers open and vulnerable to damage. Wash the bleach off immediately if you feel any burning sensation.
- If you first bleached your hair, you now need to add color to your locks. Wash the bleach once your hair has been lightened enough. Do not remove the braids. Let your hair rest for sometime before you add the color. You can also apply oil to your hair and leave it on overnight for added replenishment. Add the color to the ends of your hair by following the instructions on the dye box.
- You can try the same without using a brush. You may simply color your hair with your hands, giving your hair a natural look (also called balayage).
- Wait for the color to set in. Keep checking on the color constantly.
- Once the desired color is achieved, wash it off with your regular shampoo and conditioner.
- Be gentle while drying your hair. Pat or scrunch dry hair, and allow it to air dry instead of using a blow dryer.
- Once your hair has naturally dried up to 70%, you may use a blow dryer on a low setting to style your hair.
 Fun Fact
If you have dark hair, you may have to bleach your hair for the color to be visible. While you can always go to a salon to get your hair bleached and colored if you prefer doing it at home, understanding the steps to bleach your hair at home can make the process smoother. Now let’s move on to one of the most popular coloring trends – the dip dye method. Learn more about it in the following section.

Key Takeaways
- Coloring the ends of your hair gives it a more dense look.
- You can dye your hair with a brush or use the dip-dye method.
- Using hair care products specially formulated for colored hair can help make the dye last longer.
- Avoid heat styling and exposure to the sun to ensure that your color doesn’t fade away fast.
How To Dip Dye Hair
You Will Need
- Hair dye
- Bleaching kit
- Shampoo
- Conditioner
- Elastic bands
- Bowl
- Comb
- Gloves
- Towel
- Hairdryer
- Plastic wrap
Procedure
- Wear old clothes before you start. Apply petroleum jelly to the skin close to your hairline. The jelly keeps the hair color from affecting the skin. Put on your gloves.
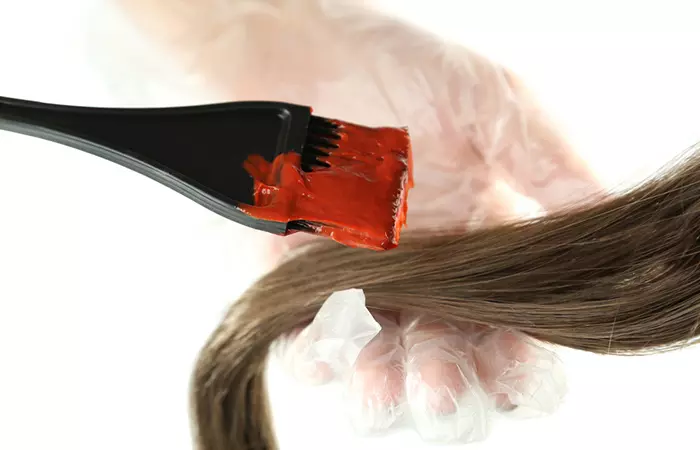
- Mix the bleaching agents as mentioned on the box. Apply the bleach to your hair at the ends using a brush. Spread out the hair ends and apply the color or bleach.
- You can use aluminum foil to cover the bleached ends.
- Let the bleach sit for some time. Keep checking if your hair has lightened enough. You can also use a timer to remind yourself to keep checking your hair color. Do not leave the bleach on your hair for too long, as it could be damaging. Wash the bleach off immediately if you feel a burning sensation.
- Once your hair has lightened, wash the bleach off with water (at room temperature) and a mild shampoo. Let your hair rest for sometime before you add in the color. You can also apply oil overnight to replenish your hair.
- Pat dry your hair with a soft towel.
- Follow the instructions on the dye box and mix the color in a bowl.
- Dip the ends of your hair into the bowl in small sections. Your hair will get a dip dye look.
- Wait for the color to set in. Keep checking on the color constantly.
- Once the desired color is achieved, wash the color off with your regular shampoo and conditioner.
- Be gentle while drying your hair. Pat or scrunch dry hair, and allow it to air dry instead of using a blow dryer.
- Once your hair has naturally dried up to 70%, you may use a blow dryer on a low setting to style your hair.
Terri, a blogger, suggested using gloved fingers for color application for a natural dip-dyed look in her personal blog. She said, “This working in the dye (with your fingers) method makes it so I do not have bleach spots later. It ensures color throughout. You do not need the mixing line to be straight. In fact, I prefer that it’s not (i).”
Following the detailed guide above will give you remarkable results. However, it is best to take note of the common mistakes that may occur when you dye the ends of your hair and understand how to avoid them. The following section explains the same in detail.
Tips To Safely Dye The Ends Of Your Hair
It is always a good idea to exercise caution whenever trying DIYs, especially when using chemicals, or products that can have side effects or adverse reactions. Follow the tips below to ensure you have a safe experience when dyeing the ends of your hair.
- Use semi-permanent or temporary dye for minimal damage.
- Do a patch test to check for allergic reactions.
- Ensure your hair is clean, dry, and free from heavy products before coloring it. Dyeing dirty or oily hair may affect color absorption.
- Divide your hair into small sections for even application. Applying dye randomly can lead to patchy results.
- Use gloves and drape a towel over your shoulders. This way you can prevent stains on your skin or clothing.
- Use a brush to apply dye evenly to the ends. Over-saturating certain sections of hair can cause uneven color.
- Stick to the recommended time on the dye package. Leaving dye too long can cause damage.
- Wash with cool water until the water runs clear. Using hot water can fade the color faster.
- Use a color-safe conditioner or hair mask. Neglecting hydration can lead to dry, brittle ends.
The next section will discuss the various color options for dip dying. Have a look!
Color Options For Dip Dyeing
You have endless color options to explore for dip dyeing! Consider the following for an impressionable look that is hard to miss.
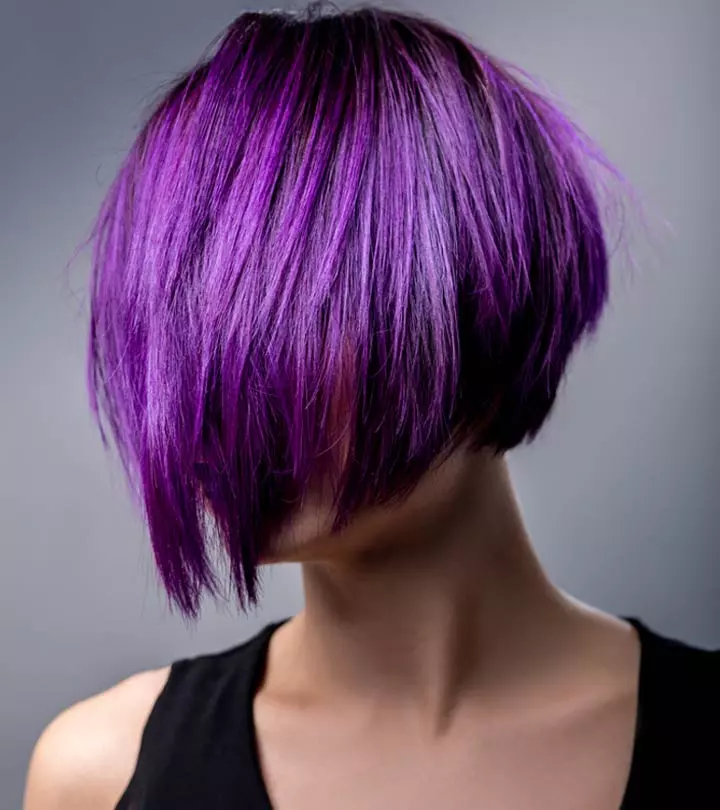
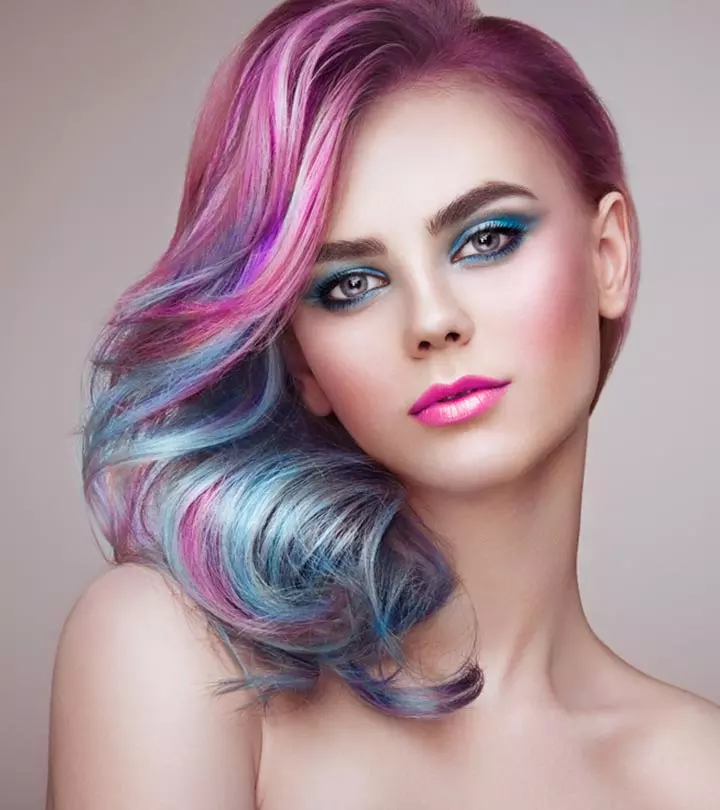
- Bold choices like bright blue or vibrant red can make a striking statement. For instance, if you have black hair, something bright, like teal, or hot pink at the ends of the hair can create a stunning contrast.
- You can also go for softer, and more subtle looks. Shades like peach or lavender create a subtle, playful vibe.
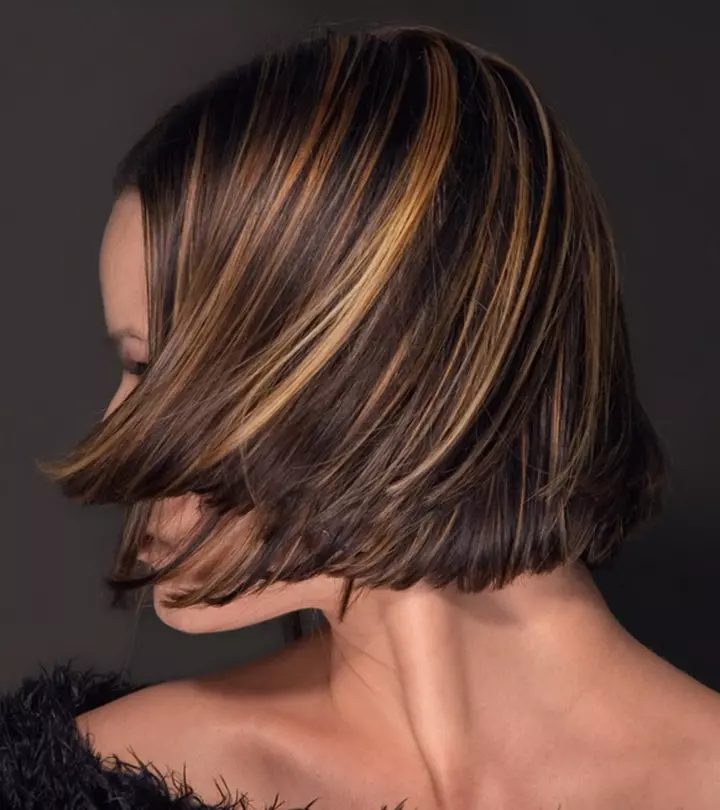
- Subtle shades close to the natural hair color can add life to your mane. For instance, dark burgundy on natural black hair or tones of red and orange on natural brown hair look absolutely stunning.
Whether you go for a bold contrast or a harmonious blend, it’s important to pick a color that suits your natural hair shade for a balanced look.
Now, let’s take a look at how you can easily color the ends of your hair for a stunning dip-dye look!
Note that your hair color might fade away. We have listed some tips that can help extend your hair color life.
Tips To Maintain Hair Color
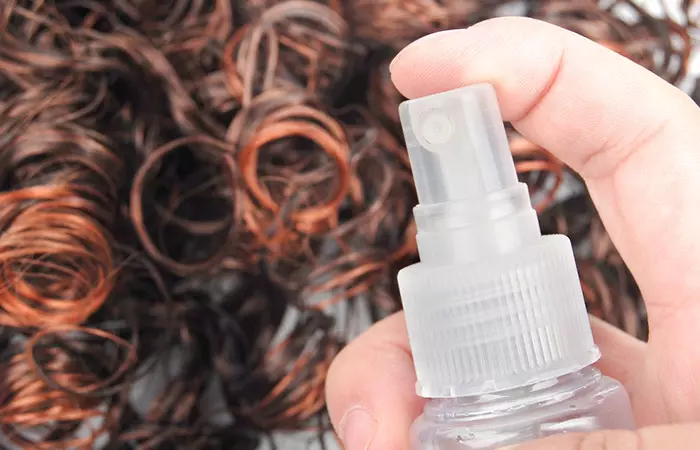
Knowing some tricks and hacks for hair coloring can help you achieve salon-quality results at home. Here are some tips:
- Avoid heat at all costs. Heat can fade away the hair color. Avoid frequent use of styling tools and hair dryers. Use a heat protectant if you are heat styling your hair.
- Cover your hair when going out in the sun. Research proves that UV exposure significantly contributes to color loss, highlighting the need for effective photoprotection (1). A thin cotton or silk scarf also keeps your hair from getting frizzy.
- Avoid going swimming as pools contain chlorine that can lighten your hair color. A study examined the effects of chlorinated water and UV radiation on hair color and damage. Chlorine alone caused significant color changes, with dark-brown hair turning redder and all other colors becoming more yellow. UV exposure alongside chlorine contact intensified damage, even dissolving hair samples at pH 5 after 4 hours (2).
- Wash your hair with cold water to prolong the lifespan of the hair color.
- Have regular touch-ups to keep the color fresh.
- Use products made specifically for color-treated hair. These do not fade the hair color and instead make it last longer.
Now that you know how to dye the ends of your hair, here are some basic care tips you can include in your hair care regimen.
Tips To Care For Dyed Hair
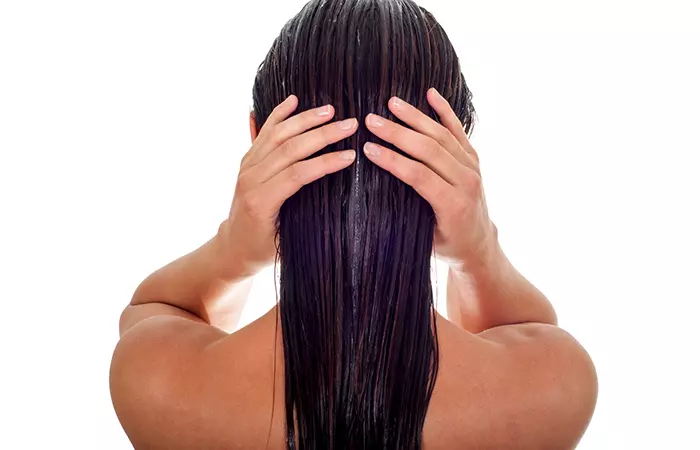
- Comb regularly. It can help spread the sebum from the roots to the tips of your hair.
- Oil your hair at least once a week. Your dry strands will get adequate nourishment.
- Use dyes with fewer chemicals and harsh ingredients. Opt for semi- or Demi-permanent hair colors. Vegetable hair dyes are a good option as they are made from plants, fruits, and vegetables.
- Use natural lighteners like chamomile and green tea instead of bleaching agents. While they take more applications and time to lighten hair, they will not damage hair like bleach.
- Say no to chemicals. Chemical straighteners and relaxers penetrate the hair strands to change their structure, causing them to stretch, lose shape, and become damaged. A study was done to examine the effects of acid hair straighteners, like those containing formaldehyde and glyoxylic acid, on both the scalp and hair. Formaldehyde can cause skin issues like eczema and scalp irritation, while glyoxylic acid often leads to more damage. It was found that hair treated with these chemicals becomes weaker, loses moisture, and has cuticle irregularities. Though treatments may temporarily make hair shinier and softer, they can also cause hair bleaching, breakage, and even hair loss in some cases (3).
- Use the right products. It is essential to hydrate your hair after bleaching and dyeing to maintain its health and shine. Look for products that cater to the needs of your hair type. Choose moisturizing shampoos and conditioners for dry hair, color-protecting formulas for colored hair, and lightweight, volumizing options for fine hair. For curly or textured hair, opt for sulfate-free, curl-enhancing products. Use leave-in conditioners for added moisture and detangling. Apply frizz-reducing serums for smoothness, nourishing creams for curl definition, and lightweight oils to lock in moisture without weighing down your hair.
- Use conditioners and leave-in products to moisturize your hair.
- Do not over-shampoo. Use co-washes or cleansing conditioners once or twice a week. Wash your hair with regular shampoo in between the co-washes.
- Use a silk or satin pillowcase when you sleep at night to reduce frizz and enhance curl structure.
- Allow your hair to fall naturally once or twice a week. Styling your hair in tight hairstyles pulls on your roots and causes hair fall and breakage.
- Use edge creams when styling your hair in protective hairdos. You can use coconut cream to smoothen hair for the same.
- Protect your hair from the sun and heat. Photo and heat damage can ruin hair structure. Use protectants, SPF products, and caps or scarves to protect your tresses.
- Be gentle when drying your hair with a towel. Pat or scrunch dry your hair gently. Though it may consume more time, it does prevent any breakage or hair loss.
Have you decided to color your hair? Great. But should you want to color your hair at home, here is what to consider.
Is It Safe To Color Your Hair At Home?
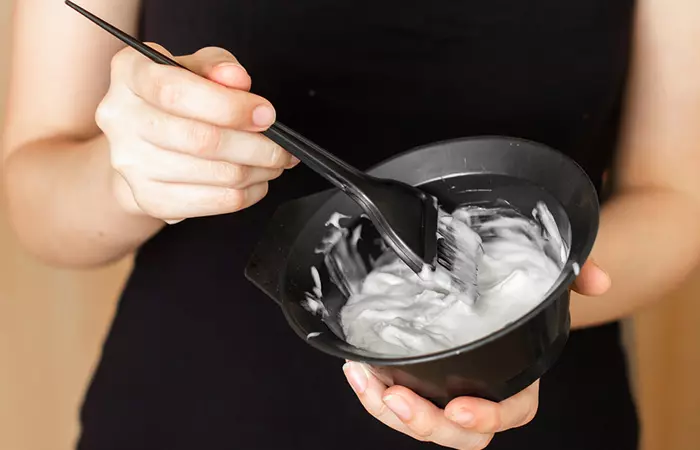
- Yes, it is safe to color your hair at home. But if you notice any burning, redness, or other adverse effects, stop using the colorants, dyes, or bleaching agents. Consult a doctor.
- Sometimes coloring your hair at home might not give you the color or look you desire. It is always better to get your hair colored by a seasoned professional.
- The ingredients in commercial dyes and bleaching kits can leave your hair damaged. You can instead get custom mixes at a salon that suits your hair type and reduce the risk of damage.
 Quick Tip
Now, let’s address one of the most common questions people have about dyeing their hair.
How Often Should You Dye Your Hair?
It depends on various factors, including your hair type, the color you desire, and the maintenance of your roots. Generally, it is recommended to wait about 4 to 6 weeks between hair coloring sessions. This allows your hair to recover from the previous dyeing process, and gives you an opportunity to assess whether your current hair color complements your skin tone and style.
However, it is crucial to consider your hair’s condition. Excessive or frequent hair coloring can lead to damage, dryness, and breakage. To maintain your tresses, you can consult a professional hair colorist to create a sustainable coloring schedule that aligns with your hair health.
Infographic: Steps Of Dying The Ends Of Your Hair At Home
Dying the hair only at the ends has become an increasingly common trend these days to get that extra pop and unique appearance. As this technique is fairly simple, you can do this yourself at home. Check out the infographic below to know the basic steps.
Some thing wrong with infographic shortcode. please verify shortcode syntaxYou can choose to dye the ends of your hair strands to achieve a new look with minimal effort. It is also great for those who want to experiment with a new color but are unsure about how it will turn out. After all, if things go downhill, you just need to trim your hair, and you are back to square one! Dip-dyeing your hair can help you achieve peek-a-boo highlights or give an ombre effect to just the ends of your strands. This will give you a unique look and make you feel like a beauty trendsetter. Make sure you follow the usual dyeing aftercare guidelines of avoiding heat styling tools, oiling your hair, and using hair dye-friendly hair care products to make sure the color lasts longer.
Frequently Asked Questions
Is dip dye and ombré the same?
Both dip dye and ombré are types of hair coloring techniques. In ombré, the color is darker at the roots and lighter at the ends, creating a subtle mix in between. Dip dye follows a two-tone hair coloring technique without any visible blend in the middle.
Do you dye hair from ends or roots?
This depends on how much you want to dye your hair. If you want to dye your whole hair, you should start from the roots and then go to the rest of your hair. For those opting for a dip dye look, you can start dyeing from the ends and gradually cover the middle part.
How long does hair dye last at the ends?
Mostly, hair dye at the ends lasts for 4-8 weeks. Also, it depends on other factors, such as the type of hair dye and maintenance routine.
Does dyeing the tips of the hair damage it?
Dyeing the tips of the hair can damage it, as the dyes contain harsh chemicals and change the structure of the hair cuticle.
Can I dip dye my hair if I have dark hair?
Yes, you can dip dye your dark hair. However, for vibrant colors to show up, you may need to lighten or bleach the ends of your hair first.
How do I choose the right color for dip dyeing?
Consider colors that complement your natural or base hair shade. If you are not sure, soft pastels work well with lighter hair, while bold colors like red or purple can pop on darker shades.
Illustration: How To Dye The Ends Of Your Hair
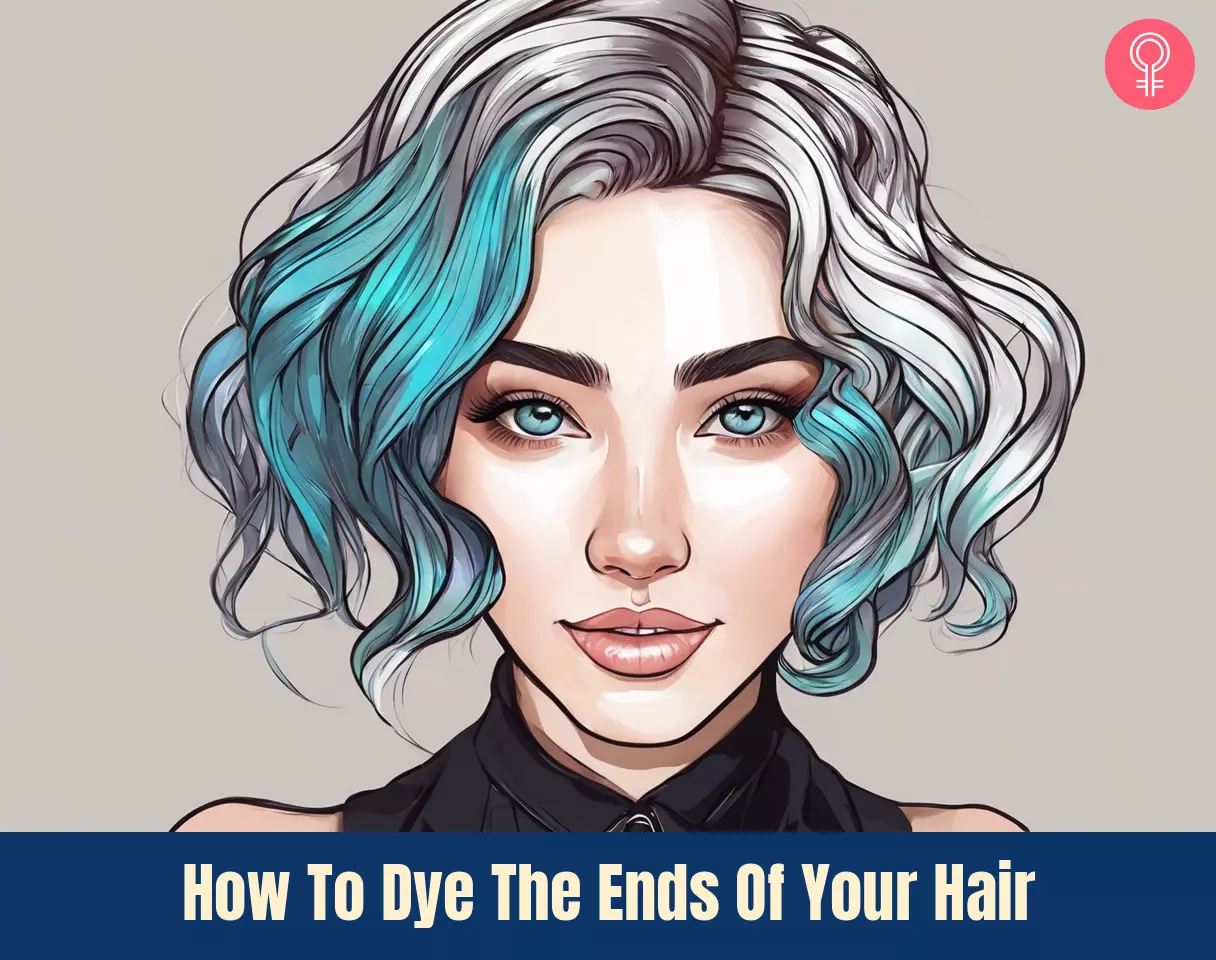
Image: Stable Diffusion/StyleCraze Design Team
Learn how to create a unique dip dye look with this easy DIY tutorial! Watch this video and get creative ideas to play around with pink color and add a fun twist to your wardrobe.
Personal Experience: Source
StyleCraze's articles are interwoven with authentic personal narratives that provide depth and resonance to our content. Below are the sources of the personal accounts referenced in this article.
i. Ombre Dip Dye – Tutorialhttps://sew-fantastic.blogspot.com/2013/08/ombre-dip-dye-tutorial.html
References
Articles on StyleCraze are backed by verified information from peer-reviewed and academic research papers, reputed organizations, research institutions, and medical associations to ensure accuracy and relevance. Read our editorial policy to learn more.
- Fading of artificial hair color and its prevention by photofilters
https://pubmed.ncbi.nlm.nih.gov/16538296/ - Hair color damages caused by exposure to chlorinated water in the presence of ultraviolet radiation
https://www.researchgate.net/publication/236109930_Hair_color_damages_caused_by_exposure_to_chlorinated_water_in_the_presence_of_ultraviolet_radiation - Effects of chemical straighteners on the hair shaft and scalp
https://pmc.ncbi.nlm.nih.gov/articles/PMC9073307/
Read full bio of Alicia Igess
Read full bio of Anjali Sayee
Read full bio of Ramona Sinha
Read full bio of Krati Darak





Community Experiences
Join the conversation and become a part of our empowering community! Share your stories, experiences, and insights to connect with other beauty, lifestyle, and health enthusiasts.