How To Fix Clumpy Lashes: 3 Pro Steps For Flawless Mascara
Learn how to perfect even mascara application to prevent those pesky clumps in your lashes.
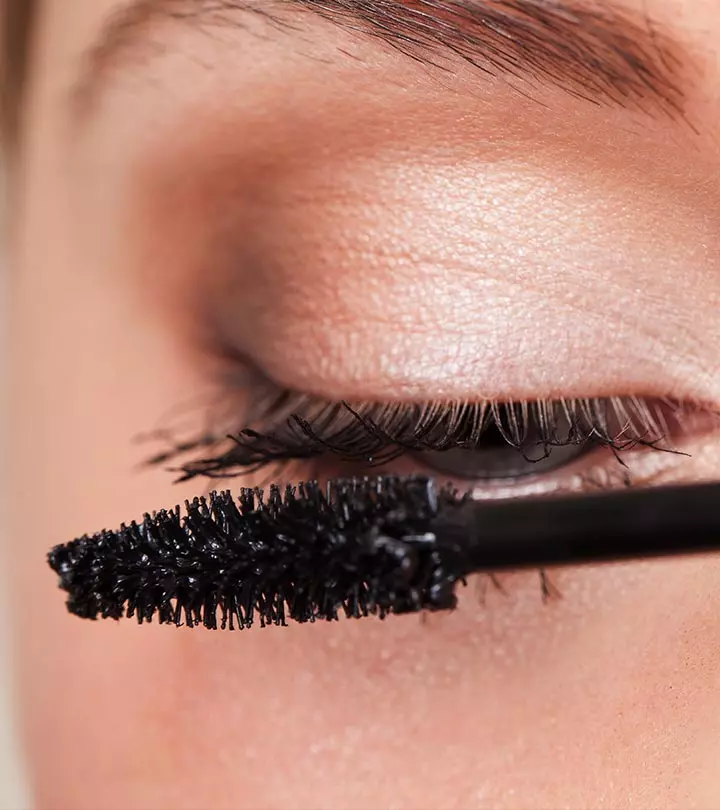
Image: Shutterstock
Using too many strokes of mascara leads to droopy, product-laden lashes. The same clumpy appearance can also result from applying mascara on dry lashes or using an expired mascara. So, here are some tips on how to fix clumpy lashes to avoid ruining your whole look on an important day. Sometimes, a hurried application may lead to an uneven look, and some of the chunks freeze on a few lashes, making them look downright ugly, for lack of a better word. Clumpy lashes make your overall makeup look messy and unflattering, making it essential to learn the right method for mascara application.
This article not only details how to fix clumpy lashes but also guides you on how to avoid them in the first place. So, scroll down to take notes and your mascara will spread evenly every time from now onwards.
 Keep In Mind
- Break Between Coats: Break Between Coats Applying a second coat right after the first can cause the eyelashes to clump together. Wait till the first coat is dry before applying the second layer.
- Unclean Lashes: Break Between Coats When you don’t remove the mascara properly and completely, it causes clumping and makes the next application difficult.
- Number Of Coats: Break Between Coats Limit the number of mascara coats to 2-3, as overcoating will lead to drooping and clumping.
In This Article
Step 1: Get a good mascara product
Well, like the first step in any crisis, take a deep breath and calm down because this can be fixed – to perfection! Clumpy lashes can be avoided and can actually be fixed in a snap.
Old, unused mascara will give you the caked up clumpy look and eventually can also lead to eye irritation. So, one great tip for having the perfect lashes is to use your mascara while it is still new. Buy a long-lasting and non-clumping mascara that is waterproof and smudge-free. Consider lengthening and volumizing mascaras as they define each lash and separate them, preventing the chances of clumping. Also, find a mascara that has a defining mascara applicator or spoolie which has plenty of space in between the bristles. A bristle like that goes in between each and every lash, covering, separating, and lengthening each one to give you natural-look lashes. Too many plush bristles on a mascara applicator will give you the clumped look when you apply it over your lashes. Knowing the different types of mascaras can help you attain exquisite lashes and prevent or fix clumpy lashes, as choosing the right formula can make all the difference.

Key Takeaways
- A waterproof and smudge-free mascara with space bristles may help prevent clumpy lashes.
- Lashes should be brushed from the roots up in a zig-zag motion to avoid clumping.
- The application process becomes easier if you remove the excess mascara before applying.
- A toothbrush can help comb the lashes and remove the clumps.
Step 2: Apply mascara like a pro
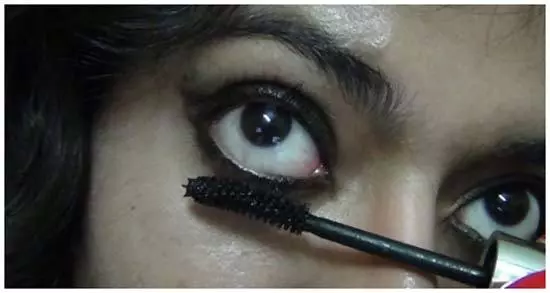
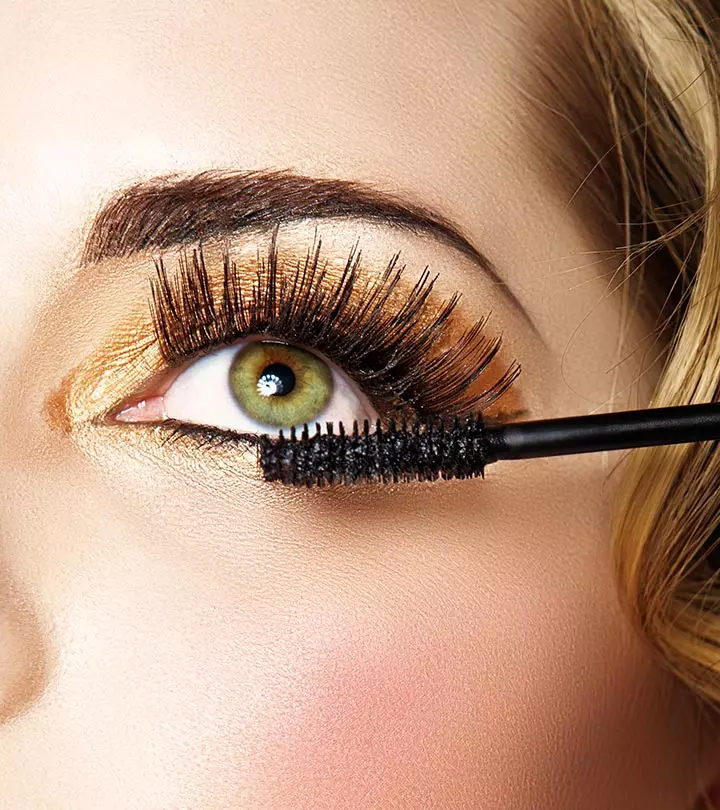
When you know how to apply mascara perfectly, you can also avoid clumping issues. While applying mascara, always check if your applicator has any excess liquid on it because this excess liquid is going to stick onto the lashes causing a mess.
Remove any excess liquid at the edge of the bottle so that your wand just has a layer that beautifully coats those lashes, volumizing them.
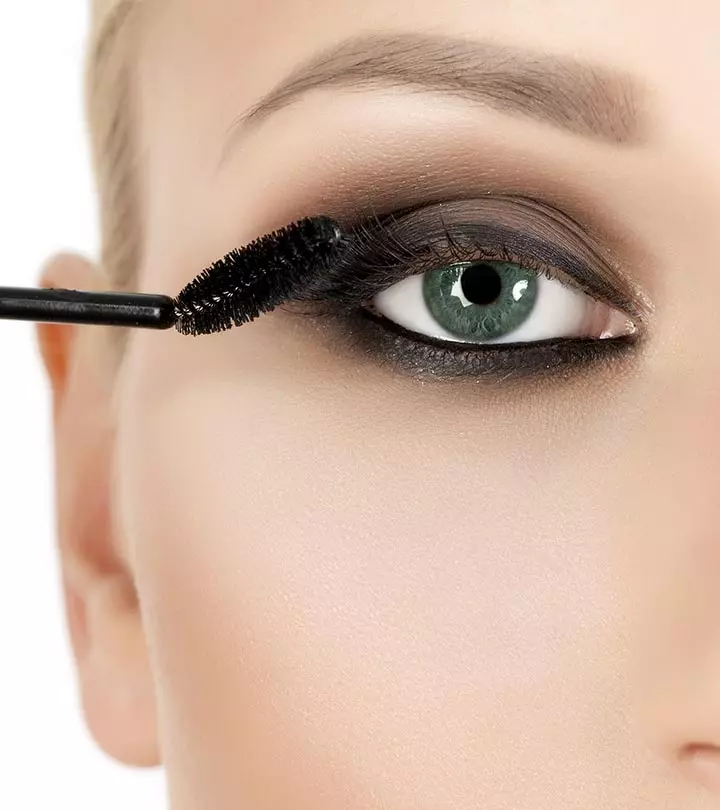
Brush your lashes starting from the roots up, wiggling the wand gently from side to side. Working through your lashes in a slight zig-zag motion removes clumps. This technique works best on lashes that are still a bit wet, so perform the zig-zag motion right after you’ve applied your primer and mascara. This provides even coverage to the lashes and defines them. The best part about this method is that it lifts and separates the lashes, reducing the chances of clumping. It’s the mascara placed near the roots, not the tips that gives the illusion of length.
 Quick Tip
Step 3: Fix any imperfections
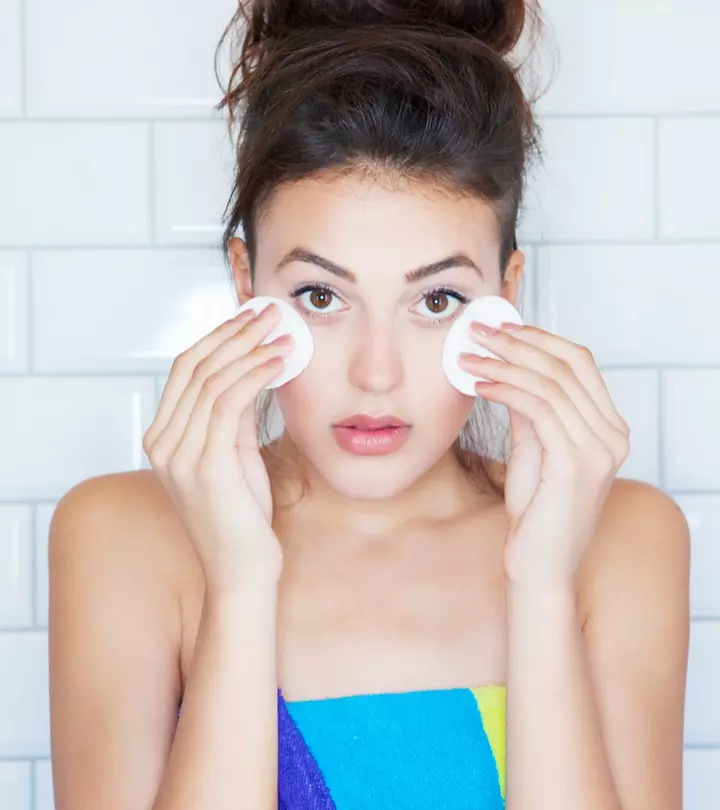
Now, for any reason, if your lashes look clumped even after this, we recommend keeping a wet make-up remover pad handy. It is crucial to remove traces of the disaster quickly and effectively before the mascara dries up. The moment you realize your mascara has gone awry, without much ado, simply wipe your lashes holding the make-up remover pad at a sixty-degree angle with your forefinger between your lids. This sweeping movement will take off all the excess mascara while leaving your eye shadow, if any, intact.
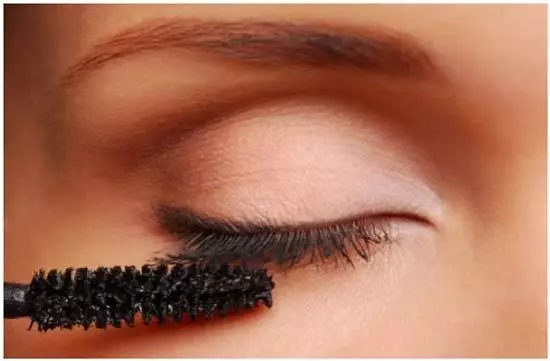
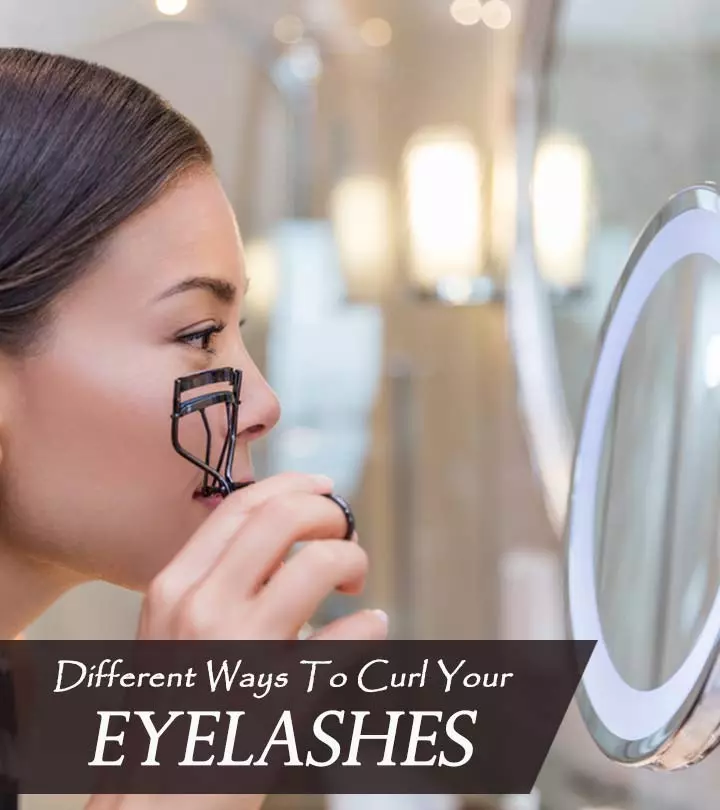
Now, using a paper towel, pat dry your lashes gently; tissues will tend to stick on to the lashes while a paper towel will soak up any extra moisture. Using gentle yet firm strokes, coat your lashes again with mascara, do the zigzag routine, and use a curler for the perfect blinkers. Remember to close your eyes and place the mascara wand on top of your lashes at the base and pull through to remove any clumps.
 Quick Tip
Continue reading to learn more about the longevity of mascara and how to keep your lashes smudge-free.
How Long Does Mascara Last?
Once you open it, a mascara tube typically lasts for three to six months. However, to prevent bacterial contamination and ensure optimal performance, it is recommended to replace your mascara once every three months. The common signs that indicate that your mascara should be discarded are:
- The consistency has become thick and clumpy.
- The smell has turned pungent or unpleasant.
- Your skin burns or becomes irritated after application.
But, how do you prevent mascara from smudging? Well, here is one trick for you. You can set your mascara on your lashes with a light dusting of translucent setting powder. Avoid applying too much product though and opt for tubing mascaras that form water-resistant tubes around each lash, preventing smudging. Moreover, incorporating expert eye makeup tips can help you avoid common mascara mishaps, such as clumping.
When it comes to makeup, there is nothing unfixable. So, why endure the discomfort that clumpy lashes give you? Not only do they come in between your vision but also they spoil your look. So, now that you know how to fix clumpy lashes, what is holding you back? Learn from the tips and tricks mentioned above and get started. Your makeup should define your features and enhance your look. So, do not let any makeup products ruin your day. Also, applying the mascara gently with precision is the key.
Frequently Asked Questions
Why do my eyelashes look like spider legs?
Your eyelashes may look like spider legs after applying the second layer of mascara either because you applied too much mascara or because your mascara has a thick formula.
Are clumpy eyelashes in style?
Yes, clumpy eyelashes are back in style. This style opens up the eyes and makes them look bigger.
How can I avoid getting mascara on my eyelids or under my eyes when fixing clumpy lashes?
Shield your eyelid or under-eye area with the help of a plastic spoon or business card to shield the skin and avoid getting mascara on the eyelids. Also, you can use a spoolie brush to comb your lashes before and after applying mascara to separate clumps.
Can clumpy lashes be a sign of an underlying eye or health issue?
Clumpy lashes may or may not indicate an underlying health issue. It is always best to consult with a healthcare provider if you experience any symptoms or irritation around the eyes.
Can I use Vaseline instead of mascara?
While Vaseline provides sheen and moisturizes the lashes, it won’t be able to give a volumizing and lightning effect to your eyelashes as a mascara.
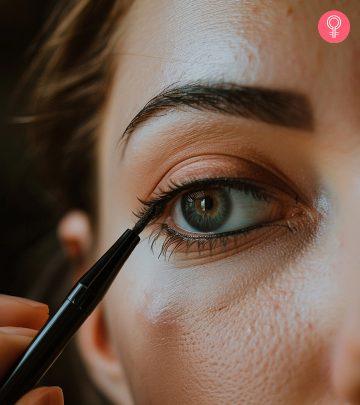
Illustration: How To Fix Clumpy Lashes
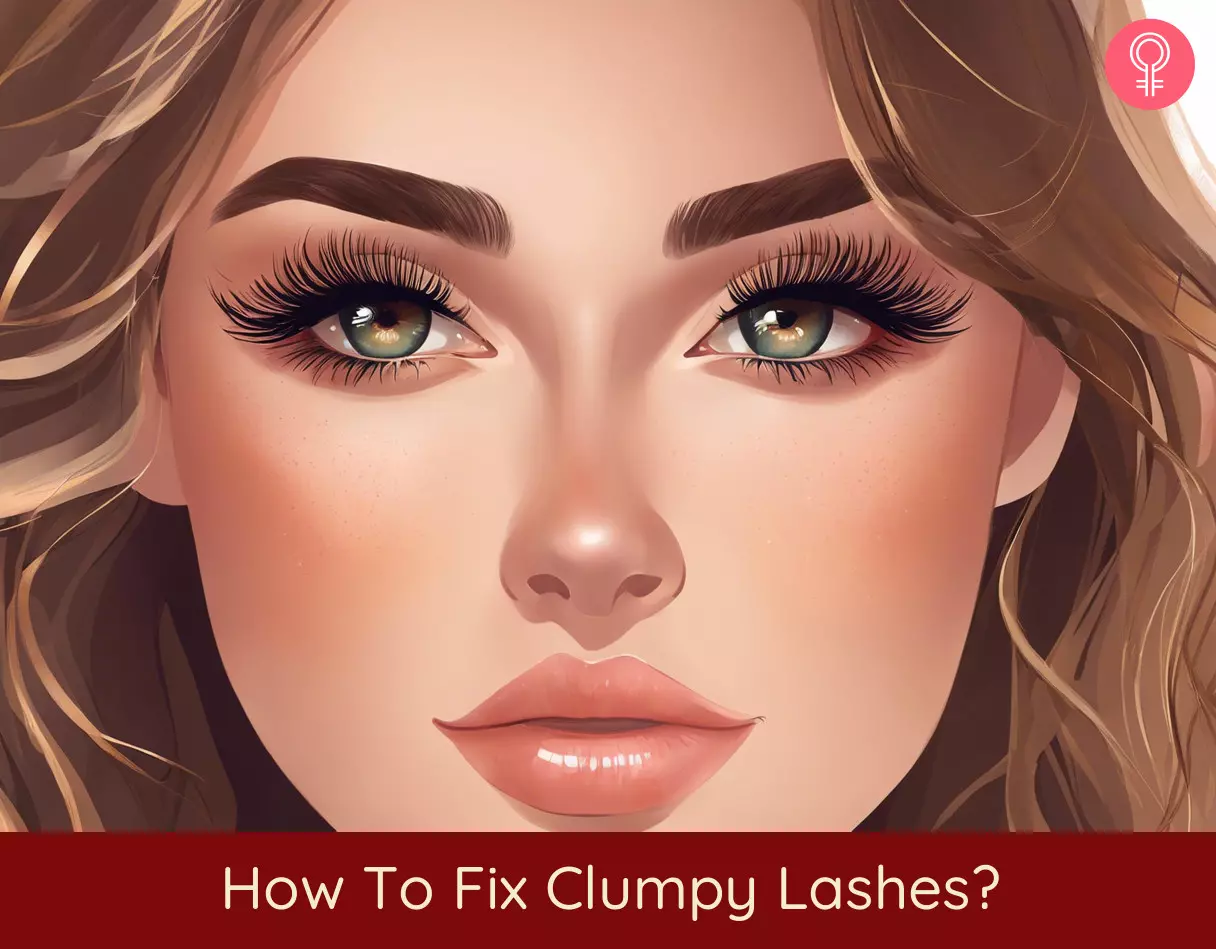
Image: Stable Diffusion/StyleCraze Design Team
Learn how to fix clumpy lashes with these easy beauty tips! Click on the video and get luscious, curled lashes by follwing this simple tutorial.
Read full bio of Favour Akinjiyan
Read full bio of Jyotsana Rao
Read full bio of Madhumati Chowdhury
Read full bio of Vaishali Sinha







Community Experiences
Join the conversation and become a part of our empowering community! Share your stories, experiences, and insights to connect with other beauty, lifestyle, and health enthusiasts.