How To Flat Iron Natural Hair In 3 Easy Steps (Without Damage)
Flaunt flawless, smooth, and radiant hair by mastering the art of flat ironing natural hair
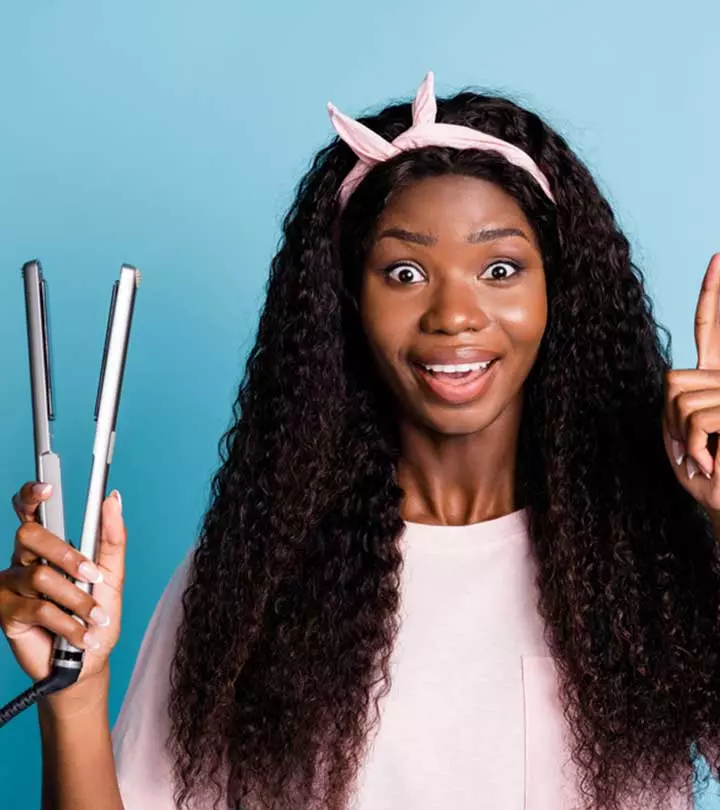
Image: Shutterstock
If you have natural curls (types 2B-4C), you must have played around with the idea of shocking everyone by straightening your locks at least once. What you need is a comprehensive guide to flat iron natural hair. That way, you can have straight locks for a bit without damaging your natural curl structure or hair health. Keep reading to clear out any misconceptions you may have about straightening your natural hair. Scroll down now!
In This Article
How To Flat Iron Natural Hair Without Causing Heat Damage
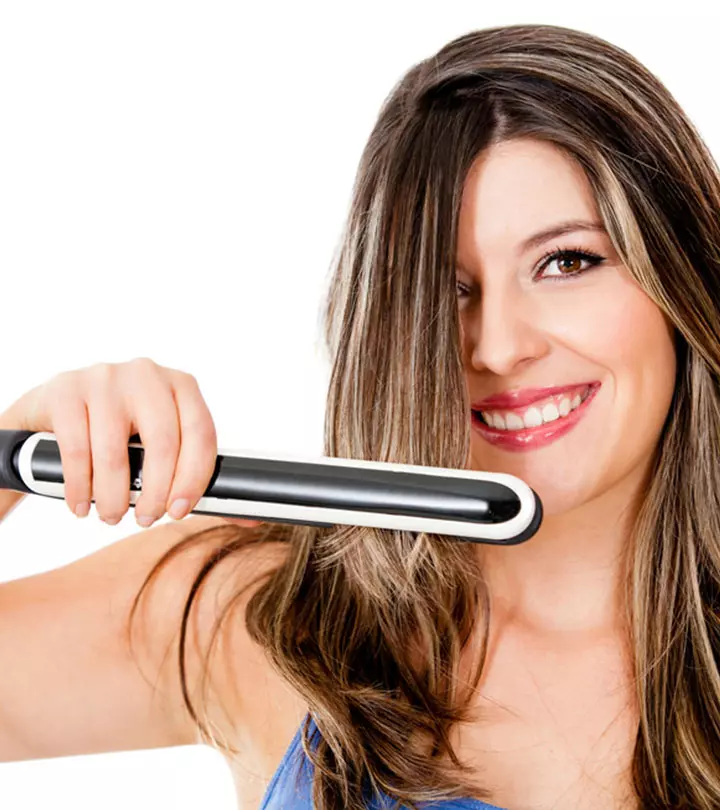
A flat iron can be used to straighten your hair without damaging it. Learning more about how to straighten hair with a flat iron here will benefit you. However, some crucial steps are given below.
Step 1: Prepare To Heat Up Your Natural Hair
The first step before you flat iron your hair is to prep it. This step protects your hair from damage.
- Wash Your Hair: It is a good idea to wash your hair before you straighten it. This ensures that your hair is clean and free of leftover products, scalp build-up, and dirt.
- Condition Your Hair: It is important to use a conditioner after you wash your hair. Apply it throughout the length of your hair, avoiding the roots. It replenishes moisture and strengthens your hair.
- Use A Heat Protectant: Many people ask can we straighten damp hair? Well, it is important not to directly as it can damage the hair cuticles and take away all moisture. Apply a heat protectant (serum or spray) before you blow-dry and straighten your hair. These products usually contain silicones that form a protective coating on the hair strands. Thus, they protect the hair from high temperatures, which can damage the hair. It is recommended to use a heat protectant on damp hair to lock in the moisture.
According to a survey, straightening and heat protection creams and sprays are not among the top 10 hair products used by curly- and wavy-haired American women. Instead, 28% prefer leave-in conditioners, 21% serums, and 18% hair oils. However, the same is not the case for the women of Great Britain. 12% of them claimed they use heat protectants with other hair care products.
 Quick tip
- Dry Your Hair Properly: It is good to air-dry your hair as this minimizes the exposure to the damaging effects of heat from the blowdryer and flat iron. If your hair is on the thicker side or you are in a hurry, you can partially blow-dry your hair at low or medium settings. But, try to limit the use of blowdryer as much as possible.
Step 2: Straightening Your Hair
- Divide Your Hair Into Sections: Before you start straightening your hair with a flat iron, divide it into small sections (not more than an inch thick). This helps in getting smooth, sleek locks as working in smaller sections is more effective, especially if you have thick hair. You can use clips to secure the hair in place.
- Brush Each Section Before Straightening: Brush the hair with a wide-toothed comb or paddle brush before straightening it. You can use a detangling brush to remove knots without breaking or damaging the hair.
 Quick tip
- Choose The Right Temperature Settings: Adjust the heat setting of the flat iron based on the thickness and texture of your hair – lower settings if you have fine hair, and higher temperatures settings for thick, coarse hair.
- Technique: The most important aspect that helps in effectively straightening your natural hair is the technique.
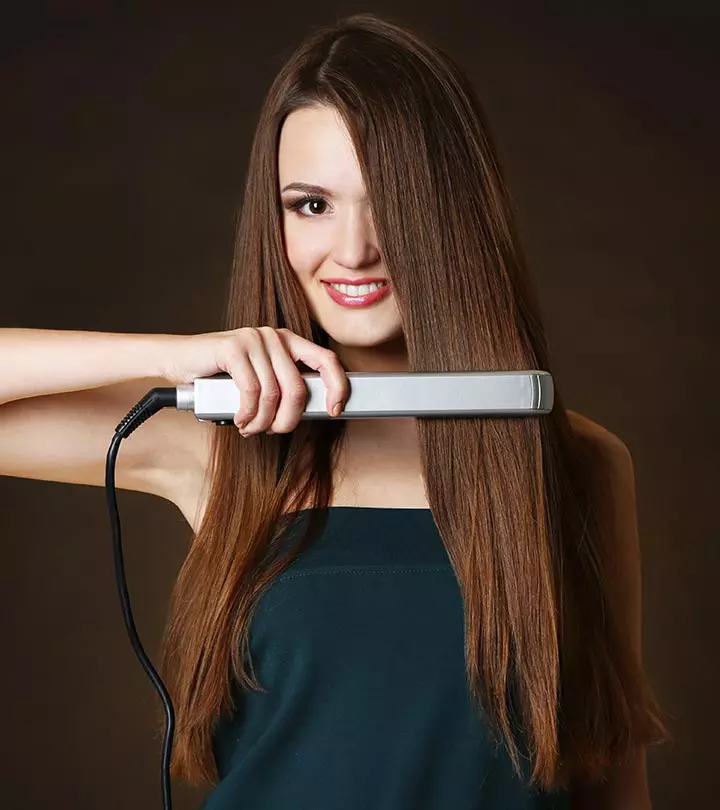
a. Once you have divided the hair into smaller sections and decided on the temperature setting, you must ensure that you run the hair between the flat iron plates at a uniform speed. This comes with practice and is dependent on your hair.
b. Start at the root of your hair and gently run the flat iron down to its tips.
c. Press the plates for 3-5 seconds as you slowly move along the length of your hair for even and uniform hair straightening. Maintain consistent pressure the entire time.
d. Repeat the process until you get sleek, pin-straight hair. Make sure you don’t pass the straightener more than 3 times through the same section of hair to prevent heat damage.
e. Keep in mind that it is a time-consuming process, so take short breaks to prevent arm fatigue.
Free, a blogger, shared her experience of getting her curls blown out. She shared in her blog, “I got my hair flat ironed at 250°, and my blow dry was on medium heat (i).” She mentioned missing her curls post-blowout and hinted at a reduced frequency of flat ironing in the future.
Step 3: How To Protect Natural Hair From Damage?
- Use a good-quality flat iron. Use a 100% ceramic flat iron. The ceramic coating helps in even heat distribution without damaging your hair.
- Apply a serum, smoothening balm, or hairspray to keep the hair straight for longer.
- Use a silk wrap to keep your hair looking fresh and frizz-free. This can help in reducing the number of touch-ups.
- Limit the number of times you straighten your hair. Overexposure to heat can damage your hair, leaving it looking dull, dry, and lifeless. In the long run, you might even lose your natural curl pattern.
- Do not flat-iron damp hair to avoid bubble hair.
- Get regular trims to remove split ends.
- Do not use oils before you flat iron your hair as they may weigh your hair down.
Straightening natural hair with a flat iron takes patience, time, and knowledge to master. Unlike straight and wavy hair, natural hair takes longer to straighten. And because of its coily nature, you should take the right care steps to prevent it from getting damaged due to the heat. The coily nature of natural hair prevents the scalp’s natural oil from moisturizing the hair strands, leaving them dry. So if you flat iron your natural hair without taking any precautions, you may damage it further. Scroll up to read through the care tips mentioned above, such as using minimum heat to prevent damage and using a heat protectant.
Key Takeaways
- Preparing your natural hair before using a flat iron to straighten it can protect it from damage.
- Dividing the hair into small sections helps in getting smooth, sleek locks.
- Avoid passing the straightener more than three times through the same section of hair to prevent heat damage.
Frequently Asked Questions
What temperature should you flat iron natural hair?
Do not go beyond 150°C (302°F) to flat iron natural hair as it will damage your tresses and leave them dry.
What is the difference between silk press and flat iron?
A flat iron is a tool to straighten hair, whereas a silk press is a technique that uses multiple tools, including flat iron, to make hair voluminous, radiant, and silky.
How long does the effect of flat iron on natural hair last?
The effects of a flat iron on natural hair last for about a few days if you use the right holding creams and hairsprays. Once you wash your hair, its effects wear off.
How often should you flat iron natural hair?
Once a month. Frequent flat ironing natural hair can cause heat damage, ruining natural hair structure, leaving it dry and breakage-prone.
Learn how to flat iron your hair without damaging it. Check the video below for expert tips to use a flat iron on the hair and get stunning results in a healthy way. Check it out!
Personal Experience: Source
StyleCraze's articles are interwoven with authentic personal narratives that provide depth and resonance to our content. Below are the sources of the personal accounts referenced in this article.
(i) Blowout My Curls Dominican Stylehttps://fabolouscurlies.wordpress.com/2013/09/23/blowout-my-curls-dominican-style/
Read full bio of Dr. Shruti Chavan
Read full bio of Annie Jangam
Read full bio of Anjali Sayee
Read full bio of Monomita Chakraborty





Community Experiences
Join the conversation and become a part of our empowering community! Share your stories, experiences, and insights to connect with other beauty, lifestyle, and health enthusiasts.