How To Give Yourself A Buzz Cut? The Step-By-Step Process
Unleash your DIY barber skills with our foolproof buzz-cut tutorial.
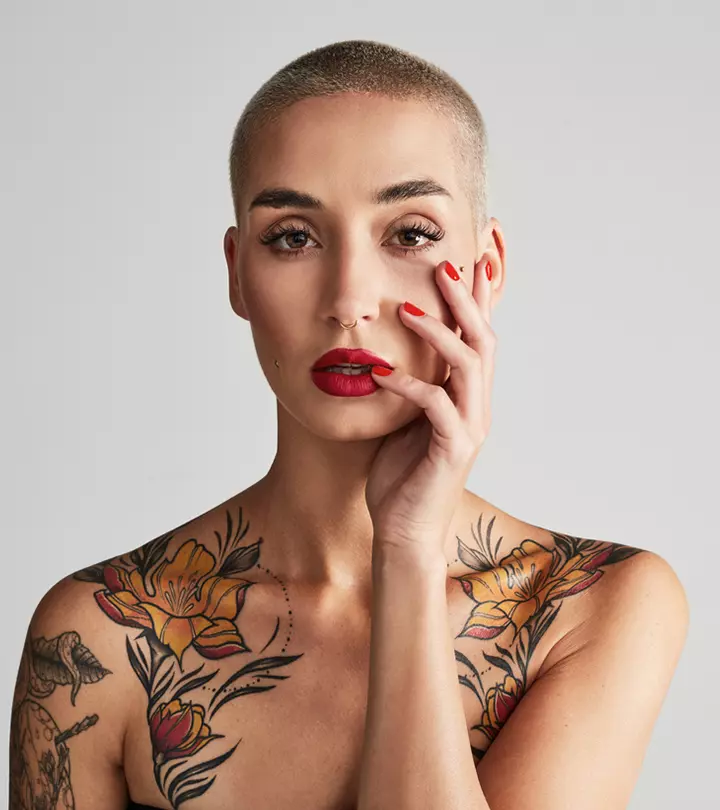
Image: iStock
The buzz cut has always been a signature hairdo for those enlisted in the army. However, once Elvis Presley exchanged his iconic rock-and-roll quiff for the more demure buzz cut, the hairstyle entered the public domain in a completely new light. So, are you wondering how to give yourself a buzz cut? Then this article has the answers.
Buzz cuts are simple and versatile haircuts that are appropriate for any age and gender. People today generally prefer this hairstyle as it is low maintenance and keeps them cool during the hot summer months. With a pair of good hair clippers, you can easily give yourself this hairdo at home. Take a look at this article, which details everything from preparing your hair to cleaning your workspace. It also includes instructions for achieving the perfect buzz cut, ensuring you feel confident and amazing with your new look.
 Before You Get Started
- A buzz cut is a very short haircut, and you may have to wait for quite some time before changing your hairstyle. Make sure that you are prepared for this drastic change.
- Consult a hairstylist if you have concerns about scalp conditions or scars. Also, check if a buzz cut will suit your head shape, as it is a close cut that can expose your head shape and scalp.
- A shorter haircut means the more exposed your hair is to elements. Be prepared to use sunscreen or wear a hat to protect the scalp from sun damage.
- A buzz cut is a dramatic change and bold statement. Analyze how it will fit your personal style, lifestyle, and profession. Be confident of your decision to carry yourself with the new style.
In This Article
What Does A Buzz Cut Look Like?
In the list of bold, bald, and beautiful hairstyles, the buzz cut will always remain in buzz. The buzz cut, also known as the wiffle cut, is a short hairstyle with a sharp and neat appearance. While it has been traditionally associated with men and those enlisted in the army, over time women have also opted for this androgynous style. It is easy to clean and always looks fresh.
The appearance of a buzz cut can be determined based on the face shape, as highlighted below.
- It looks great on square, diamond, and oblong faces as it highlights the jawline.
- Oval faces may become more rounded after a buzz cut, while it may reveal a wide forehead for a heart-shaped face.
- Those with triangular face shapes should try a longer buzz cut to balance the forehead proportion.
- Since for round faces the close cut does not lend them an angular appearance, the brush cut is a better option. It balances the roundness of the face with a square top.
 Did you know?
Key Takeaways
- A buzz cut is easy to do if you have a good pair of clippers and a proper understanding of the procedure.
- Assemble all the tools, arrange the right space, and wash your hair before trying the buzz cut. Understand the process in detail and know your tools to avoid confusion.
- Run the clipper against the direction of hair growth. Run the clipper more than once over every section to get a clean cut.
- Keep the scalp clean and safe from the sun after the short haircut.
How To Give Yourself A Buzz Cut
The first step to giving yourself a buzz cut at home is preparing your workspace. Clean the room and ensure it has good lighting. Put on some old clothes or wear an apron to protect your attire. Have someone in your room beside you to assist you with the process. Once you are done with the basics, it’s time for the next steps. Read on.
1. Get The Tools
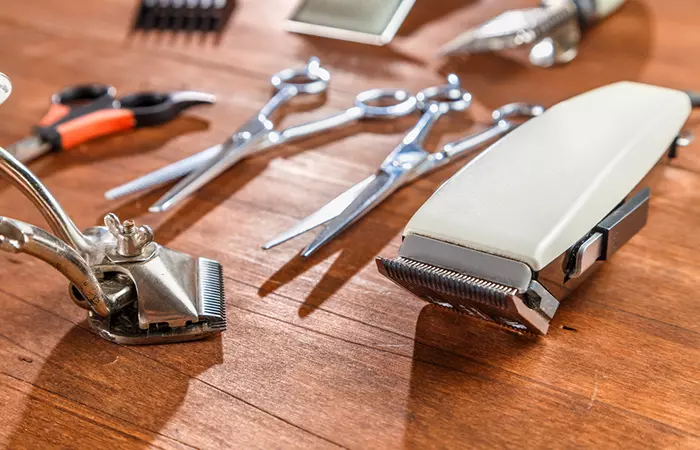
You will need the following tools and accessories to give yourself a buzz cut at home.
- A hair clipper
- A pair of scissors
- Comb attachments for the clipper
- A hair trimmer
- A comb
- A well-lit mirror arrangement
- A broom and a dustpan
Use a good-quality clipper that can help you control the length and leveling. It is a one-time investment, and you will never have to pay for a buzz cut at a salon. A balding clipper lends an effective and close buzz cut, and while beard clippers also work, they take longer. A home-use clipper costs around $30-$50, and a professional one costs $100-$120. Look for sharp blades and keep them oiled to maintain them for longer.
Understand the clipper device and its mechanics before going ahead with the procedure. Try switching the power button on and off, changing blades and guards, and learning how to control the speed settings.
2. Choose The Length
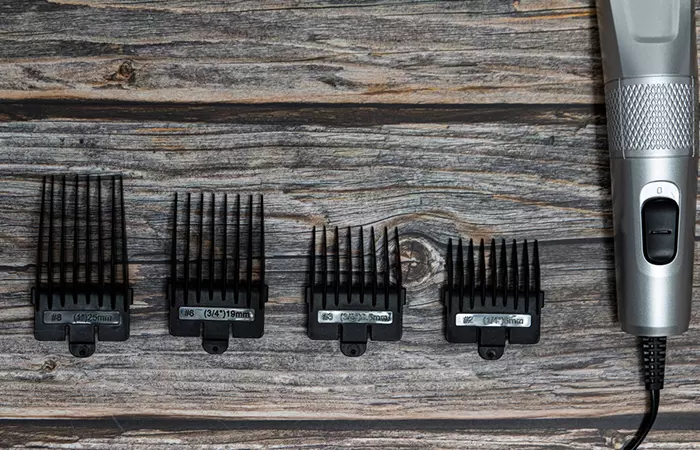
Clippers come with a variety of guards, each of which has the hair lengths mentioned on them. This will enable you to choose the guard based on your desired hair length. Fade buzz cuts are the most common type, also known as 3-2-1 buzz cuts
The common clipper variations used in a buzz cut are as follows:
No Guard: This will offer a hair length of 1/16 inches (the closest shave to the scalp)
No. 4: This will offer a hair length of ½ inches hair (long enough to brush through with your fingers)
No. 3: This will offer a hair length of ⅜ inches
No: 2: This will offer a hair length of ¼ inches
No. 1: This will offer a hair length of ⅛ inches.
3. Wash And Dry Your Hair
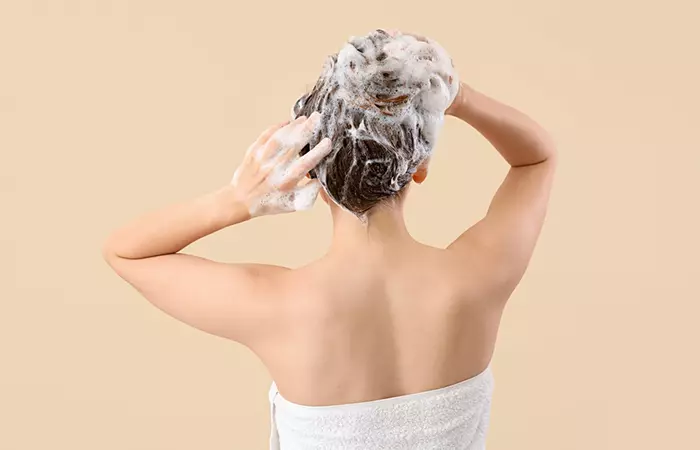
Wash and clean the hair to remove any buildup. Since this cut involves getting close to the scalp, grease or buildup on the hair will make it difficult to cut with the clipper. Set up mirrors so that you can easily see all sides of the head. You need to ensure that your scalp is free of skin tags, boils or rashes. In such cases, you can adjust the guard accordingly to be away from the scalp. You need both hands to cut the buzz, so keep them free. Do not use a handheld mirror unless you want a closer look at the back of the head.
Prepare the space for the buzz cut, and choose an area you can easily clean by sweeping or vacuuming. You may also wear a plastic bag from the neck down to prevent the hair from sticking to your clothes.
4. Section Your Hair For A Systematic Approach
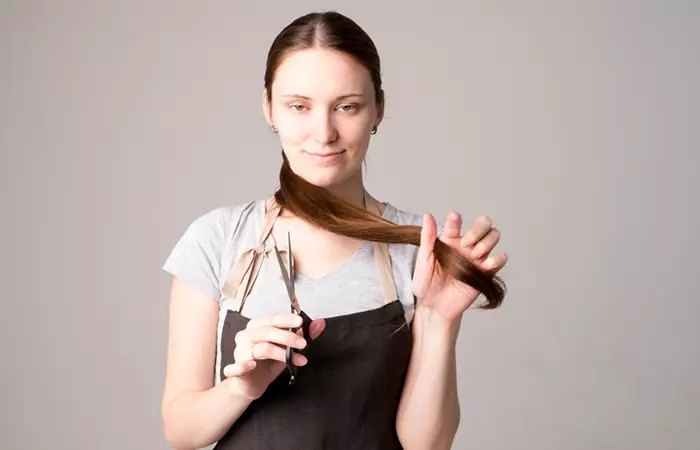
Before you start the buzz cut, you should cut your long hair short to make it easy to pass the clipper through. Use sharp scissors to cut the hair to a more manageable length, and chop without worrying about an even cut. You can also pull your hair into a ponytail and cut off the excess hair length.
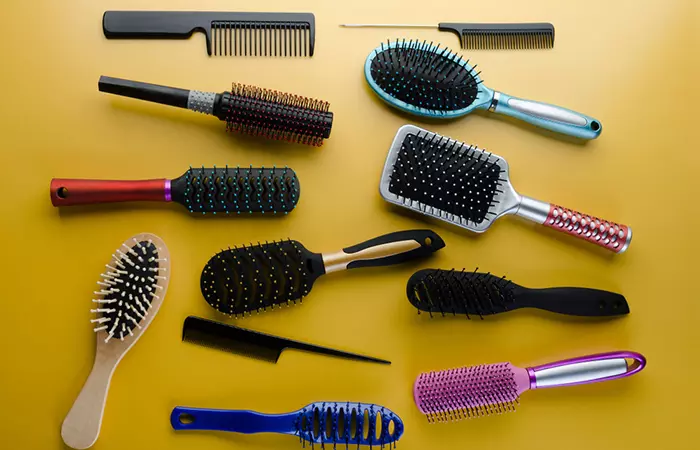
Thoroughly comb your hair and remove any tangles; you can use a comb or hair pick based on your hair type. Combing also helps lift the strands off the scalp, which can enable a smoother cutting process. Use hair clips to section your hair at the top, back, and sides to make the buzz-cut process easier.
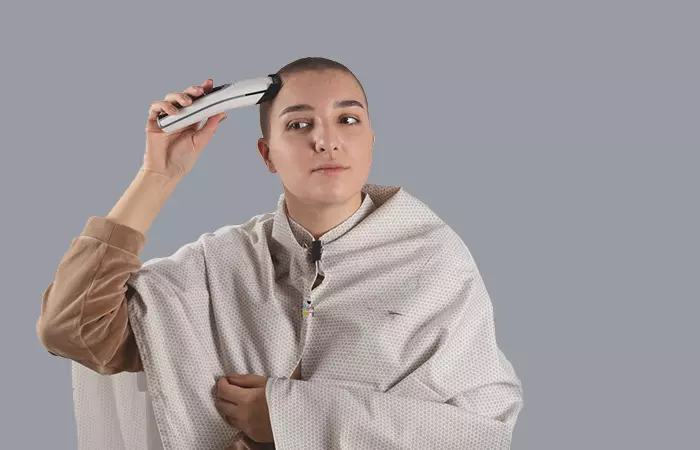
5. Start The Buzz Cut Process
Below are a few things to remember while doing a buzz cut.
- Find The Direction Of Growth: Always use the clippers against the direction of hair growth. You may run your hand through the hair to understand it. This will pull the hair upward and capture all the hair in the clipper. Move the clipper over a section more than once to cut evenly without leaving any bits of hair.
- Know Your Guard Size: Guard sizes below No. 3 will give a closer shave and make the scalp visible. Use No. 3 if you are getting a buzz cut for the first time and are unsure due to the lumps, scars, or spots that may show up during the scalp examination process.
- Work Your Way Up: You should always start with a longer guard size, like No. 4 and work your way towards a shorter guard . You can see how it looks and whether you are comfortable with the length. You can easily shorten the length, but you can never make your hair longer once it is cut.
- Place The Clipper Properly: Keep the clipper guard flat against the head to get the hair length based on the guard’s measurement. Run the clipper in straight lines, and the clipper will leave the head when the area is cut to the desired size.
- Start At The Sides: Start from the back of the neck and sides and move up to the temple. Use the special ear guard for clipping around the ears; you can fold down the ears to get a close cut.
- Cut The Back: The placement of the mirror plays a key role in getting the back of the buzz cut right. Place your hand horizontally at the back of your head as a guide to know where to stop clipping. Clip from the bottom of the neck till the marking you have made with your hand, and keep checking the mirror for the best results.
- Buzz The Top: Start from the forehead and move to the crown for the top area buzz. You can change the guard size to keep the top of the head slightly longer than the back and sides. Crop the crown area from different directions, as your hair may grow in different directions in this area. Move the clipper in strips from side to side to cover the top portion. Move it in a scooping motion to blend the line between the two sections.
- Finish The Hairline: Use the No. 1 guard attachment to create tapered edges at the hairline. Move the clipper in a scooping motion at the edges to get a clean cut. Start at the sideburns and move towards the top of the ear and then above the ear level. Finally, taper the sides and do the same for the back of the head.
6. Detail The Cut
Use a trimmer to get a polished look for the sideburn area. Create a line with the trimmer and shave everything underneath. Hold the trimmer with the blade parallel to the skin to get a clean line. Use the trimmer with the teeth facing up to get a clean shave underneath the line. At this point, you can also consider getting a fade cut by choosing a smaller guard for the sides and back and blending it into the top portion.
7. Clean Up
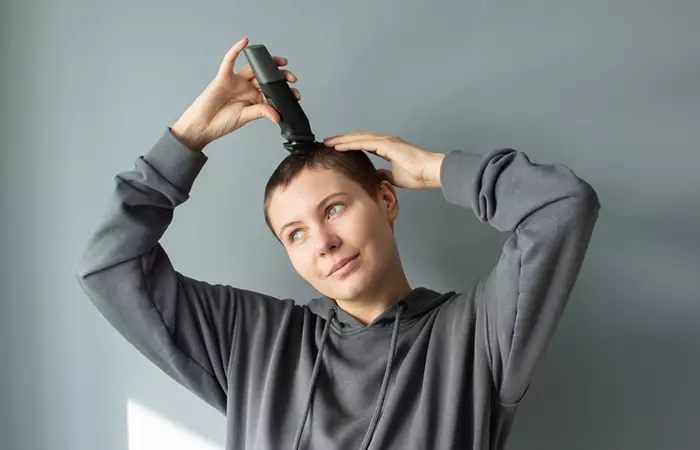
Inspect your entire head from all angles to catch any missed areas; check the back and crown area closely. You may ask a friend to help you with the blind spots as well. Once you are done, clean up the area and wash the hair.
With a buzz cut, you can bid adieu to using the comb and hours of styling. But you will still need to maintain the look with some basic steps for upkeep. Read on to learn how to maintain your buzz cut.
How To Maintain A Buzz Cut
Yes, a buzz cut is easy to maintain, but as with any other hairstyle, there are some things you must take care of after you get it.
- Wash your scalp with a gentle shampoo to remove buildup and dirt.
- Use a lightweight, unscented conditioner to moisturize your scalp and hair.
- Use a small amount of gel or wax to add texture to a short-length buzz cut.
- Blow dry your hair and style it in a spike for buzz cuts longer than an inch. If necessary, use hair wax or cream.
- Use an oil-free sunscreen on the scalp to prevent sun damage. You can also use a hat to protect your head from direct sun rays.
- Depending on your hair growth, you may have to repeat the process every 2-3 weeks.
- Maintain the clipper blades and remove the hair using a cleaner accessory or a toothbrush. Oil the blades to protect the metal components and prevent rusting.
With summer fast approaching and the temperatures rising, this may be the right time to mow your luscious head of hair to look and stay cool. This no-styling cut is easy to achieve and can be cut solo. You just have to follow the exact guidelines for prepping, cutting, and maintaining the buzz. Once you have mastered the basic technique, you can get creative and try variations for a fresh cut every time.
Frequently Asked Questions
Can I use regular scissors for a buzz cut?
No. Regular scissors are not recommended for a buzz cut. They can result in uneven lengths and inconsistent cuts, which is a big no-no for buzz cuts. Buzz cuts are best achieved with clippers suitable for short haircuts.
How long does a buzz cut take to grow back?
The average rate of growth of human hair is ½ inch every month. However, this rate may differ slightly based on individual health and hair growth patterns.
Is a buzz cut good for thinning hair?
Yes, shorter haircuts are favorable for thinning hair. Too much length can pull at the hair and lead to hair loss. It can also reduce the contrast between thick and thin hair areas.
Can a buzz cut damage your hair?
A buzz cut does not have any impact on hair growth or hair health. This is because the hair growth pattern is not dependent on the length of the hair. However, an exposed scalp can lead to sunburns, hence wear a hat or use sunscreen to protect the scalp.
Do you shampoo a buzz cut?
Yes, you do. Getting a buzz cut is not a way to cut down on your haircare routine, only the time taken to follow it . Oil and dirt can accumulate even on a shaved head. Use a scalp shampoo that will not strip the natural oils and instead nourish it with vitamins.
Will a buzz cut hide a bald spot?
Yes it can. A buzz cut can make thin hair look thicker and mask a receding hairline as well as reduce the visibility of bald spots. The short hair length can create a uniform and smart appearance.
This vlogger details the process of getting a buzz cut right from cutting her long hair short to using the right clipper lengths. Check this video to understand the buzz-cut process using a range of clipper sizes.
Read full bio of Laura Dale
Read full bio of Reshma Latif
Read full bio of Madhumati Chowdhury
Read full bio of Joyce Joyson











Community Experiences
Join the conversation and become a part of our empowering community! Share your stories, experiences, and insights to connect with other beauty, lifestyle, and health enthusiasts.