How To Do The Salabhasana And What Are Its Benefits
Strengthen your core and boost vitality with this energizing yoga pose guide today!
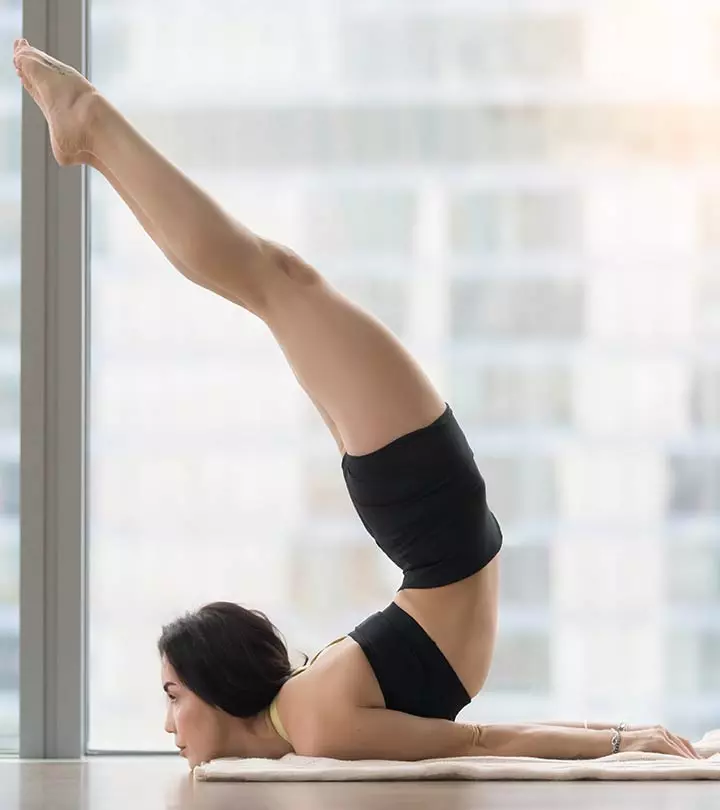
Image: shutterstock
Sanskrit: शलभासन; Salabha – Locust/ Grasshopper, Asana- Pose; Pronounced As – sha-la-BAHS-anna
This asana is one among the baby backbends. This pose seems simple, but is challenging. This is an asana you must include in your workout regimen.
Everything You Need To Know About The Salabhasana
- What You Should Know Before You Do The Salabhasana
- How To Do The Salabhasana
- Precautions And Contraindications
- Beginner’s Tip
- Advanced Pose Variation
- The Benefits Of The Locust Pose
- The Science Behind The Salabhasana
- Preparatory Poses
- Follow-Up Poses
What You Should Know Before You Do The Salabhasana
You must make sure to keep your stomach and bowels empty before you practice this asana. Have your meals at least four to six hours before you do the asana so that your food gets digested and there is enough energy for you to expend during the practice.
It is best to practice yoga first thing in the morning. But in the event you cannot work out in the morning, it is alright to practice it in the evening.
Level: Basic
Style: Vinyasa
Duration: 30 to 60 seconds
Repetition: None
Stretches: Shoulders, Thighs, Thorax, Navel
Strengthens: Legs, Vertebral columns, Arms, Buttocks
How To Do The Salabhasana
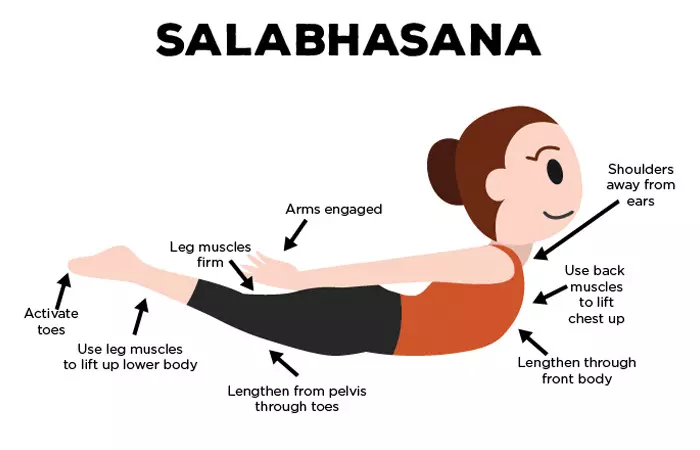
- Lie on your abdomen on the ground and place your hands by your side.
- As you inhale, lift your legs and upper torso.
- Using your inner thighs, lift your leg upwards without bending your knees. Your weight should rest on your lower ribs and abdomen.
- Hold the pose for a minute. Release.
Precautions And Contraindications
- If you are experiencing a headache or a migraine, or suffering from a neck or spinal injury, avoid this exercise.
- Pregnant women also must avoid this asana at all costs.
- In case you have a neck injury, you must ensure you look down at the floor and keep your head in a neutral position. You could also support your head on a folded blanket.
Beginner’s Tip
Beginners can start by just lifting their legs, keeping their upper body on the ground. You may also use your hands for additional support.
Advanced Pose Variation
To increase your stretch while you are in this asana, you must gently bend your knees, instead of stretching out your legs, such that your calf muscles are perpendicular to the ground. Once your legs are in position, lift your upper body – the torso, the arms, and the head – and lift your knees as high as you comfortably can. Then, as you lift the upper torso, head, and arms, lift the knees as far away from the floor as possible.
The Benefits Of The Locust Pose
These are a few amazing Salabhasana benefits.
- This pose invigorates the entire body, stimulates the internal organs, as well as enhances the circulation of blood.
- This asana helps to regulate the acid-base balance in the body.
- The arms, thighs, shoulders, legs, calf muscles, and hips are strengthened through this asana.
- The back is also toned and strengthened. This asana also encourages a healthy posture.
- It regulates metabolism and helps you lose weight.
- It also helps reduce stress and tension.
The Science Behind The Salabhasana
The Salabhasana is said to resemble a locust at rest, but this pose is anything but a resting pose. It takes a whole lot of effort to just get into the pose, just as the grasshopper makes that jump to throw itself backward. When you practice this asana, just getting into the pose and staying there is intense. It teaches you how to focus and put your mind to work. You remain calm, yet alert.
This asana also works as a blueprint backbend, which allows you to understand the right alignment for other backbends like the Dhanurasana, the Urdhva Mukha Svanasana, and the Chakrasana.
This pose strengthens your abdomen and back. Your chest opens up as well. Your body becomes more aware of itself, and as you practice this asana, you begin to understand what is required for a balanced backbend. Your body is strengthened enough to help you with arm balancing poses, inversions, and asanas that require the engagement of the abdomen.
Usually, backbends use the limbs to push the body against gravity. But in the Salabhasana, the hands and the legs are suspended, and therefore, your back and abdomen need to work harder to lift your body.
Preparatory Poses
Setu Bandha Sarvangasana
Supta Virasana
Urdhva Mukha Svanasana
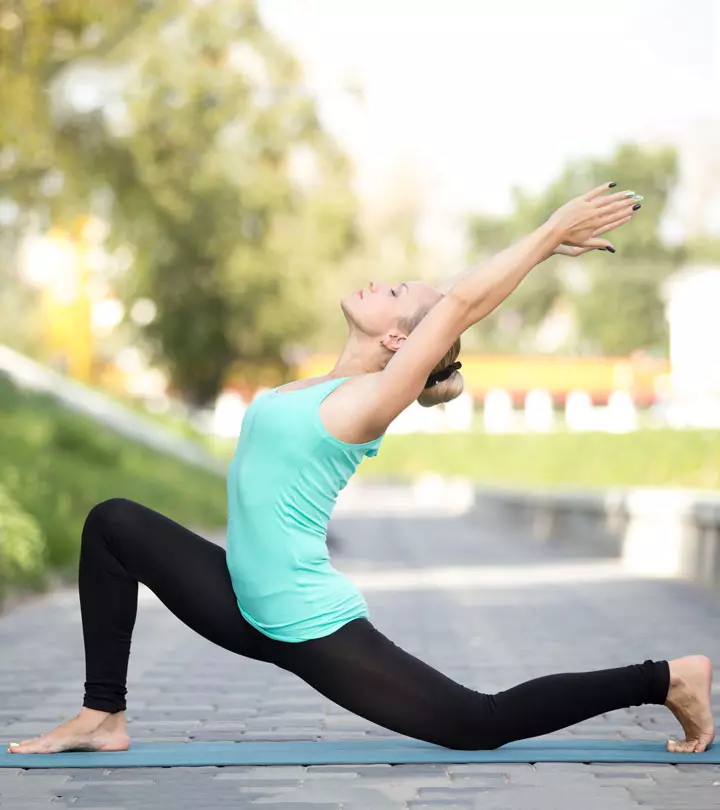
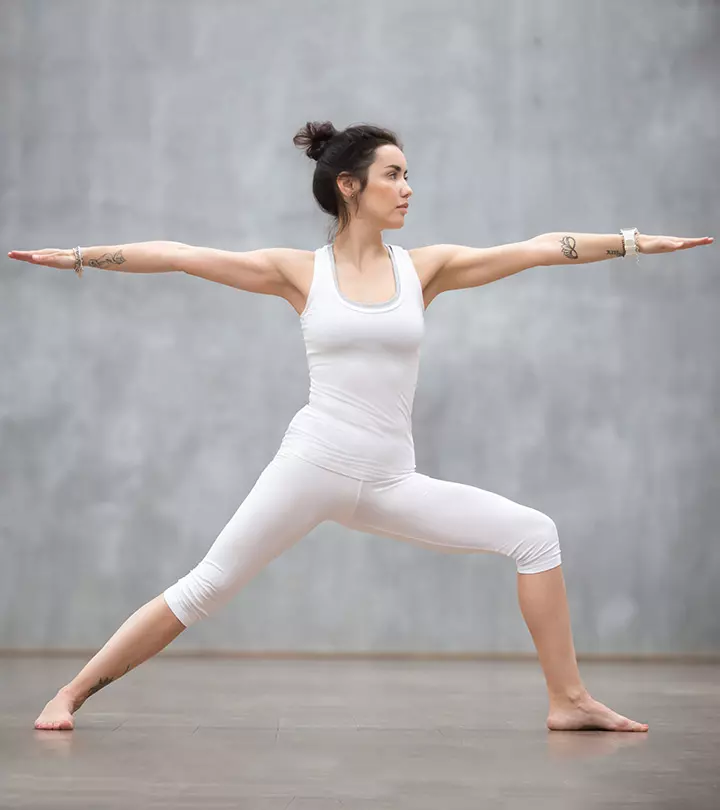
Virabhadrasana I
Virasana
Follow-Up Poses
Sarvangasana
Ustrasana
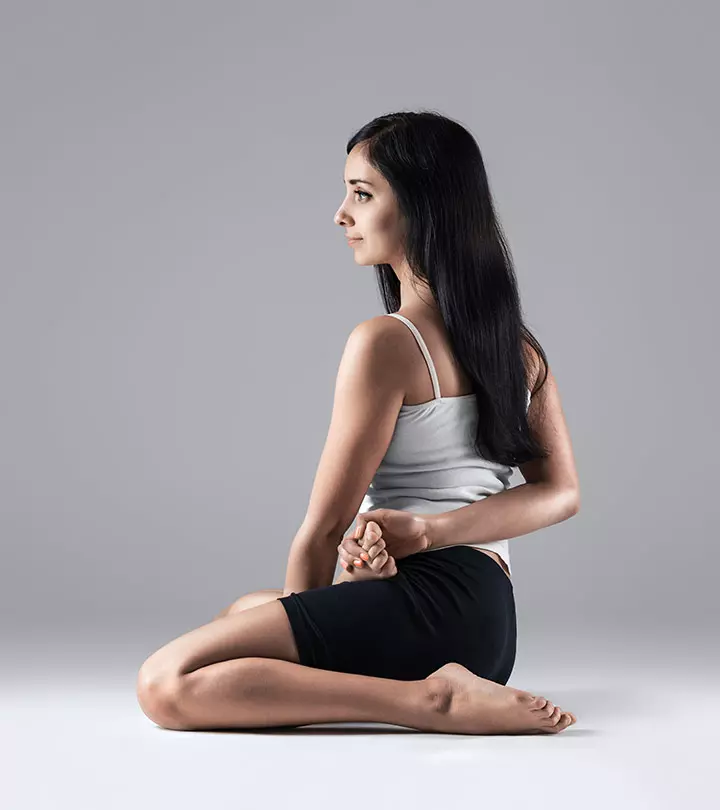
Bharadvaja’s Twist
Setu Bandha Sarvangasana
About 20 seconds into the pose, you will notice the effort that goes into holding the pose. The key is to remain in this pose as long as you are rejuvenated and aware of your body and surroundings.
Read full bio of Shirin Mehdi







Community Experiences
Join the conversation and become a part of our empowering community! Share your stories, experiences, and insights to connect with other beauty, lifestyle, and health enthusiasts.