How To Do The Salamba Sarvangasana And What Are Its Benefits
Discover a step-by-step guide to mastering this powerful pose and enhancing wellness daily.
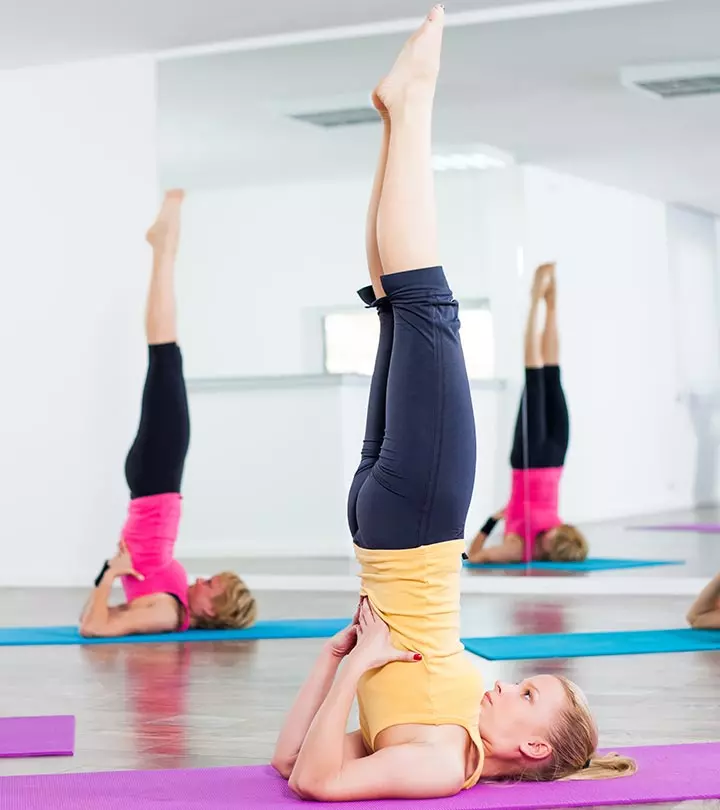
Image: Shutterstock
Sanskrit: सर्वाङ्गासन; Salamba – Supported, Sarva – All, Anga – Limbs, Asana – Pose; Pronounced As – sahr-vahn-gah-sah-nah
This asana is called the “mother” or “queen” of all the asanas. It literally translates into all limb pose. But it is called a shoulder stand, only because the weight of your body rests on the bony part of your shoulders. This asana is a powerful one, and it is an inversion that helps you ease into the more complex inversions. This important yoga asana is one of the first ones you will practice and will continue to practice, even after you have mastered it.
Everything You Need To Know About The Salamba Sarvangasana
- What You Should Know Before You Do The Asana
- How To Do The Salamba Sarvangasana
- Precautions And Contraindications
- Beginner’s Tip
- Advanced Pose Variation
- The Benefits Of The Supported Shoulder Stand
- The Science Behind The Salamba Sarvangasana
- Preparatory Poses
- Follow-Up Poses
What You Should Know Before You Do This Asana
This asana must be practiced either first thing in the morning or at least four to six hours after a meal. The stomach and bowels must be empty when you practice this asana. The food ingested must be digested so that there is enough energy to expend during the practice.
Level: Intermediate/Advanced
Style: Hatha Yoga
Duration: 30 To 60 seconds
Repetition: None
Stretches: Shoulders, Neck
Strengthens: Spine, Back, Shoulders
How To Do The Salamba Sarvangasana
- Start by lying flat on your back, keeping your legs together and your arms by your side.
- With one swift movement, lift your legs, buttocks, and back, such that your elbows support your lower body, and you stand high on your shoulders. Use your hands to support your back.
- As you settle down in the pose, make sure you move your elbows closer to each other. Straighten your spine and legs. Your body weight should lie on your shoulders and upper arms. Do not support your body on your neck or head.
- Firm up your legs and point your toes out. Hold the posture for about 30 to 60 seconds. Breathe deeply while you do so. If you feel any strain on your neck, release immediately.
- To release, lower your knees, and bring your hands to the floor. Then, lie flat and relax.
Precautions And Contraindications
- These are some points of caution that you must keep in mind before you do this asana.
1. Avoid practicing this asana if you have the following conditions.
a. Diarrhea
b. Headache
c. High blood pressure
d. Menstruation
e. Neck injury
- If you have mastered this pose, you can continue to practice it until late into your pregnancy. However, you should not begin practicing the Sarvangasana after you have become pregnant.
- Since this is a complex asana, it is best if it is practiced under the supervision of an expert.
Beginner’s Tips
As a beginner, your elbows could slide apart, causing the upper arms to roll inwards. This could, in turn, cause the torso to sink onto the upper back, therefore, collapsing the pose and also causing the neck to strain. Use a blanket to support your shoulders. Roll up a sticky mat and set it on this blanket such that its long axis is parallel to the edge opposite the shoulder’s edge. Now, as you get into the pose, allow your elbows to be lifted and secured on the sticky mat.
Advanced Pose Variations
To intensify the stretch in the shoulder blades, this is what you should do. First, make sure you spread both your palms widely and place them against the back torso. Then, push in and up against the ribs on the back with the little and ring fingers. Every once in a while, remove your hands from the back, press the shoulder blades in, and place your hands back, each time closer to the head than they were before.
Benefits Of The Supported Shoulder Stand
These are some amazing benefits of shoulder stand yoga pose.
- It helps calm the brain, cures mild depression, and relieves stress.
- It helps stimulate the prostate glands, the thyroid glands, and the abdominal organs.
- The neck and shoulders get a good stretch.
- The buttocks and legs get toned.
- Digestion is improved, and metabolism is regulated.
- This asana relieves the symptoms of menopause.
- Fatigue and insomnia are reduced.
- This asana helps cure sinusitis, asthma, and infertility.
The Science Behind The Salamba Sarvangasana
This asana is one of the most therapeutic and oldest asanas. According to the ancient yoga text, it addresses every organ and chakra in the body. It helps cure a disease and enhance the working of the gland, organ, or system. This asana not only requires focus, but evokes it too. No wonder it is called the mother of all asanas.
Preparatory Poses
Setu Bandha Sarvangasana
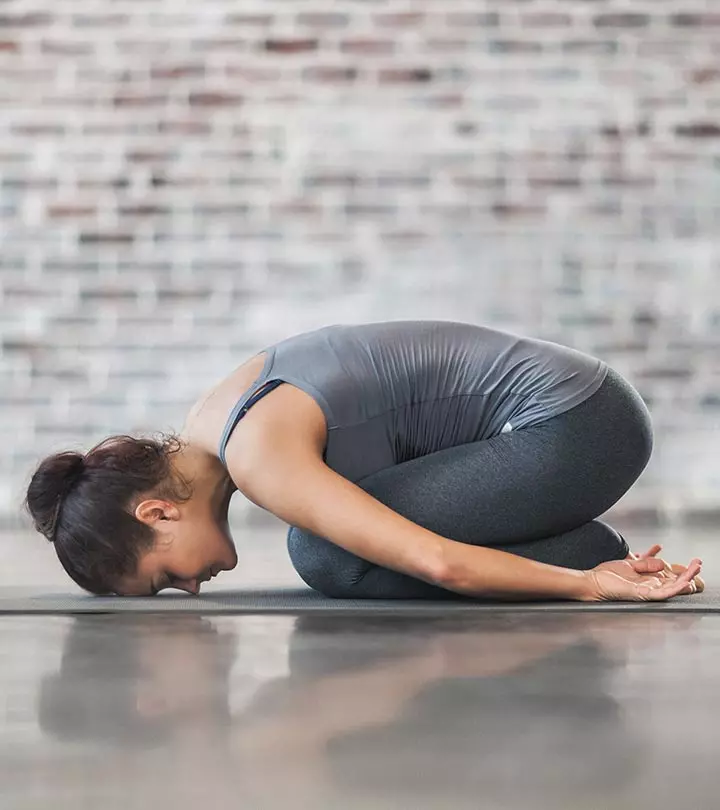
Virasana
Follow-Up Poses
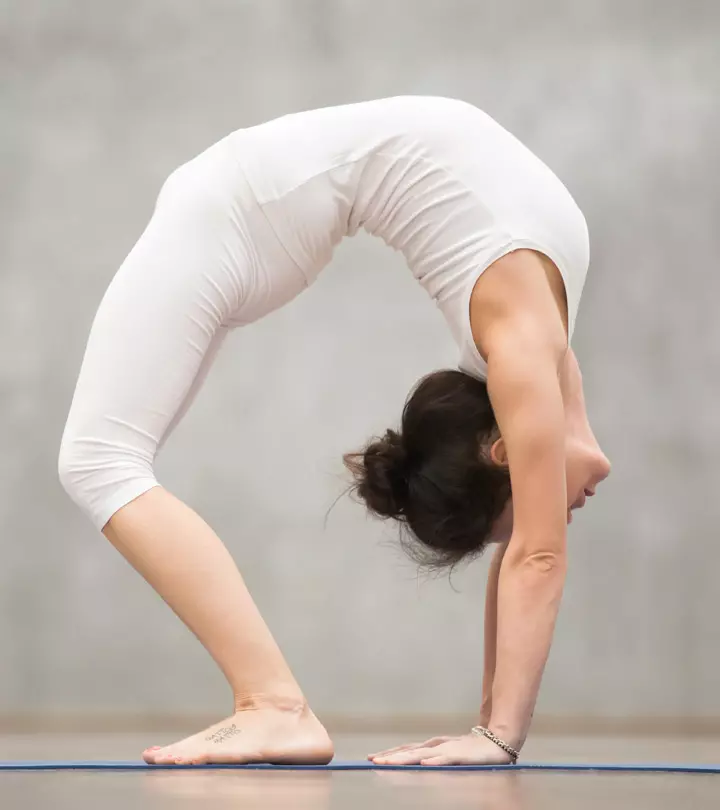
Urdhva Dhanurasana
Savasana
Salamba Sirsasana
Now that you know how to do shoulder stand, what are you know waiting for? Sometimes, one needs to stand up on their shoulders instead of their feet to get a better perspective on life. You will see yourself in the pink of health if you practice the shoulder stand regularly.
Read full bio of Shirin Mehdi






Community Experiences
Join the conversation and become a part of our empowering community! Share your stories, experiences, and insights to connect with other beauty, lifestyle, and health enthusiasts.