Salt Scrub Vs. Sugar Scrub: Differences, Uses, And Recipes
Skip the store-bought scrub and embrace the goodness of the homemade ones.
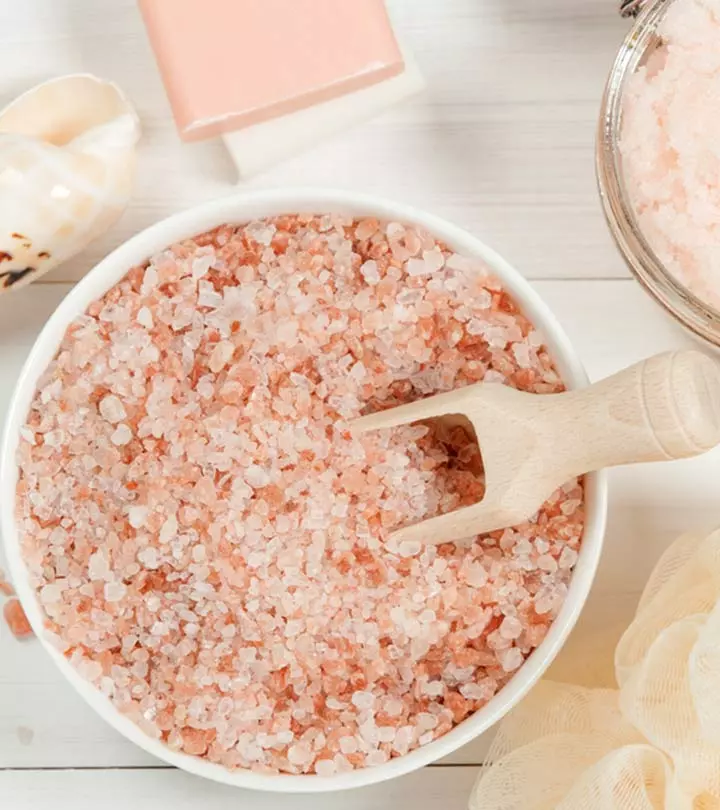
Image: Shutterstock
Salt scrub vs. sugar scrub – which one should you opt for?
Exfoliation is an essential aspect of any skin care regimen. It removes dirt and prevents a variety of problems such as hyperpigmentation and acne. Regular exfoliation can increase the efficacy of products by enhancing penetration. However, deciding between a salt scrub and a sugar scrub may be confusing for some people.
In this post, we will look at the differences between sugar scrub and salt scrub, their benefits and drawbacks, how to use them, and which one is ideal for your skin’s needs. Keep reading to learn more!
In This Article
What Is The Difference Between Salt And Sugar Scrubs?
The main difference between salt and sugar scrubs lies in their texture and particle shape.
- Salt Scrubs
Unrefined salt is typically used in this scrub. Salt has large granules with sharp edges. Due to this, salt scrubs are considered more abrasive than sugar scrubs and are not used on sensitive areas.
- Sugar Scrubs
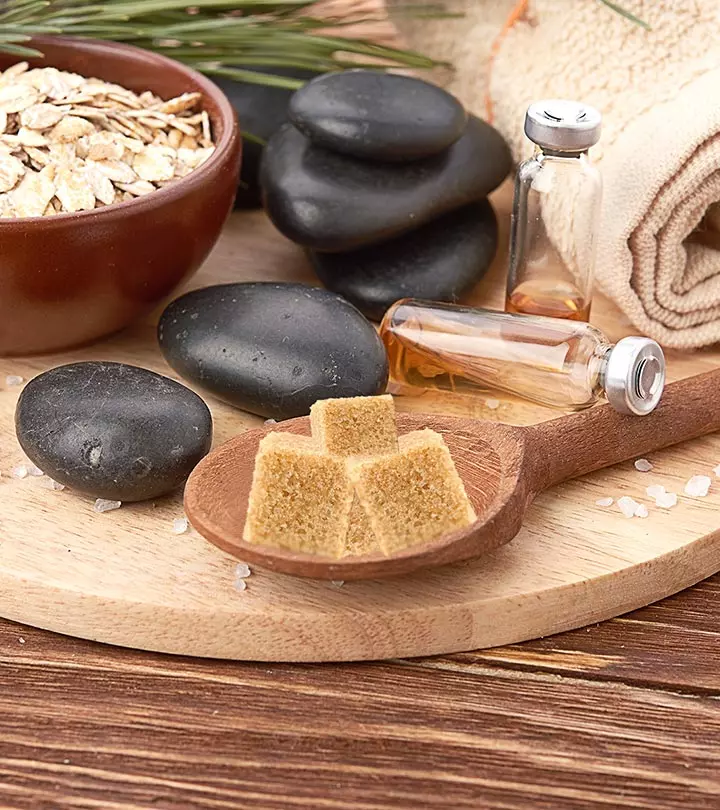
Similar to salt scrubs, unrefined sugar is generally used to create these scrubs. Sugar granules are perfectly round in shape. They remove the oil from the skin without being too harsh on it.
Now that you know the main difference between salt and sugar scrubs, let us move on to the pros and cons of each product.
Key Takeaways
- Unrefined sugar is used in sugar scrubs as the round granules suit sensitive skin.
- On the other hand, unrefined salt is used in salt scrubs as the granules are large and sharp.
- Salt scrubs may detoxify the skin and soothe sore and tired muscles.
- Sugar scrubs may improve the appearance of skin due to the presence of calcium, magnesium, potassium, and iron.
Salt Scrubs Vs. Sugar Scrubs: Benefits And Drawbacks
As with any skin care product, knowing the benefits and drawbacks of these homemade body scrubs will help you pick the right one for you and avoid irritation.
I. Salt Scrubs
The benefits of salt scrubs are as follows:
Benefits
- The granules present in this scrub are quite abrasive. As such, you can use them to remove the tougher dead skin cells from drier areas of the body.
- Salt is said to have detoxifying properties. The trace minerals in this scrub can perform the role of natural purifiers and remove the toxins from the skin. This makes it a great option for inflamed areas of the body. However, more research is needed to support this claim.
- As per anecdotal evidence, the salt granules in this scrub typically break down into sulfate and magnesium when combined with water. These compounds are absorbed by the skin, thus soothing it and relaxing sore and tired muscles.
Drawbacks
- Due to their abrasiveness, salt scrubs can irritate delicate skin and cause it to become inflamed.
II. Sugar Scrubs
The benefits of sugar scrubs are as follows:
Benefits
- Sugar scrubs tend to be less abrasive and work well on sensitive skin.
- Anecdotal evidence suggests that sugar scrubs contain trace amounts of magnesium, calcium, potassium, and iron. These elements can improve the appearance of the skin by replenishing all the nutrients lost throughout the day.
Drawbacks
- While sugar scrubs are fantastic exfoliators and can introduce nutrients to the body, the results are not as apparent as those seen with salt scrubs. The results also depend on the manual exfoliation technique. This is why these are recommended to people with sensitive skin. More scientific research is needed to explore this further.
 Quick Tip
Scroll down to the next section to learn which type of scrub is better for which body parts.
Salt Scrub Vs. Sugar Scrub: On Which Body Parts Should They Be Used?
You should use salt scrubs to remove the grittier dead skin cells from areas with tougher and drier skin. This includes:
- Hands
- Elbows
- Knees
- Feet
Sugar scrubs are great for areas with more sensitive skin like:
- Face
- Inner thighs
- Décolletage
Now that you know which scrubs are suitable for which body parts, let’s discuss the best way to use them for better results. Knowing how often should you exfoliate your skin is crucial to better understanding the usage of these scrubs. Read the next segment to find out more.
What Is The Best Way To Use Salt And Sugar Scrubs?
For the best results, we recommend using salt and sugar scrubs at least twice a week. This will get rid of the dead skin cells from your skin, unclog the pores, and soothe inflamed skin. The key is to start gently while you learn what your skin can handle.
Mentioned below are the different ways in which you can apply salt and sugar scrubs, depending on the body part that you are applying them on.
Salt Scrubs
As touched upon before, you should use these scrubs to clean tough, dry areas with a lot of dead skin cells. The best way to do this is as follows:
- Start by thoroughly wetting the area with hot water. This will open up your pores and give you better results.
- Take a tablespoon of salt scrub in your palm and rub both your hands together to activate it. Remember to use a spoon when taking the scrub as the bacteria and soap from your hands could mix with the product and contaminate it.
- Next, apply the scrub to the wet area and gently rub it against the skin surface using your fingertips for two minutes. Try using small circular motions as it will help loosen the dirt caught in the pores.
- Leave the scrub on your skin for another 2 minutes, then wash it off with hot water.
- Gently dab your skin with a towel and apply moisturizer.
Sugar Scrubs
As this scrub is primarily used on the face, the best time to use it is during your morning or night skin care routine. It will help remove all the dirt clogging the pores and go a long way in keeping your skin refreshed.
- For this routine, start by wetting your face with hot water and applying some cleanser to it. This will remove all the dirt present on the surface of the skin.
- Next, apply a dash of face wash to your forehead, nose, chin, and cheeks and gently rub it into your skin with your fingertips. This helps loosen and remove some of the dirt and bacteria present in the pores.
- Wash off the soap with hot water.
- Take some sugar scrub in your palm and rub your hands together.
- Apply the scrub to your entire face and gently rub it against your skin using circular motions for two minutes.
- Wash off the scrub with hot water, then gently dab your face with a towel to remove the excess water.
- Finish the routine by applying some lotion to your skin to replenish any lost moisture.
 Quick Tip
It can be difficult to find sugar and salt scrubs in the market today. But, you can solve this issue by making your own scrubs at home. Read the next section to find out the best way to make homemade sugar scrubs and salt scrubs.
Salt And Sugar Scrub Recipes
Salt and sugar scrubs may not always be available at your local drugstore. Luckily, they can be made at home with just a few simple ingredients.
1. Coffee Salt Scrub
You Will Need
- 1/4 cup of salt
- 1/4 cup of ground coffee
- 5 tablespoons of coconut oil (room temperature)
Instructions
- In a small bowl, mix the salt and ground coffee until thoroughly combined.
- Add some coconut oil to the mixture and gently mix it in to activate the salt. Avoid over-mixing as this can dissolve the salt.
- Transfer the contents to an airtight container and store it in a warm, dry place.
- Use as and when required.
2. Green Tea Sugar Scrub
You Will Need
- 1 cup of sugar
- 2 green tea bags
- 1/2 cup of hot water
- 1/4 cup of coconut oil
Instructions
- Start by steeping the tea bags in a bowl filled with hot water. Set them aside to cool.
- Add the sugar and coconut oil to another bowl and mix until just combined.
- Once completely cooled, add the tea to the sugar and coconut oil mixture and gently combine. Make sure the tea is completely cool to avoid melting the sugar.
- Add some more sugar if there is too much liquid in the mixture. If the mixture is too dry, add some coconut oil to it.
- When you reach the desired consistency, spoon the mixture into an airtight container and store it in a dry place.
- Use as and when desired.
Coffee and tea contain caffeine and antioxidants, giving them anti-inflammatory properties.
3. Lavender Salt Scrub
You Will Need
- ¼ cup of sea salt
- ½ cup of coconut oil
- 2 tablespoons of dried lavender
- 15-20 drops of lavender essential oil
- An airtight jar
Instructions
- Mix sea salt and coconut oil in a small bowl. Adjust the oil according to your desired consistency, and keep it aside.
- Add 15-20 drops of lavender essential oil to the salt mixture and stir it well.
- Add dried lavender to the mixture and combine all the ingredients well.
- Take a clean, air-tight jar, transfer the mixture into it using a spatula, and store it in a dry place.
In this article on salt scrub vs. sugar scrub, we hope you understood the benefits and drawbacks of each ingredient. While both salt and sugar scrubs work as excellent exfoliators that remove dead cells, grime, and makeup, salt scrubs may be harsh on sensitive skin due to their abrasive nature. To ensure that you can use both salt and sugar scrubs, apply salt scrubs on areas with tougher skin like hands or elbows, while you use sugar scrubs for sensitive areas such as the face and inner thighs to get smooth and glowing skin. Moreover, if you are looking for homemade scrubs for oily skin, salt or sugar scrubs can be customized with oil-absorbing ingredients like lemon juice or tea tree oil for optimal results.
Frequently Asked Questions
Can you mix salt and sugar for a scrub?
Yes, you can mix salt and sugar for a scrub for exfoliating to give you soft and smooth skin.
Does salt lighten skin?
Salt is quite abrasive, which makes it ideal for removing tougher dead skin. This will give your skin a brighter and healthy appearance.
Can salt and sugar scrubs be used on your face?
Yes, you can use both salt and sugar scrubs on your face. Avoid using coarse sea salt and unrefined sugar as they are both abrasive and may be harsh on your face.
Indulge in the luxury of homemade body scrubs by watching this guiding video. These easy-to-make, natural body scrub recipes use simple ingredients from your kitchen and offer revitalizing benefits for smoother, radiant skin. Click play to find out how!
Read full bio of Dr. Farhaad Riyaz
Read full bio of Arshiya Syeda
Read full bio of Ramona Sinha
Read full bio of Monomita Chakraborty














Community Experiences
Join the conversation and become a part of our empowering community! Share your stories, experiences, and insights to connect with other beauty, lifestyle, and health enthusiasts.