Shilpa Shetty Yoga For Good Health & Weight Loss
Unlock vitality and shed pounds effortlessly with ancient moves designed for wellness.
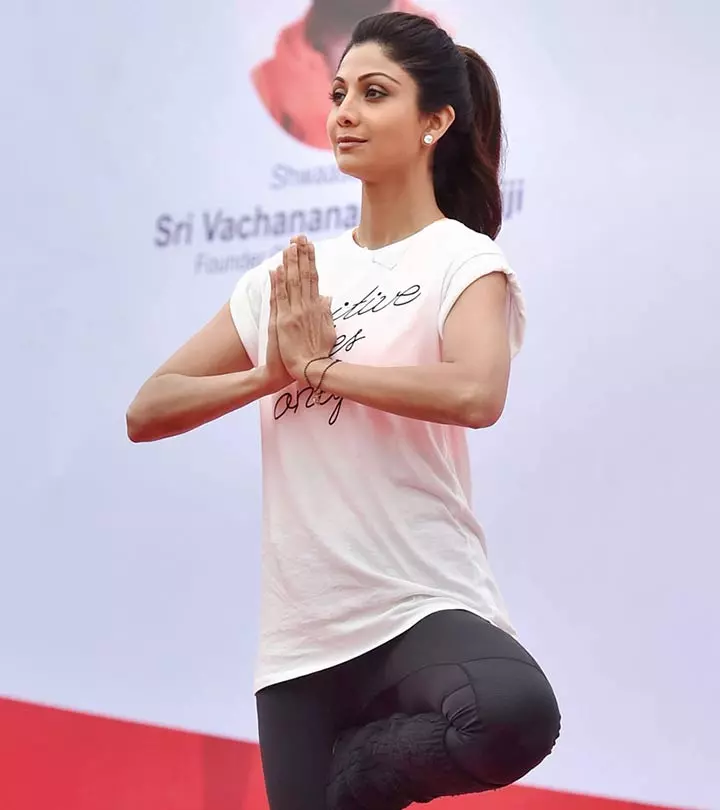
Image: ShutterStock
This mirror-cracking stunner can totally floor anyone with her killer looks. Shilpa Shetty carries herself with great style and elan. Who can tell she is a mother to a beautiful baby boy! Her secret? Being fit! She says that being fit automatically makes you look good. With a body like hers, she has definitely tried her hand at everything. When she got introduced to the numerous benefits of yoga, from practicing thrice a week, she now does yoga five times a week. What’s more, instead of keeping her fitness secrets to herself, she released a series of Yoga CDs demonstrating the right way to do an asana along with its benefits. Popularly called Shilpa’s Yoga, this easy to watch and understand workout series gives you an insight into her regimen and also helps you get fit. This is a snapshot of what her CDs have to offer.
In This Article
10 Amazing Shilpa’s Yoga Asanas That Will Tone And Treat Your Entire Body
1. Padahastasana – For A Flat Tummy
2. Makarasana – To Relax The Nervous System
3. Dhanurasana – For Stress Release And Relief From Menstrual Cramps
4. Ardha Salabhasana – To Stimulate The Digestive System And The Autonomic Nervous System
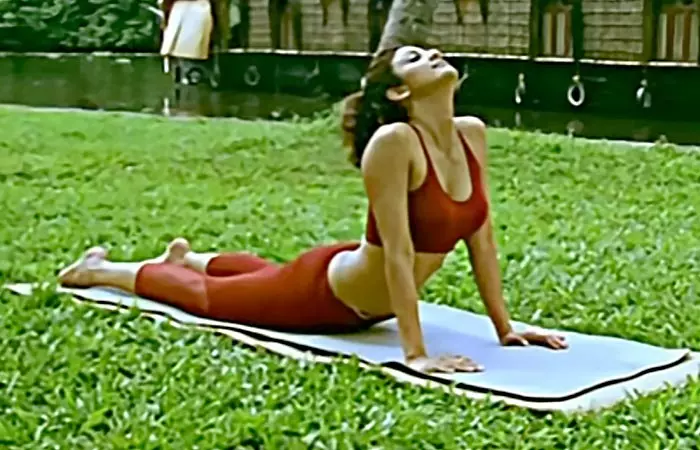
5. Bhujangasana – To Stimulate The Svadhisthana Chakra And Increase Metabolism
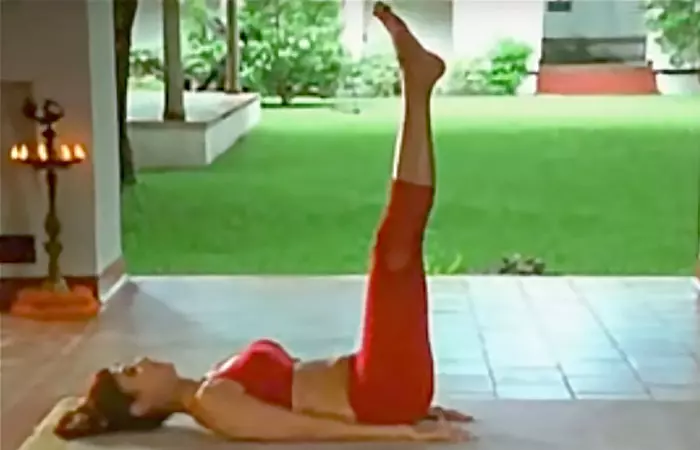
6. Utthanpadasana – To Improve Blood Circulation
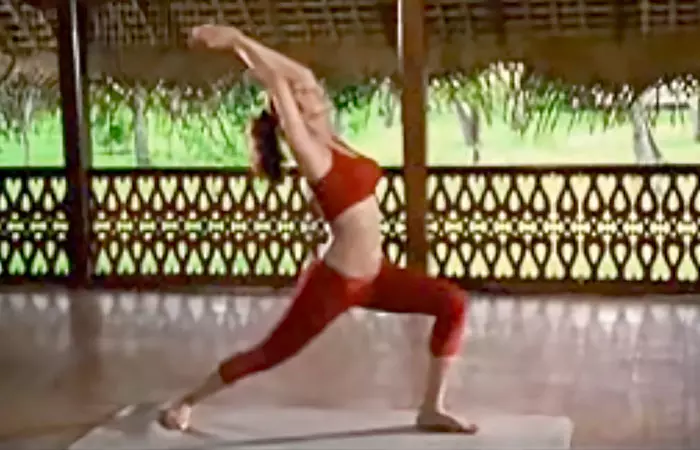
7. Virabhadrasana – To Increase Stamina
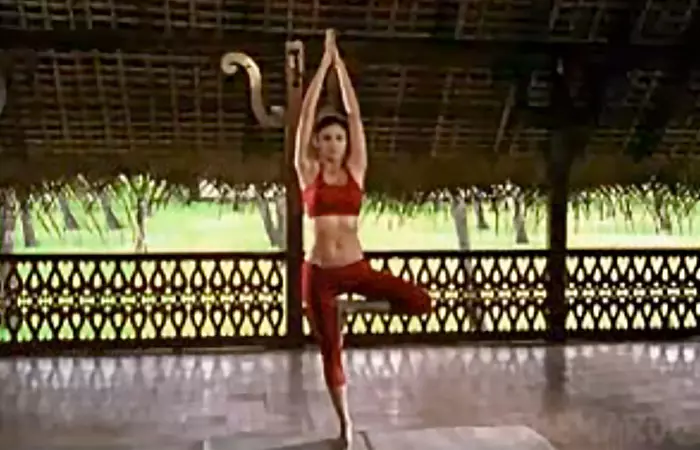
8. Vrikshasana – To Improve Balance And Stability
9. Vyaghrasana – To Strengthen Hip And Back Muscles
10. Naukasana – To Reduce Fat And Strengthen The Lower Body
Yoga is an ancient Indian workout that not only focuses on the body’s overall well-being, but also has a structured and focused asana for each body part, both internal and external. It aims to strengthen the body, mind, and soul alike, ensuring harmony among all the elements and constituents of the human body.
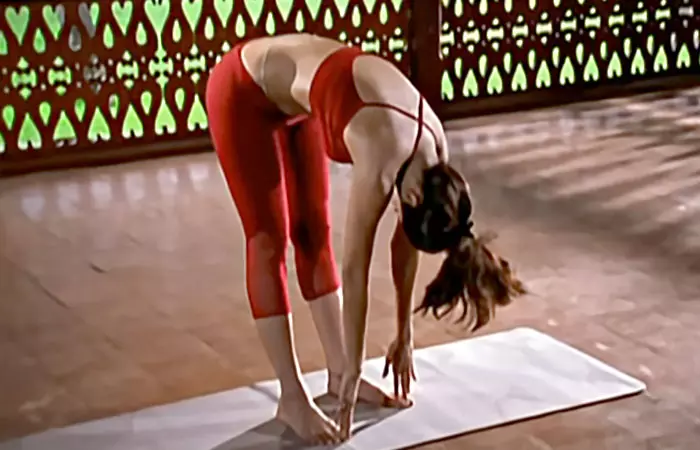
1. Padahastasana – For A Flat Tummy
Sanskrit: पादहस्तासन
This asana is a basic Vinyasa style asana. It quite literally means hand to foot pose. ‘Pada’ in Sanskrit means foot, ‘hastha’ stands for hands, and ‘asana’ means pose. This asana is pronounced as Paa-da-has-thaa-sana.
How To Do It
- Stand straight. Inhale and lift your arms above your head.
- Now exhale, and gently bend your body forward. Let your palms touch your feet. It might be difficult at first, so let your arms reach as far as possible. Your body shouldn’t be strained at any point.
- Your trunk should be placed close to your legs. Your forehead should touch your knees. But this comes with practice, and might be difficult initially. Just remember to listen to your body, and stop when it asks you to.
- Stay in this position for a few seconds as you breathe normally. Then, inhale, and come up again.
Benefits
- This asana helps to make the body extremely flexible. It thoroughly stretches the back and leg muscles.
- It helps to tone the abdominal area and get rid of belly fat.
- Since the abdominal organs get massaged, digestion is improved, and constipation is eliminated. This asana keeps stomach ailments at bay.
- The spine is flexed, and the nerves are toned.
Precautions & Contraindications
- It is best to avoid this asana if you have a serious back problem or sciatica.
- People suffering from hernia, hypertension, and heart problems should avoid practicing this asana.
- It is best to consult your medical practitioner or yoga instructor before you practice this asana.
Back To TOC
2. Makarasana – To Relax The Nervous System
Sanskrit: मकरासन
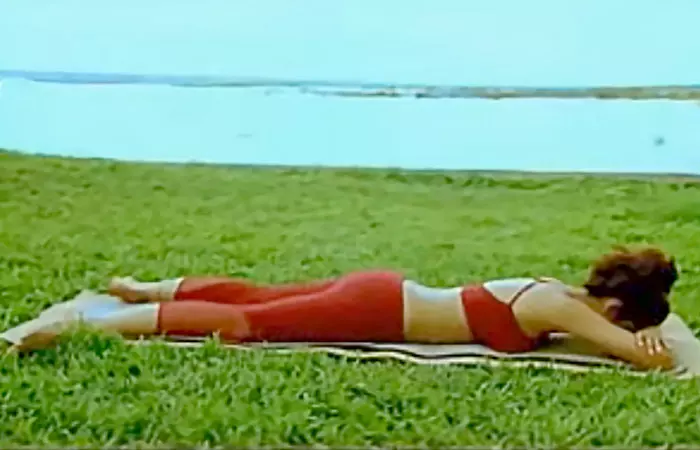
This asana is a basic yoga pose. It quite literally means the Crocodile Pose. ‘Makara’ in Sanskrit means crocodile, ‘asana’ means pose. It is an ultimate relaxation pose.
How To Do It
- Lie flat on your stomach on an even floor, keeping your hands crossed under your forehead.
- Close your eyes. Stretch your legs as far as possible with your toes pointing outwards.
- Relax your body, as you breathe slowly and normally. Feel your body on the ground and relax every muscle in your body.
- Hold this position for two to five minutes, and then, bring your legs together.
Variations
To deepen this asana, you can incorporate the Salabhasana into this pose. Raise your legs from the torso and then, fold your legs at the knees. Make sure that your shins are perpendicular to the ground.
Benefits
- Being a relaxation pose, it can be done between hectic asanas to give yourself a break, or when you are extremely tired in the course of the day.
- This asana thoroughly relaxes the back and the spine along with the nerves and muscles.
Precautions & Contraindications
- It is best to avoid this pose if you are suffering from a serious back injury.
- If you are suffering from a neck injury, you must ensure your head is in a neutral position. Use a blanket to support your neck, if you must.
Back To TOC
3. Dhanurasana – For Stress Release And Relief From Menstrual Cramps
Sanskrit: धनुरासन
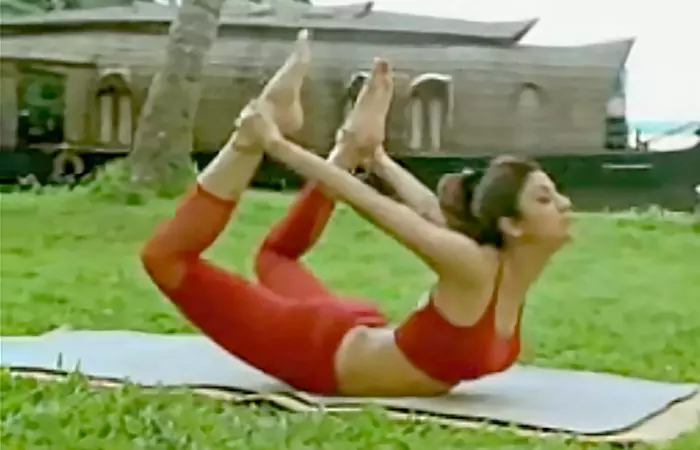
This asana is a basic yoga pose. This asana resembles a bow, and, therefore, is named so. ‘Dhanur’ in Sanskrit means bow, and ‘asana’ means pose. It is pronounced as dah-noo-rah-sah-nah.
How To Do It
- Lie flat on your stomach, keeping your feet hip-width apart and your arms beside your body.
- Now, gently fold your knees and hold your ankles.
- Inhale, and lift your chest and legs off the ground. Pull your legs back.
- Look straight and keep your face stress-free. A smile should help.
- Hold the pose as you concentrate on breathing. Your body should be as taut as a bow.
- As you get comfortable in the pose, breathe long and deep.
- About 15-20 seconds later, exhale and release the pose.
Benefits
- It helps to strengthen the back as well as the abdominal muscles.
- This asana helps to stimulate the reproductive organs.
- Practicing this asana helps to widen and open up the neck, chest, and shoulders.
- The legs and arm muscles are toned.
- Adds flexibility to the back.
- This asana is a great stress buster.
- Menstrual discomfort is relieved with regular practice.
- This asana also helps people with renal disorders.
Precautions & Contraindications
- This asana should not be practiced if you suffer from hernia, high or low blood pressure, pain in the lower back, migraines, headaches, neck injuries, or if you have had an abdominal surgery recently.
- Women should avoid this asana during pregnancy.
Back To TOC
4. Ardha Salabhasana – To Stimulate The Digestive System And The Autonomic Nervous System
Sanskrit: अर्धशलभासन
The name comes from a Sanskrit word that means grasshopper. The full pose resembles a grasshopper, and this one is a half pose that has an equal number of benefits.
How To Do It
- Lie flat on the ground with your stomach facing the floor. Rest your chin on the ground and place your palms under your thighs.
- Breathe in, and raise your right leg as high as possible.
- Hold the position for at least 30 seconds, while breathing normally.
- As you breathe out, bring your leg down.
- Repeat the same with your left leg.
Variations
- Lie flat on the ground with your stomach facing the floor. Rest your chin on the ground, and place your palms under your thighs.
- Breathe in, and raise your right leg until it is at the center of the bodyline. While you do this, raise your left arm such that it is in line with your shoulders.
- Hold the position for at least 30 seconds while breathing normally.
- As you breathe out, bring your leg and arm down.
- Repeat the same with your left leg and your right arm.
Benefits
- This asana helps strengthen the shoulders and the arms. The back muscles and the abdominal muscles are fortified too.
- This asana stimulates the nervous system.
- This asana also helps to increase the appetite and streamline the digestive process.
- It balances out the functioning of the liver and the other abdominal organs.
Precautions & Contraindications
These are some points of caution to keep in mind before you practice this asana.
- This asana must be avoided by people suffering from hernia or peptic ulcers.
- People who have an enlarged thyroid must seek the help of a certified Yoga instructor before practicing this asana.
Back To TOC
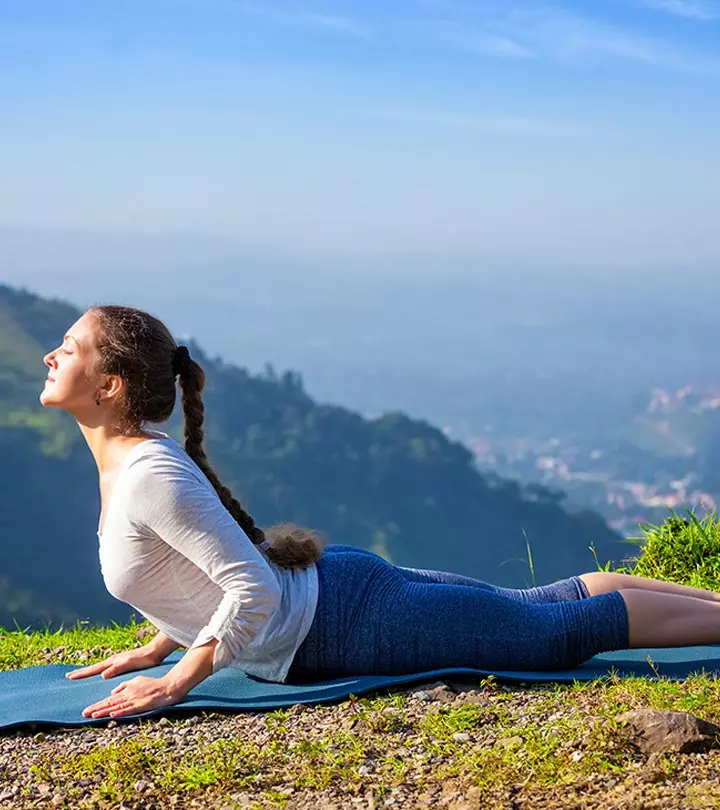
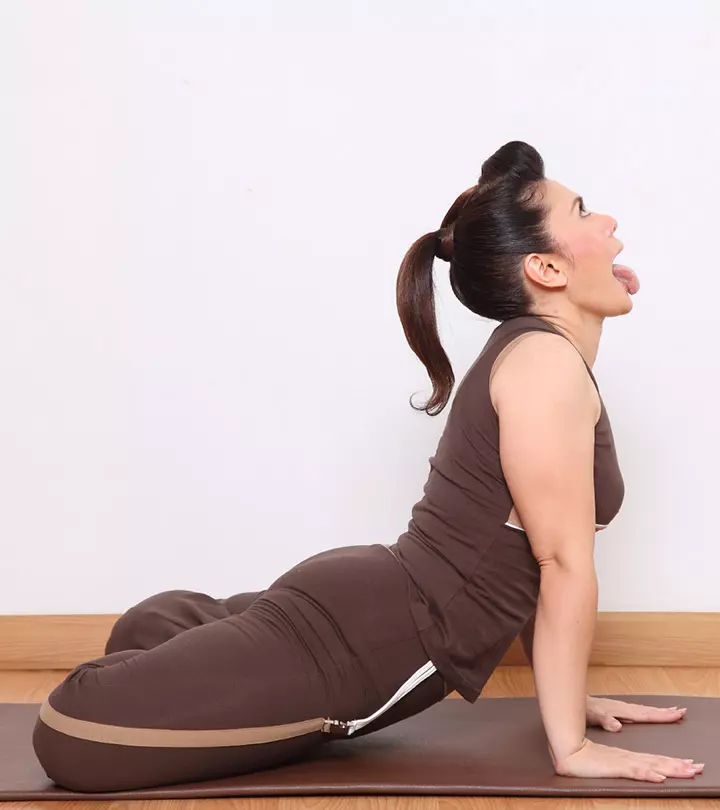
5. Bhujangasana – To Stimulate The Svadhisthana Chakra And Increase Metabolism
Sanskrit: भुजङ्गासन
The eighth pose of the 12 poses of the Surya Namaskar, Bhujangasana is also called the Cobra Pose. In this asana, the trunk and head resemble the raised hood of a cobra. ‘Bhujanga’ means cobra in Sanskrit.
How To Do It
- Lie flat on your stomach. Place your hands on the side, and ensure that your toes touch each other.
- Then, move your hands to the front, making sure they are at the shoulder level, and place your palms on the floor.
- Now, placing your body’s weight on your palms, slowly raise your head and trunk. Note that your arms should be bent at your elbows at this stage.
- You need to arch your neck backwards in an attempt to replicate the cobra with the raised hood.
- Hold the asana for a few seconds while breathing normally. Feel your stomach pressed against the floor. With practice, you should be able to hold the asana for up to two minutes.
- To release the pose, slowly bring your hands back to the sides, and rest your head on the ground by bringing your forehead in contact with the floor. Place your hands under your head. Then, slowly rest your head on one side and breathe.
- Repeat this pose thrice for best results.
Variations
This asana has a variation called the Bheka Bhujangasana, where the legs are bent at the knee, and the feet are joined together.
Benefits
- The Bhujangasana affects the back and the abdomen. The muscles of the back and lower back are worked, and the spine’s flexibility is increased.
- It also tones the organs that lie in the lower abdomen.
- It stimulates the digestive, reproductive, and urinary systems.
- It also helps regulate metabolism, thus regulating the weight.
- The cobra pose also activates the Svadhisthana Chakra.
Precautions & Contraindications
- This exercise should be avoided if you suffer from hernia or have had abdominal surgery recently.
- This asana should be avoided at all costs if you are pregnant or have a back injury.
Back To TOC
6. Utthanpadasana – To Improve Blood Circulation
Sanskrit: उत्तान पादासन
The name comes from the Sanskrit words ‘uttana’ meaning intense stretch, or straight, or stretched and ‘pada’ meaning leg. ‘Asana’ means posture or pose. Very simply, this asana involves the stretching of legs, and is a basic Yoga asana.
How To Do It
- Lie flat on the floor with your back facing the ground.
- Place your arms beside your body, making sure that your palms are flat on the floor. Keep your feet outstretched and your toes together.
- Raise both your legs until they are about 80 to 90 degrees high. Set your gaze on your big toes. Hold for about 30 seconds.
- Then, slowly bring your legs down, ensuring you do not jerk your legs.
Benefits
- It cures stomach disorders like indigestion, acidity, and constipation, and strengthens the abdominal organs.
- This asana helps to strengthen the thigh and hip muscles.
- It is a great asana for people suffering from arthritis, back pains, diabetes, and heart problems.
- This asana helps to tone the stomach muscles and reduces leg and belly fat.
- It enhances blood circulation all over the body.
- It also improves the function of the reproductive organs.
Precautions & Contraindications
- This asana must be avoided by pregnant women in the initial months. Once the woman reaches her third trimester, she must consult a doctor before practicing this asana. Once the doctor approves, this asana must be practiced with the support of a wall.
- This asana must not be practiced by people suffering from slip disc, ulcers, high or low blood pressure, or if they have recently undergone an abdominal surgery.
- This asana must be avoided by menstruating women, but if they are comfortable doing this asana, they can continue practicing it.
- It is best to consult a doctor or a Yoga practitioner before you do this asana.
Back To TOC
7. Virabhadrasana – To Increase Stamina
Sanskrit: वीरभद्रासन
Virabhadra is a mythological character created by Lord Shiva, and this pose derives its name from there. The Virabhadrasana I is an asana honoring the feats of a legendary warrior. Hence, it is also called the Warrior 1 pose. This asana is considered to be one of the most graceful postures in yoga, and it adds a whole lot of beauty to the workout.
How To Do It
- Stand erect and spread your legs about three to four feet apart. Your right foot should be in the front and the left foot behind.
- Now, turn your right foot outwards by 90 degrees and the left by 15 degrees, making sure the heel of the right foot is perfectly aligned with the center of the left foot.
- Lift your arms sideways until they reach the height of your shoulders. Your arms must be parallel to the ground, and your palms should be facing upwards.
- Exhale, and bend your right knee, such that your knee and ankle form a straight line. Make sure that your knee does not go ahead of your ankle.
- Now, turn your gaze to your right.
- As you move into the pose, stretch your arms further, and join your palms above your head. Look at your palms. Gently push your pelvis down.
- Hold the pose with the same determination as a warrior, and wear a smile on your face. Breathe normally and keep going down.
- Inhale and come up.
- Exhale, and gently bring your hands down from the sides.
- Repeat this pose on the left side, with your left leg in the front and the right one at the back.
Variations
If you feel you cannot hold your balance in this asana, create a stable base by placing the front foot a few inches out from the midline of your body.
It might help if you place a block below your heel to press down or press your heel against a wall. This will help you stabilize.
If your back knee feels tense, involve the muscles in your thighs such that they lift the kneecap, while the back leg is absolutely straight.
If you suffer from lower back problems, gently bend forward from the hip such that your torso is diagonally lengthened, and your abdomen forms support.
This pose can also be performed with the arms in different positions. You could either clasp it behind your torso or hold it at your hips, apart from holding it at the shoulder level or holding it above your head.
Benefits
- This asana is known to strengthen and tone the lower back, the arms, and the legs.
- It helps to stabilize and balance the body as it increases the stamina.
- It is also a great asana for those with desk or sedentary jobs. It stimulates the metabolism as well as restores the spine.
- This asana helps ease out frozen shoulders.
- It also helps release stress from the shoulders almost immediately.
- This asana relaxes the mind and the body, spreading the notion of peace, courage, grace, and a sense of auspiciousness.
Precautions & Contraindications
- It is important to consult a doctor before you practice this asana, especially if you have spinal problems or have just recovered from a chronic illness.
- If you have shoulder pains, raise your arms and leave them parallel to each other instead of holding them above your head.
- If you have neck problems, you should not look up at your hands after you stretch them.
- Pregnant women will benefit from this asana, especially if they are in their second and third trimester, but only if they have been practicing yoga regularly. This must be done under the guidance of their trainer and with a doctor’s permission.
- If you suffer from knee pain or have arthritis, you can use the support of a wall to do this asana.
- People suffering from heart problems or high blood pressure should avoid this asana.
Back To TOC
8. Vrikshasana – To Improve Balance And Stability
Sanskrit: वृक्षासन
This posture is a close replica of the steady, yet graceful stance of a tree.The name comes from the Sanskrit words ‘vriksa’ or ‘vriksha’ meaning tree, and ‘asana’ meaning posture. For this pose, unlike most other yoga poses, you are required to keep your eyes open so that your body can balance itself.
How To Do It
- Stand absolutely erect and drop your arms to the side of your body.
- Slightly bend your right knee, and then, place the right foot high up on your left thigh. Make sure that the sole is placed firm and flat on the root of the thigh.
- Your left leg needs to be absolutely erect. Once you have assumed this position, breathe, and find your balance.
- Now, inhale, and gently raise your arms over your head and bring them together in a ‘namaste’ mudra.
- Look straight at a distant object and hold your gaze. This will help you maintain balance.
- Keep your spine straight. Note that your body needs to be taut, yet elastic. Take in deep breaths, and every time you exhale, relax your body more.
- Gently bring your hands down from the sides, and release the right leg.
- Come back to the original position of standing tall and straight as you did at the beginning of the practice. Repeat this pose with the left leg.
Variations
To enhance your stability, you could stretch out your arms on your sides and place them on a wall beside you for maximum support.
Benefits
- It strengthens the spine while improving both balance and poise.
- It improves and aids neuromuscular coordination.
- It tones the leg muscles while making the ligaments and tendons of the feet stronger.
- The knees become stronger, and the hip joints are loosened.
- The eyes, inner ears, and shoulders are also strengthened in this pose.
- It relieves those suffering from sciatica and reduces flat feet.
- It makes you stable, flexible, and patient. It enhances concentration and activates all the mental faculties.
- This pose helps to deepen the thorax.
Precautions & Contraindications
- While practicing this asana, you must ensure that the sole of the lifted foot is placed preferably above or, in some cases, below the standing knee, but never beside it. Placing the foot beside the knee puts pressure on the knee as it does not flex parallel to the frontal plane.
- Those who suffer from high blood pressure should not raise their arms above the head for a long period. They can be held at the chest in the ‘anjali’ mudra.
- It is best that you avoid practicing this pose if you suffer from insomnia or migraine.
Back To TOC
9. Vyaghrasana – To Strengthen Hip And Back Muscles
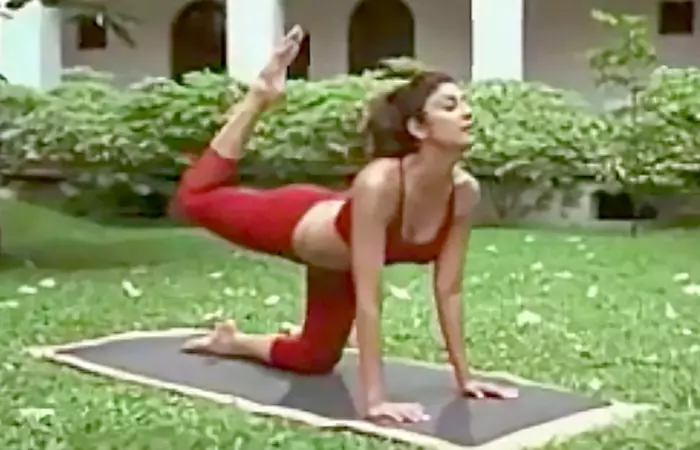
Vyaghrasana is the Sanskrit name for Tiger Pose. Being an extension of the Cat Pose, this asana resembles the movement of a tiger as it wakes up from deep slumber. ‘Vyaghra’ in Sanskrit means tiger, and ‘asana’ means pose.
How To Do It
- You need to start the asana by assuming the tabletop position. Make sure your knees are right under your hips and your wrists are placed right under your shoulders. Turn your gaze forward and relax.
- Breathe in, and arch your back as you gently lift your right leg, and stretch it up and back.
- Open up your chest, look up, and bring your toes to the back of your head.
- Breathe out and arch the back while you tuck the pelvis under, and bring your head down. Put your right leg down. Bend the hip as you bring the right knee towards your nose. The right foot needs to be off the floor.
- Inhale. Repeat on the same leg about 10-20 times.
- Come back to the tabletop position and then, repeat the exercise with your left leg.
Benefits
- This asana helps tone the spinal and the sciatic nerves.
- It loosens the hip joints and the legs and strengthens them.
- It helps tone the vaginal passage post delivery.
- It enhances digestion as it massages and tones the digestive organs and abdominal muscles.
- It tones and strengthens the back muscles.
- It helps to improve the blood circulation.
- This asana also helps reduce weight, especially on the hips and thighs.
Precautions & Contraindications
- It is best to avoid this asana if you have lumbar disc problems or if you have torn or sore hips.
- Pregnant women must practice this asana only with a doctor’s prescription under the guidance of a Yoga instructor.
Back To TOC
10. Naukasana – To Reduce Fat And Strengthen The Lower Body
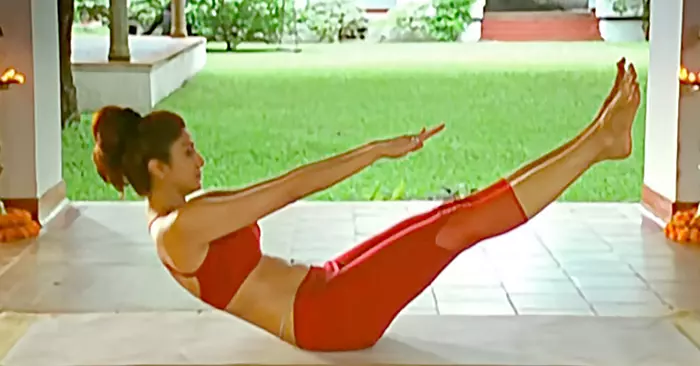
This pose is named after the shape of a boat that it takes. ‘Nauka’ in Sanskrit means boat and ‘asana’ means pose. Naukasana is pronounced as NAUK-AAHS-uh-nuh.
How To Do It
- Lie flat on your back, placing your feet together, and your arms beside your body.
- Take a deep breath and then, as you exhale, lift your feet and chest off the ground. Stretch your arms towards your feet.
- Keep your toes, fingers, and eyes in a single straight line.
- You must feel a stretch in your navel area while the abdominal muscles contract.
- Breathe deeply and normally as you maintain the pose.
- Exhale and release the pose.
Benefits
- This asana strengthens the back as well as the abdominal muscles
- It tones both the leg and arm muscles.
- It helps tone your lower body and strengthen it at the same time.
- It helps patients suffering from hernia.
Precautions & Contraindications
- Avoid doing this pose if you suffer from migraine or severe headaches. Also, avoid this asana if you have low blood pressure, spinal disorders, or a chronic disease.
- Heart patients and asthma patients must avoid this pose.
- Pregnant woman must also avoid this pose, as should women on the first two days of their period.
Back To TOC
These are just a few of the many asanas Shilpa Shetty advocates. One must applaud her initiative to take Yoga to the masses, and spread awareness of this amazing method of workout that works wonders for your mind, body, and soul.
Read full bio of Shirin Mehdi











Community Experiences
Join the conversation and become a part of our empowering community! Share your stories, experiences, and insights to connect with other beauty, lifestyle, and health enthusiasts.