25 Hair Coloring Tips, Tricks, And Hacks To Consider
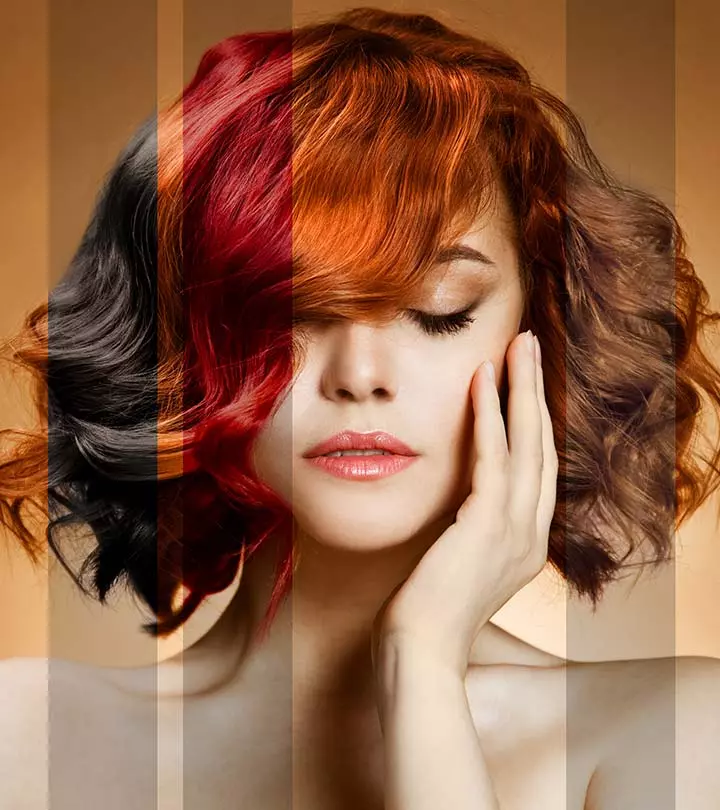
Avoid going to expensive salons with pro tips to flaunt expertly dyed tresses at home.
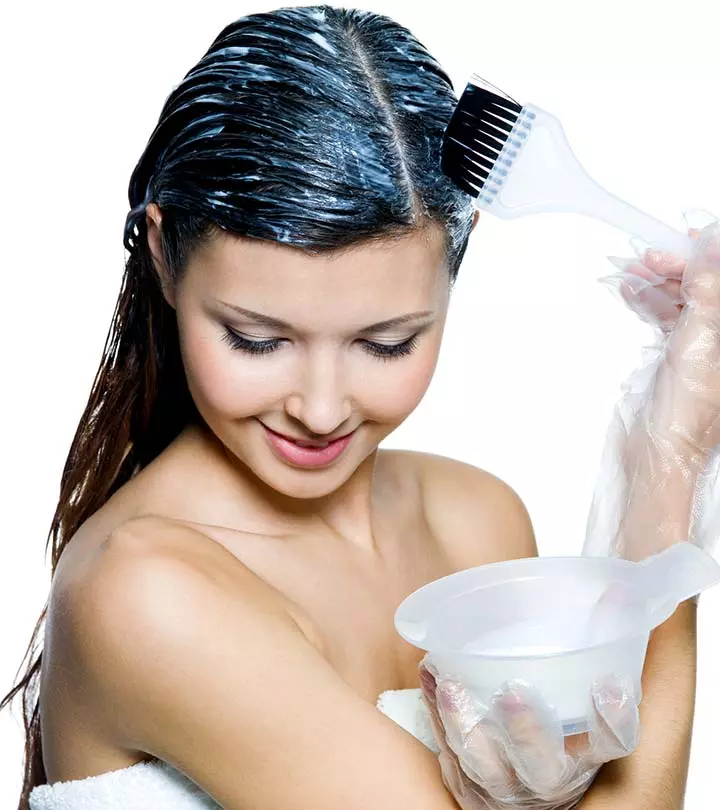
Image: Shutterstock
We all have that dream of giving our hair a fashion makeover with a certain color and turning heads! However, going to a beauty salon means spending a lot of money, not just on the hair coloring treatment but even the constant refreshers to keep your color looking vibrant. So, have you considered coloring your hair at home? While it may sound overwhelming, here are some tips, hacks, and tricks you can try to make your DIY hair coloring experience smooth like butter! If you do not know any of these suggestions, do not worry. Just scroll down and keep reading!
In This Article
25 Expert Tips And Hacks For Perfect Hair Coloring
- Strand test: When it comes to coloring your hair, this is the absolute first thing you need to do before going all in with the hair dye. Do a strand test on a small section of hair near the nape of your neck by applying the dye to it and leaving it on for the developing time indicated on the box. This will show you exactly how the hair color will turn out at the end and you won’t end up with any disastrous results!
 Quick Tip
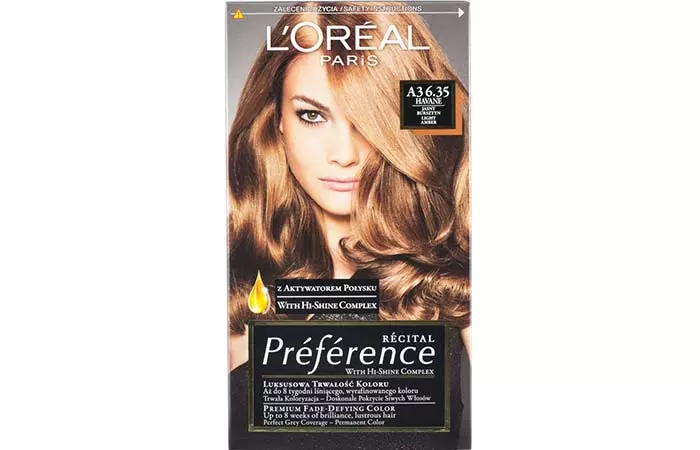
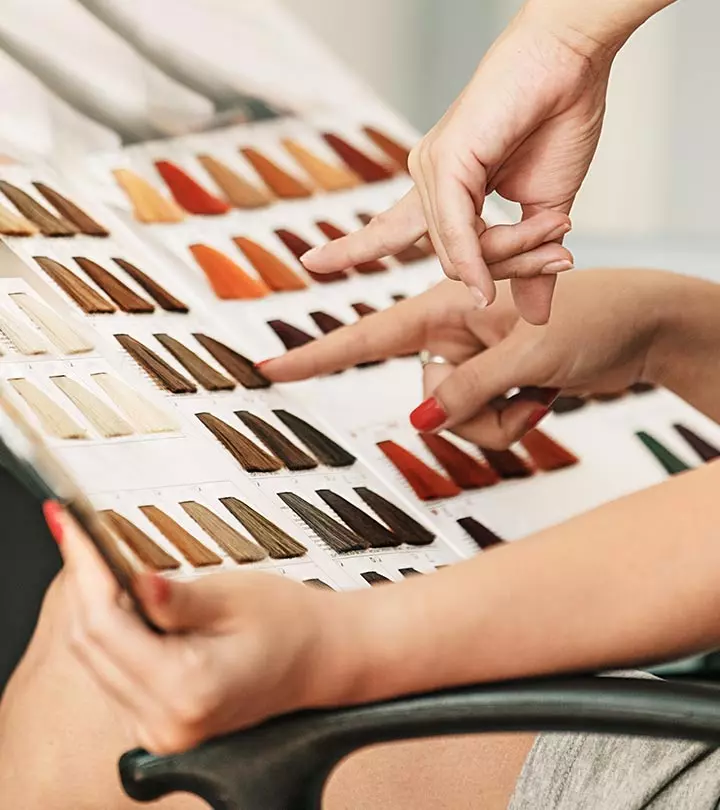
- Don’t trust the lady on the box: Now this is the most obvious mistake that anyone can make when it comes to selecting hair color. Most people go by the hair color of the model on the front of the box (of permanent hair dye). You’ll be surprised to know that your hair color will probably turn out lighter than hers. This is because the developer in boxed hair dyes is stronger than the dyes used in salons. Therefore, it will lighten your hair more than how it appears on the box. So, what you need to do is look for the color guide on the side or back of the box that will show you exactly how the final color will turn up on different base shades.
- Go darker for permanent color, lighter for semi permanent color: If you’re coloring your hair with permanent hair dye, go for a shade that’s a little darker than you want as the developer in the dye will lighten your hair considerably. For semi permanent hair dye, on the other hand, go for a shade that’s a little lighter than you want. This is because the longer you leave the dye on your hair, the darker and more intense the shade will turn out.
- Two boxes: If your hair is past your shoulders and tends to get dry, then make sure you get two boxes of hair dye when coloring your hair.
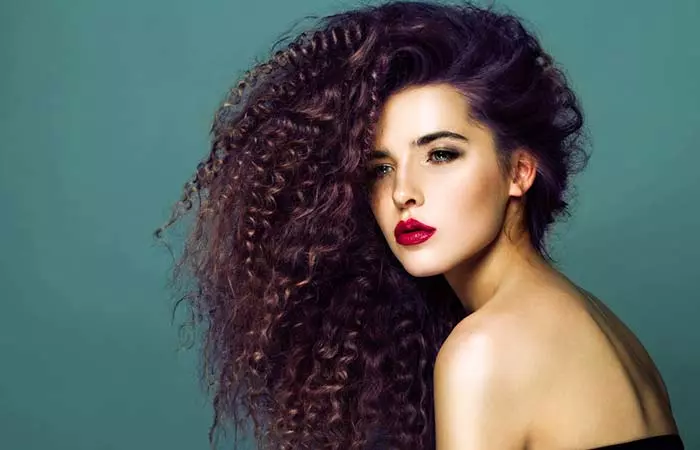
- Hair texture: There are two things you need to remember about hair texture when you’re contemplating hair dye ideas. First, hair that is frizzy, curly, and coarse absorbs more color and tends to get cooler toned when you color it. So, any dye you apply to it will look slightly ashy and have blue undertones. Second, straight hair that is fine or medium textured is prone to getting warm toned when you color it. So, the color you end up with could have an orange or copper tint to it. What you need to do when picking out your hair dye then is to go for warm toned colors like golden or bronze that is a lighter hue than your natural hair color if your have frizzy curly hair and cool toned shades like beige or ash blonde that are a little darker than your natural color if you have fine textured straight hair.
- Condition your ends before rinsing out your root touch up: A major part of maintaining your hair color is touching up your roots when they grow out. This could get tricky because the ends of your hair are more porous and can get stained when you are washing out the color from your roots. A quick and easy way to prevent this from happening is to apply conditioner to the ends of your hair right before you wash out the color from your roots.
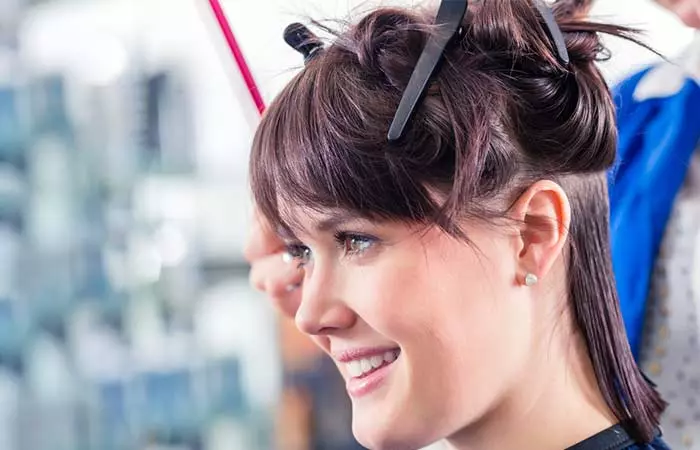
- Proper sectioning: Sectioning your hair properly is key when coloring your hair to prevent the final results from turning out patchy. But you have to work fast because once the product is on the scalp the clock starts ticking for how quickly it will process. You want every section of hair to process the color close to the same amount of time. This decreases the chance of patchy spots and uneven coloring. The best way to section your is first parting it vertically from the center of your forehead to the nape of your neck and then horizontally from one ear to another. This will divide your hair into 4 equal sections. Now, start coloring your hair from the very back of your head and work your way to the the front. This way the color will have developed on the back section of your hair the longest, which is naturally darker than the rest of your hair.
- ‘Shampoo + Color’ for dry ends: Since dry ends are porous and absorb color very quickly, leave them out while applying color to the rest of your hair, but reserve a little color in the bowl. Three minute before you wash your hair, add 2 squirts of shampoo to the color in the bowl and apply it to your ends. This will give them a bust of color and shine.
- Add water and massage: A great way to make your color job look even and avoid any streaks, patches or lines is to spritz a little water on your head and massage the color around right before you wash it.
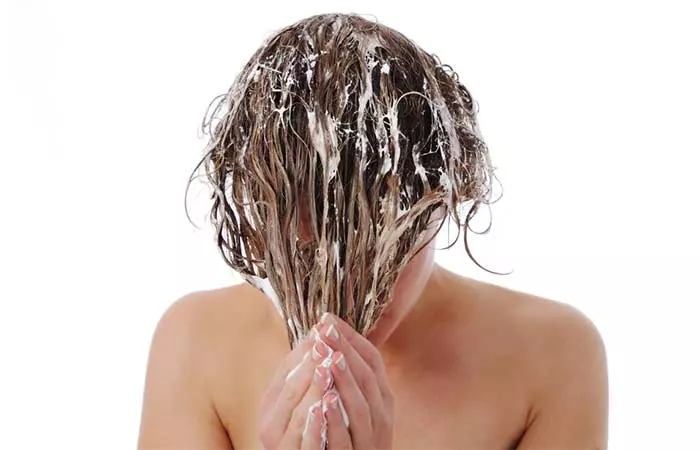
- Don’t skip the conditioner: There are two reasons why you should never skip the conditioning after coloring your hair. First, it moisturizes your hair after the hair dye and shampoo strip it of its natural oils. Second, and more importantly, it closes the hair cuticles that the dye had opened up to seep into your hair shaft. Thus, it prevents your color from getting darker than your desired shade.
- Your dad’s old buttondown shirt: If you’re not careful, you can end up coloring more than just your hair with your hair dye! I’ve heard many a horror story about people ruining their good clothes and staining their sinks and countertops with hair dye because they did not take the necessary precautions. Here’s what you need to do – cover your work surfaces with trash bags or newspapers and put on an old buttondown shirt or bathrobe before you start dyeing your hair. This way, you won’t have to pull clothes over your dye-covered head before rinsing it off.
Keep a white grocery bag or shower cap ready. It can help process the hair color faster. Avoid using bags with logos or additional color as the hair dye may soften those colors and make them seep into your hair color.
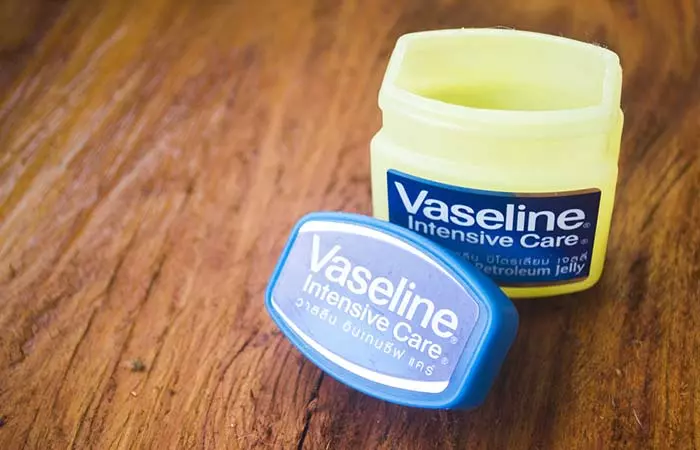
- Protect your skin from staining: There’s nothing worse than excitedly washing off the dye from your hair and realising that you’re stained the skin on your forehead and ears as well. The best way to prevent this tragedy is to apply some Vaseline (or any petroleum jelly) on your ears, all along your hairline, around your forehead, and the back of your neck. If you can’t stand the goopiness of Vaseline, opt for a chapstick instead which will also make for a neater application.
- Toothbrush for highlights: The best way to give yourself some highlights or lowlights is to apply the color on small sections of your hair with a toothbrush. The bristles of the toothbrush make for a subtle and even application of color. The highlights also blend better with your natural hair color when done this way.
Note:
Do not use the toothbrush roughly. Be gentle. The bristles on the toothbrush may cause abrasions on the scalp. When you apply hair dye, it can irritate and burn the scalp.
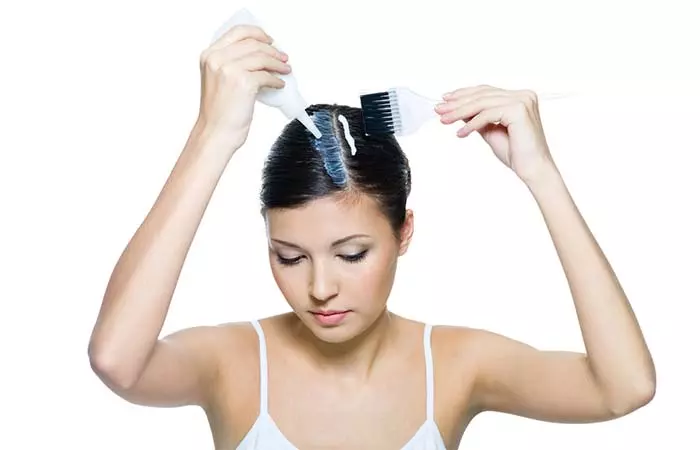
- Apply dye to roots first: Since your hair is darkest at the roots, it needs the most amount of dye and the most time to process. So, start by applying color to your roots first and then pulling it down the rest of your hair with a hair coloring brush, a comb or your fingers.
 Quick Tip
- Use two mirrors: Coloring the hair at the back of your head can be tricky, especially if your don’t have a friend standing by to tell you if you have missed a spot. So, keep a handheld mirror at hand and use it to check if you have colored all the sections at the back of your head.

- Wear a shower cap: I know you have got tons of stuff to get done in a day and sitting around aimlessly while your dye processes is just not an option for you. So, just tuck your hair under a shower cap to prevent the color from dripping and staining while you go about your chores.
- Wear gloves while washing color off: We all know that we need to wear plastic/rubber gloves while applying hair color. But did you know that it’s just as important to keep them on when you’re washing the color off too? Yep, hair dye can stain your hands when you’re washing it off just as easily as when you were putting it on. It can also stain your ears and the back of your neck. Be sure to follow step 11 and use vaseline on your forehead to avoid staining or splotching your face while the color is processing.
- Don’t dye the ends when redyeing: Top hair colorist Christine Silverman suggests not applying dye on the ends of your hair when you’re redyeing it as it can make your hair look over-saturated and heavy.
- Pink shampoo to eliminate green tones: Your hair can develop green undertones as a result of old color jobs, buildup of products or chlorine (if you swim frequently). A pink shampoo and conditioner can help solve this problem as pink eliminates green. Warm color pigments can also help with the hair color correction process.
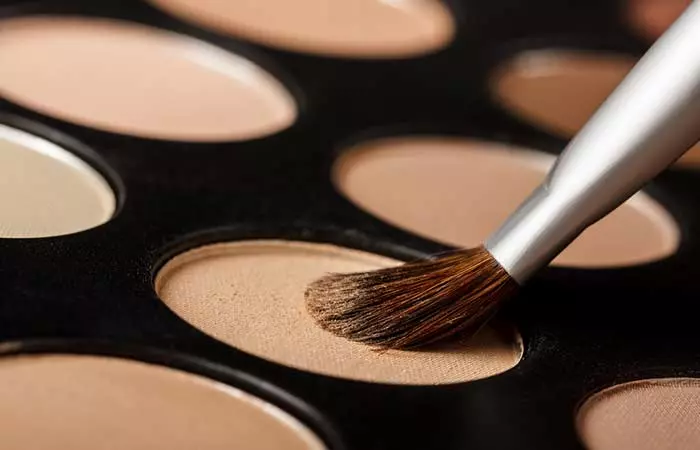
- Eyeshadow for root touch up: When life gets busy, things like root touch ups don’t end up high on your priority list. But that doesn’t mean that you go around with unsightly grown out roots on full display. So, here’s a little hack that you can use when you are in a hurry but also need to look presentable. If your roots are darker than the rest of your hair, then there’s probably a harsh line where your roots have grown out. Blend out and soften this harsh line with the help of an eyeshadow that’s the same shade as your roots. Buff this eyeshadow into your hair till about an inch below your roots to make your roots and the dyed hair look more naturally blended.
If your roots are lighter than the rest of your hair, then apply an eyeshadow that is the same color as the length of your hair onto the roots.
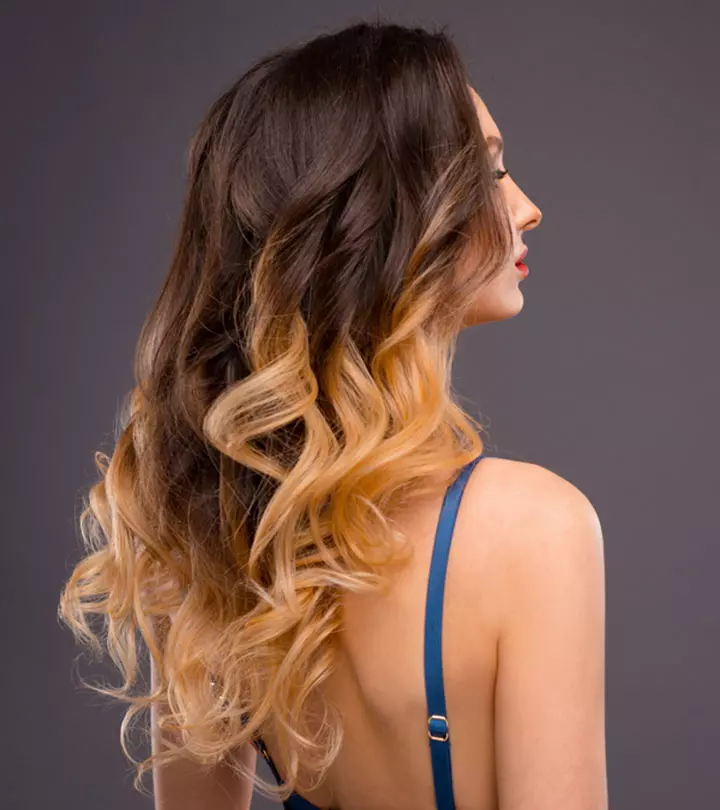
Don’t forget to spritz on some hairspray to prevent the eyeshadow from shifting or fading away. You can avoid the hassle of root touch-ups by using hair coloring styles like balayage or ombre, which gives vibrancy to your hair without requiring you to touch it up frequently.
- Secondary colors are safer: If you are just starting to explore different hair coloring techniques or if this is the first time that you’re coloring your own hair, it’s better that you stay away from primary colors (red, blue, yellow) as they are more difficult to work with. Go for secondary colors like pink, purple, coral or green instead.
Also, when it comes to picking a new hair color, select a high-quality, long-lasting dye. Ammonia-free formulas are a great choice, as they are less harsh on your hair.
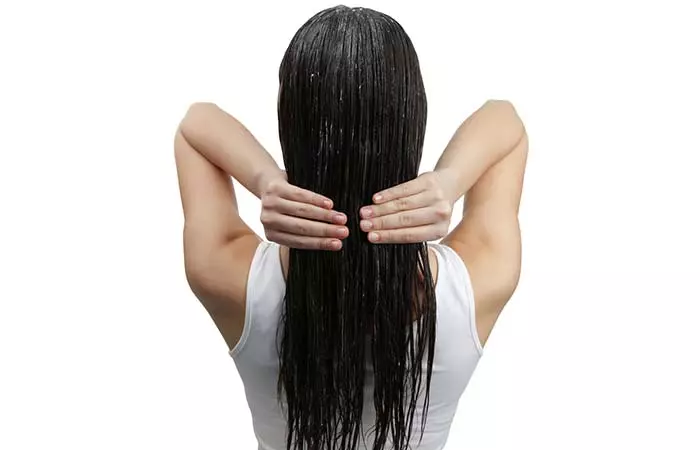
- Apply coconut oil before swimming: I’m sure it will come as no surprise to anyone that the chlorine content of swimming pool water can ruin your hair color and damage your hair. You can protect your hair by applying coconut oil to it as it will act as a barrier between the chlorine and your hair color. A thick, creamy leave in conditioner is also a great alternative.
Chhavi Mittal, a vlogger, shared how using coconut oil helped protect her hair from chlorine during her swims. She said, “Very often I use coconut oil and sometimes a conditioner. I assure you your hair will not dry up (i).”
- Condition before shampoo: Now here’s a rather strange approach to washing your hair to prevent your color from fading out too fast. Apply conditioner all over your wet hair and shampoo on top of it. This removes all the excess oils and build up from your hair without coming in contact with the color. Then wash it all off and condition your hair once more.
- Olive oil and toothpaste to remove dye stains from skin: Staining your forehead and neck with dye is pretty inevitable when coloring your hair. The easiest and quickest way to get rid of those stains is by mixing a tablespoon of olive oil with some whitening toothpaste and rubbing this mixture on the stains with a cotton ball.
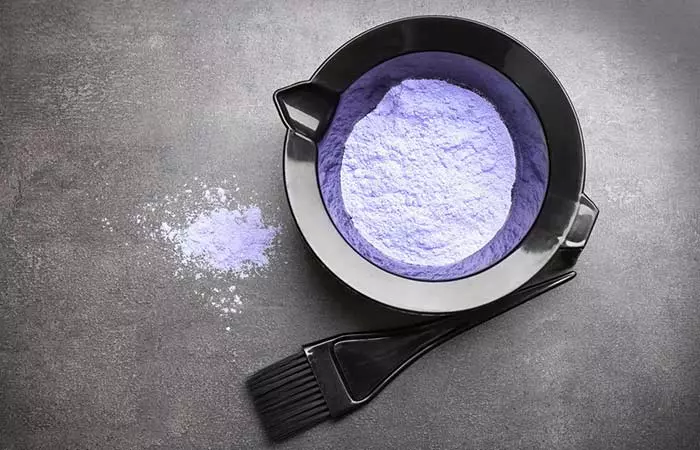
- Don’t use metal bowls, spoons or clips: The developer pigment in the hair color can react with metal and oxidize, thus leading the color to change. There have also been instances of the reaction being so strong that it caused the hair to break off from the middle. So use a glass bowl and plastic spoons and clips when coloring your hair.
While the above tips will help you develop the color perfectly, you also need to be mindful of any uncolored spots on your hair. To dye your hair at home without missing any spots, see the following section.
Key Takeaways
- Before coloring, conduct a strand test on a small section of your hair near the neck to see the results.
- For a permanent color, opt for a shade darker than what you want. For semi-permanent colors, go a shade lighter than the desired color.
- Before washing out the color from the roots, apply conditioner on the ends to protect the color.
- Right before washing your hair after coloring, spritz some water on the hair and massage the color around.
- After coloring, tuck your hair under a shower cap to avoid dripping and staining.
How To Dye Your Hair By Yourself Without Missing Spots?
It is easy to color your hair using any at-home kit available in the market. However, the package instructions do not tell you how to get a salon-level finish. Also, every brand has its own specific factors, such as mixing time, processing time, and application techniques, that can impact the final color. Skipping steps or altering the instructions may lead to uneven color or unwanted results. So, it is important to stick to the directions for the best possible outcome.
- Begin with unwashed hair to allow natural oils to protect your scalp.
- Section your hair into manageable parts using clips.
- Apply petroleum jelly along your hairline to prevent staining.
- Mix the hair dye as per the instructions in a container.
- Apply the dye from the roots, working your way down to the tips.
- Use a brush or applicator for precise application and even coverage.
- Massage the dye into each section to spread it thoroughly.
- Check on a mirror for any missed spots and touch up immediately.
This was a brief overview of the steps you must follow to dye your hair at home. However, if you want to learn more about the steps in detail, including hair highlight tips, you can always check our guide on how to dye your hair at home like a seasoned pro. These tips will ensure you get the glossy, uniform hair job you desire.
Infographic: 10 Best Hair Coloring Tips And Tricks You Can Try Now!
The idea of coloring your hair at home may seem more intimidating than it actually is, due to the availability of various methods and color options. If you haven’t achieved a salon-like finish despite repeated attempts, worry not! Check out the infographic below for 10 best hair coloring tips and tricks that can make your job easier.

Illustration: StyleCraze Design Team
Hair coloring at home can be fun and easy as long as you keep the hacks and tips shared in this post in your mind. Certain points bear reiteration, like the importance of conducting a strand test to avoid ending up with a color tone that you never really wanted in the first place. It is also important to keep your hair texture and skin tone in mind when picking a hair color. Last but not least, follow the entire procedure as described in the manual, and don’t forget to condition your hair, follow proper hair care methods, and protect your skin and clothes from stains.
Frequently Asked Questions
Is coloring your hair damaging?
Yes, getting a semi-permanent or permanent color can penetrate deeper layers of your hair and make your hair dry. Ensure that you use the right shampoo and conditioner to keep your hair hydrated and nourished.
What is the difference between dyeing and coloring your hair?
Hair dye penetrates deeper layers of your hair to color your hair and last longer. Hair color stays on the surface of the hair and fades faster.
How long does colored hair last?
The color on your hair lasts usually between four to eight weeks before it starts fading.
Is coloring hair better than bleaching?
Yes, applying bleach on the hair involves using hydrogen peroxide to strip the color from your hair and give it a lighter shade. Hair coloring only changes the color of your hair and is less damaging to your hair.
Illustration: Hair Coloring Tips Tricks And Hacks To Consider
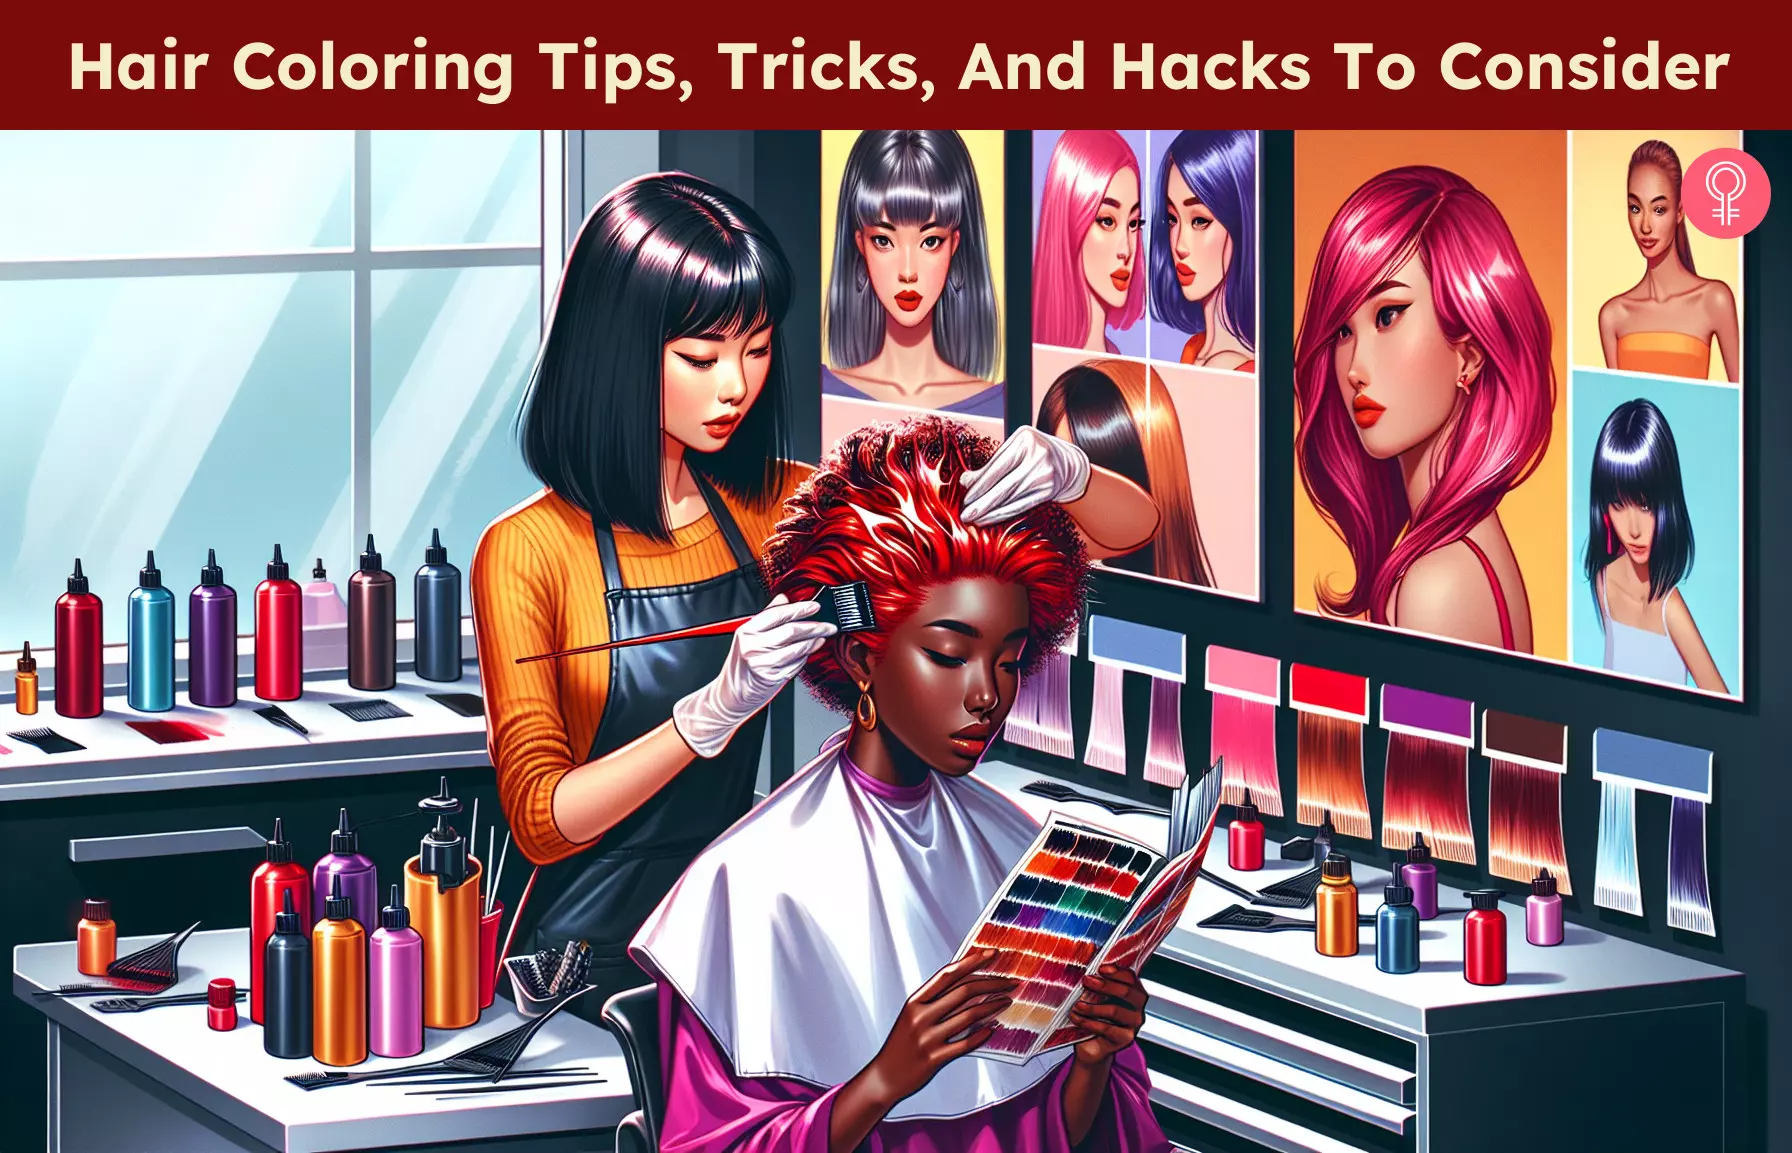
Image: Dall·E/StyleCraze Design Team
Witness the stunning hair color transformations for long hair in this captivating compilation. Check out the video to get inspired by the vibrant and imaginative rainbow hairstyles.
Personal Experience: Source
StyleCraze's articles are interwoven with authentic personal narratives that provide depth and resonance to our content. Below are the sources of the personal accounts referenced in this article.
i. HAIR CARE & SKIN CARE WHILE SWIMMING | BEING WOMAN with Chhavihttps://www.youtube.com/watch?v=Oe7oQcxOFpI
Read full bio of Madison Dufour
Read full bio of Arshiya Syeda
Read full bio of Madhumati Chowdhury
Read full bio of Bhumika Daga







Community Experiences
Join the conversation and become a part of our empowering community! Share your stories, experiences, and insights to connect with other beauty, lifestyle, and health enthusiasts.