How To Do The Trikonasana And What Are Its Benefits
Master this powerful pose to boost flexibility, strength, and overall wellness today!
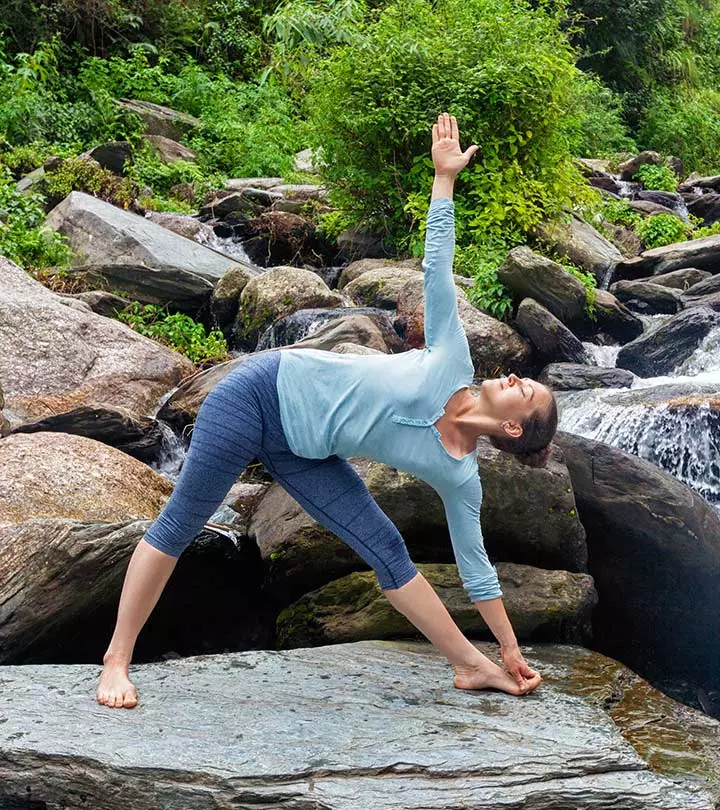
Image: Shutterstock
Trikona – Triangle, Asana – Pose; Sanskrit: त्रिकोणासन; Pronounced as – trih-koh-nah-sah-nah
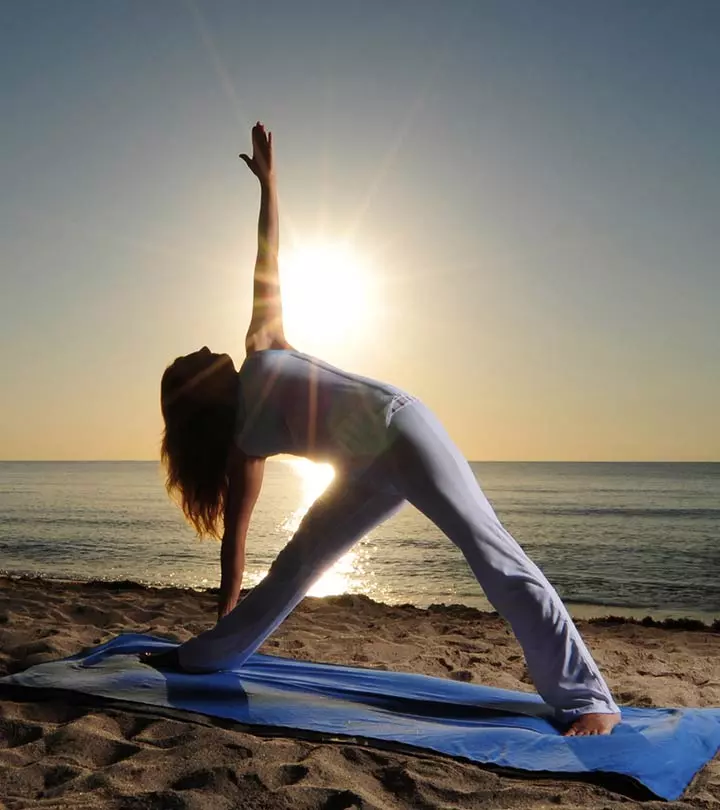
This asana resembles a triangle, and therefore, is named so. The name comes from the Sanskrit words त्रिकोण (trikona), meaning triangle, and आसन (asana), meaning posture. This asana is known to stretch the muscles and improve the regular bodily functions. Unlike most other yoga asanas, this requires you to keep your eyes open while you practice it to maintain balance.
Everything You Need To Know About Trikonasana
- What You Should Know Before You Do The Asana
- How To Do The Trikonasana
- Precautions And Contraindications
- Beginner’s Tips
- Advanced Pose Variations
- Benefits Of The Trikonasana
- The Science Behind The Trikonasana
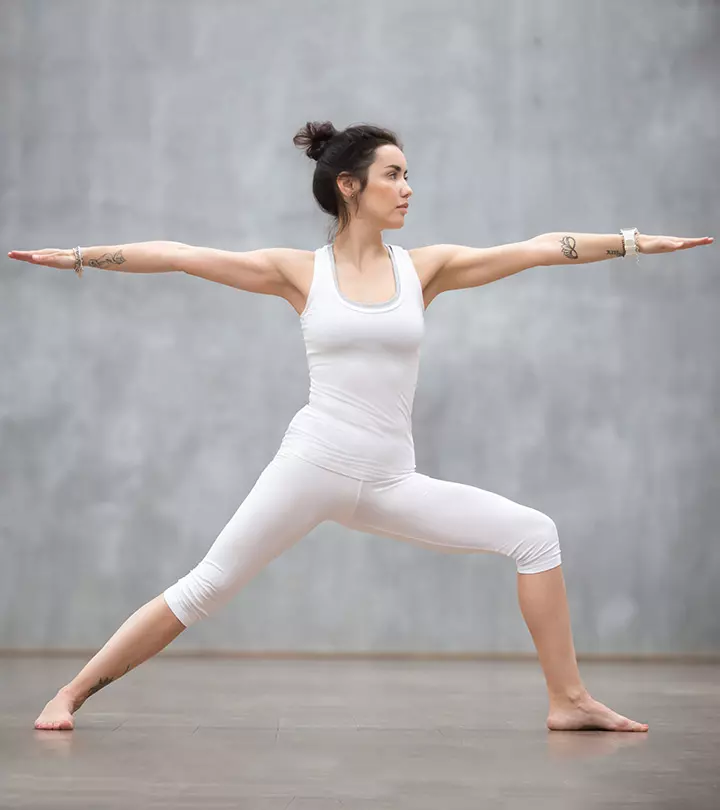
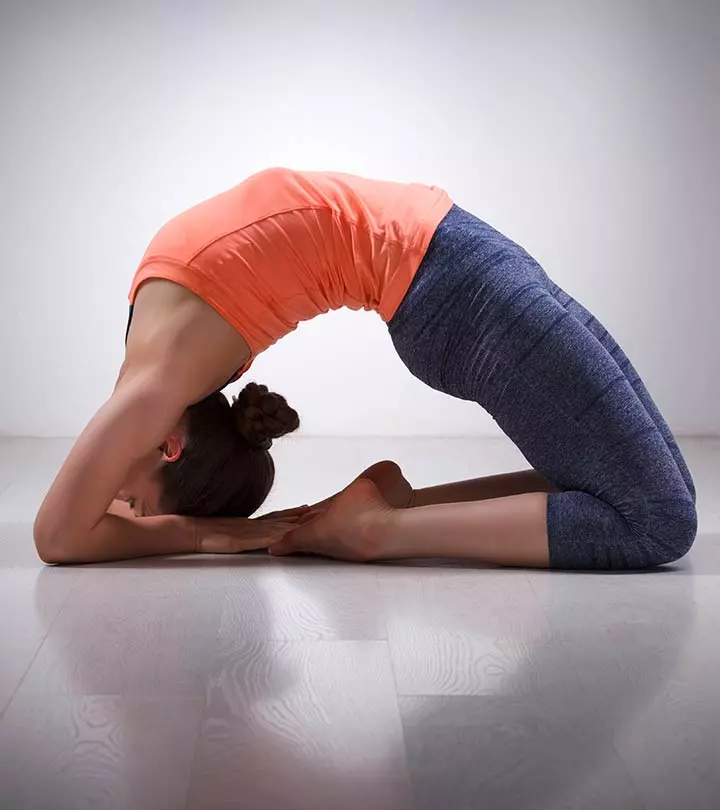
- Preparatory Poses
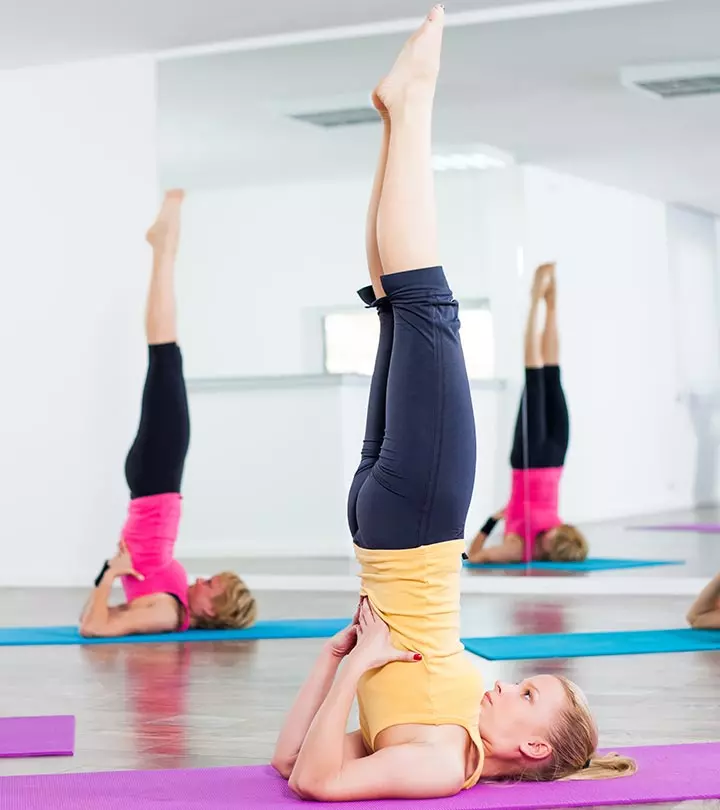
- Follow-Up Poses
What You Should Know Before You Do The Asana
Like the other yoga asanas, it is essential that your stomach and bowels are empty when you practice the asana. Make sure there is a gap of at least four to six hours between your meal and practice. This will give you enough time to digest your food and generate energy for your practice.
Also, mornings are ideal to practice yoga. But, in the event you cannot practice yoga in the morning, evenings are a good time too.
Level: Beginner
Style: Vinyasa
Duration: 30 Seconds
Repetitions: 3 to 5 on each leg
Strengthens: Ankles, Thighs, Knees
Stretches: Ankles, Groin, Thighs, Shoulders, Knees, Hips, Calves, Hamstrings, Thorax, Vertebral column
How To Do Trikonasana
1. Stand upright and place your legs about three and a half to four feet apart.
2. Make sure your right foot is placed outside at 90 degrees and the left foot is placed in at 15 degrees.
3. Align the center of your right heel with the center of the arch of the left foot.
4. You need to remember that your feet are pressing the ground, and the weight of your body is balanced equally on both feet.
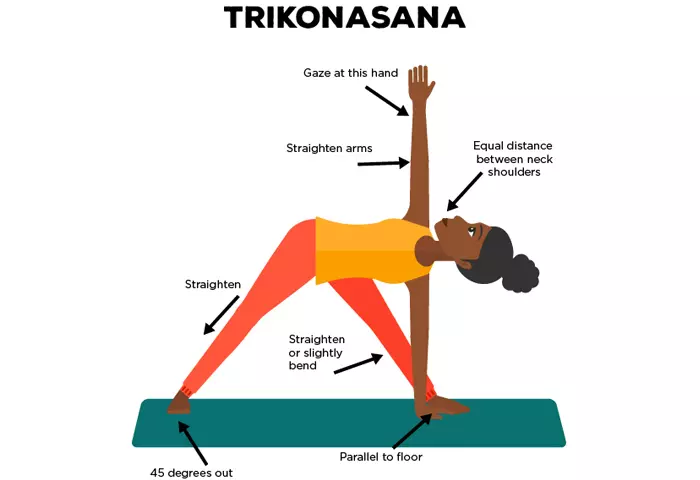
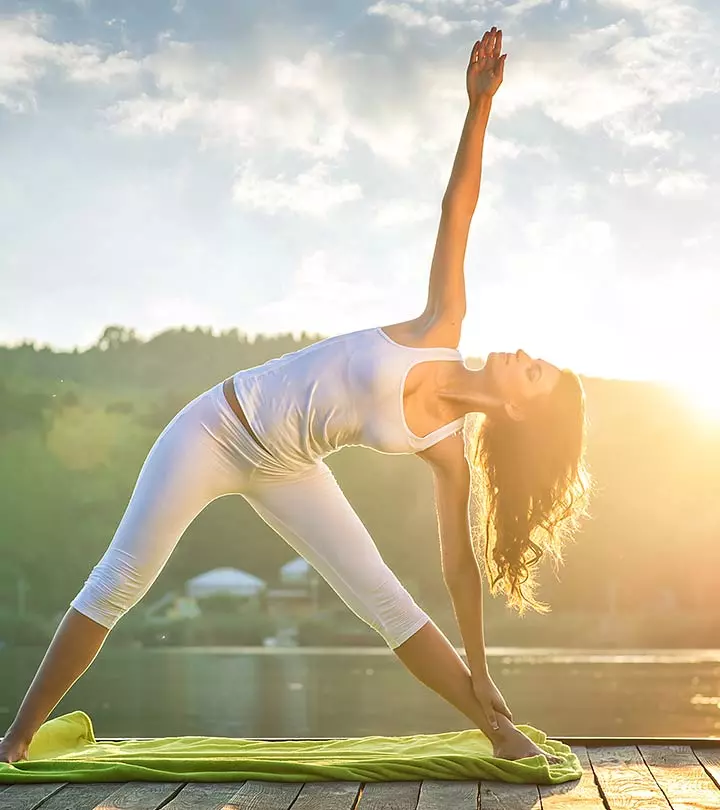
5. Take a deep breath, and as you exhale, bend your body to the right from below your hips, ensuring your waist is straight. Lift your left hand up and let your right hand touch the ground. Both your arms should form a straight line.
6. Depending on the level of comfort, rest your right hand on your shin, ankle, or outside the right foot on the floor. No matter where you place your hand, make sure you do not distort the sides of your waist. Quickly check on your left arm. It should be stretched out towards the ceiling and in line with the top of your shoulder. Let your head sit in a neutral position or turn it to the left, with your gaze set on your left palm.
7. Your body should be bent sideways, and not backward or forward. Your chest and pelvis should be wide open.
8. Stretch to the fullest, and focus on stabilizing your body. Take deep, long breaths. With every exhalation, try and relax your body more.
9. Inhale and come up. Drop your arms to your side and straighten your feet.
10. Repeat the same using the left leg.
Precautions And Contraindications
These are a few things you should keep in mind before you practice this asana.
1. If you suffer from neck problems, do not look upward. Just continue looking straight, and make sure both sides of your neck are evenly elongated.
2. If you suffer from high blood pressure, look downwards instead of looking upwards.
3. If you have a heart condition, it is best to practice this asana against a wall while placing the top arm on the hip.
4. It is best to avoid this asana if you are suffering from low blood pressure, diarrhea, or headaches.
Beginner’s Tips
These are some helpful tips you could use as a beginner.
1. As a beginner, it might be a good idea to lock the back of your heel or the back of your torso against the wall to keep steady in the pose.
2. All through the asana, ensure your back is totally straight.
3. While twisting your body, do not twist along the hips.
Advanced Pose Variations
Once you are confident doing the Trikonasana, you could try this advanced position under the supervision of your trainer.
Line up your feet, and drop the left arm over the left ear so that it is parallel to the floor. Keep the shoulder rooted into the socket. This is known as the triangle pose, and it develops strength and flexibility in the spine, chest, and legs.
Benefits Of Trikonasana
Take a look at the amazing Trikonasana benefits.
1. It strengthens the knees, ankles, legs, chest, and arms.
2. It completely stretches and opens up the groins, hips, hamstrings, and calves and also the chest, spine, and shoulders.
3. It increases both physical and mental stability.
4. It improves digestion and stimulates all the abdominal organs.
5. It helps reduce back pain and sciatica. It also serves as a therapy for flat feet, osteoporosis, neck pain, and infertility.
6. It reduces stress and cures anxiety.
The Science Behind The Trikonasana
This asana lets you realize how much you take your legs for granted. Your legs are graceful and powerful. When you feel disconnected with the lower half of your body, Trikonasana can revive your faith in the wonders of your lower body.
This asana instills expansion, stability, and evenness. These are the three physical principles of hatha yoga.
This asana, like many others, is a combination of many elements. It instills strength and stability in the legs and the feet and expands the torso. When your arms and legs are stretched out, it creates evenness (sama) in the body. As you balance your legs, arms, and torso, your mind becomes even and steady. As your mind extends itself to the shores of your body, and you turn your awareness inward, the true experience of yoga, or union, begins.
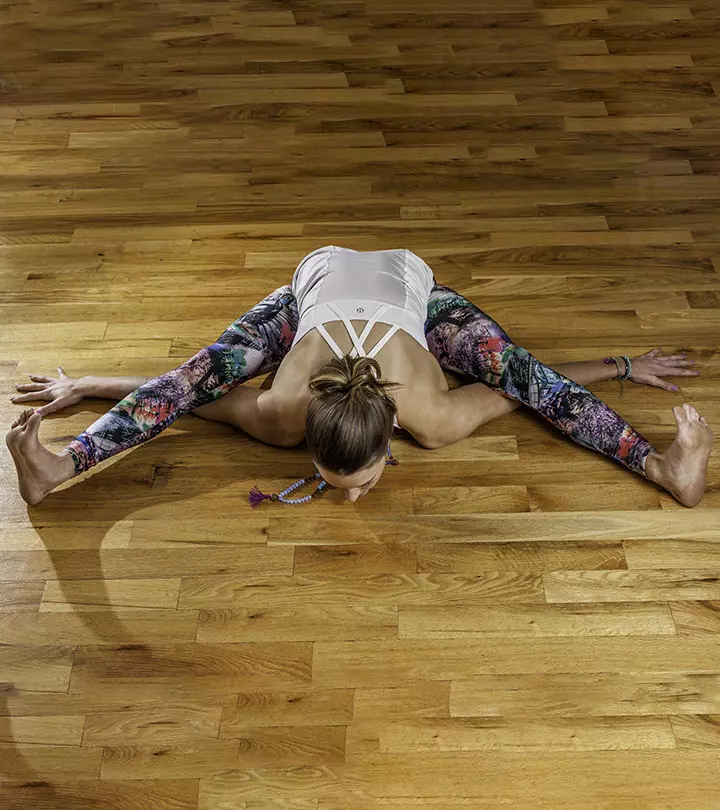
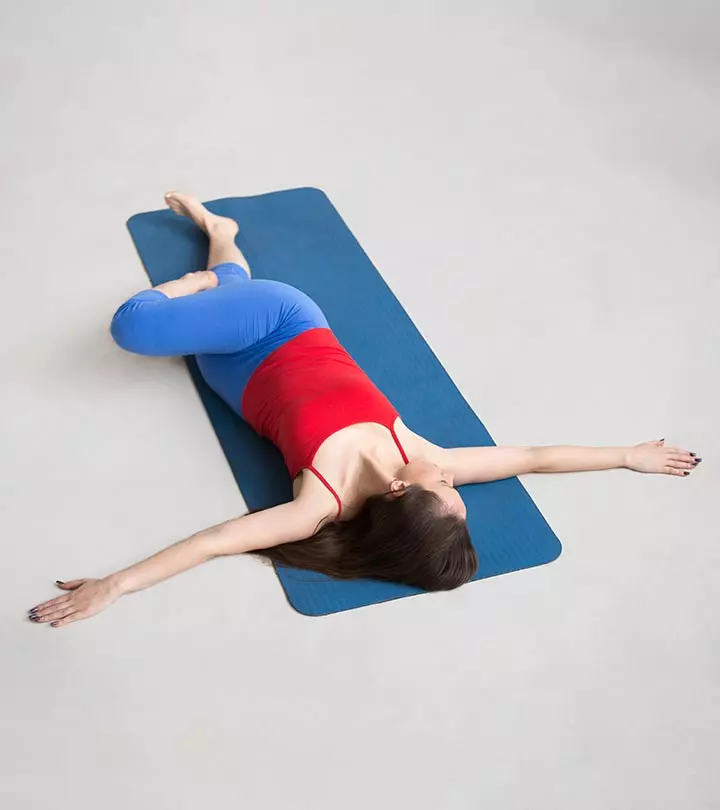
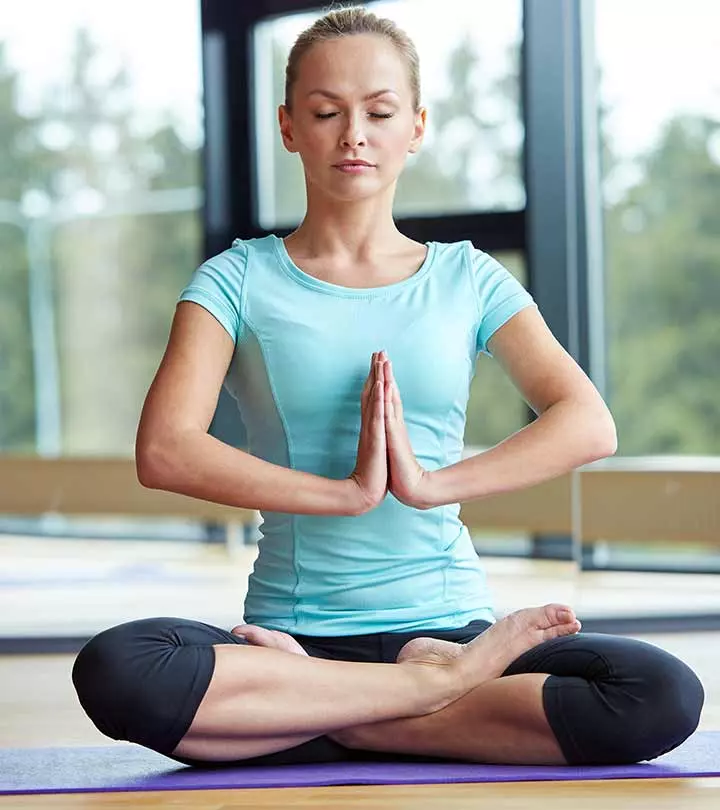
Preparatory Poses
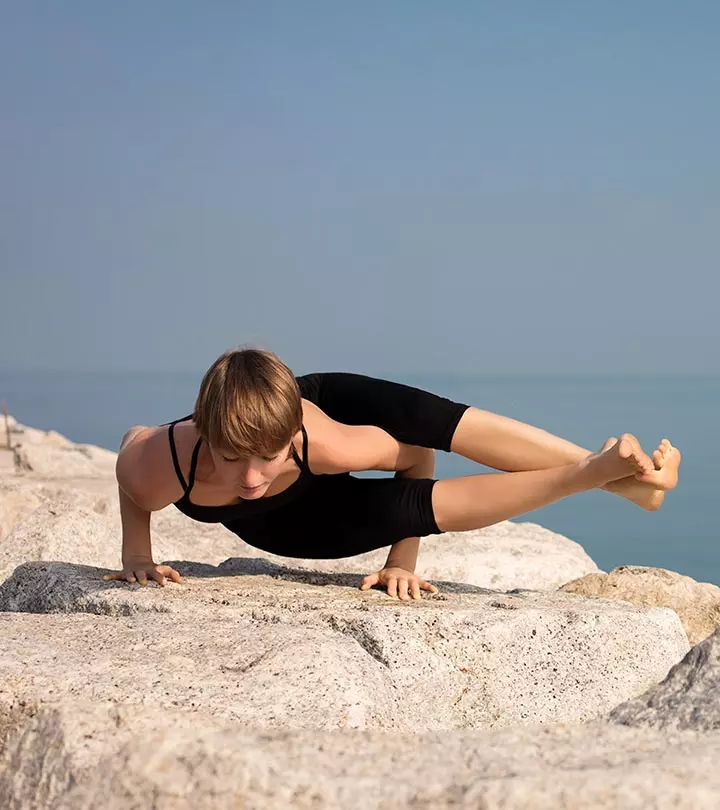
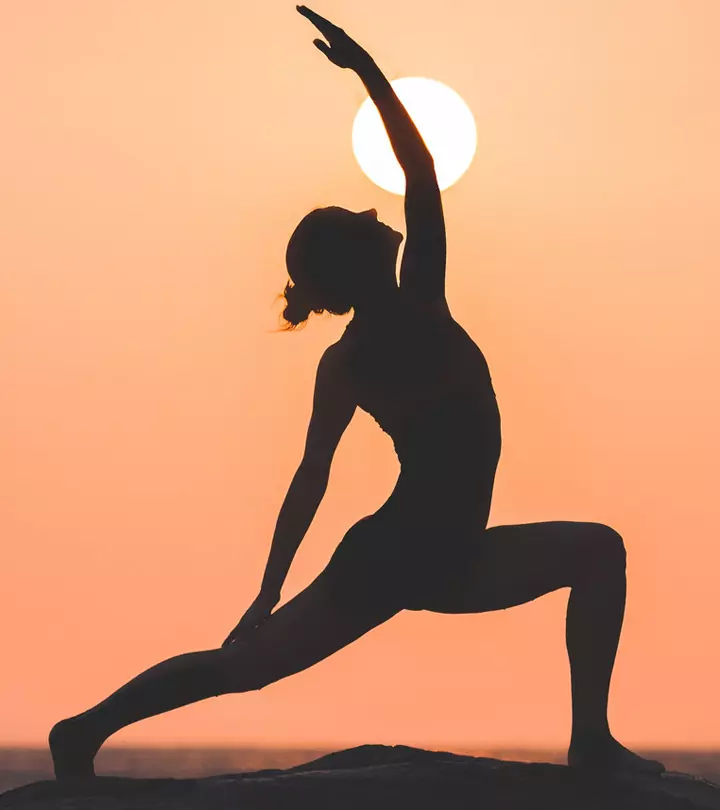
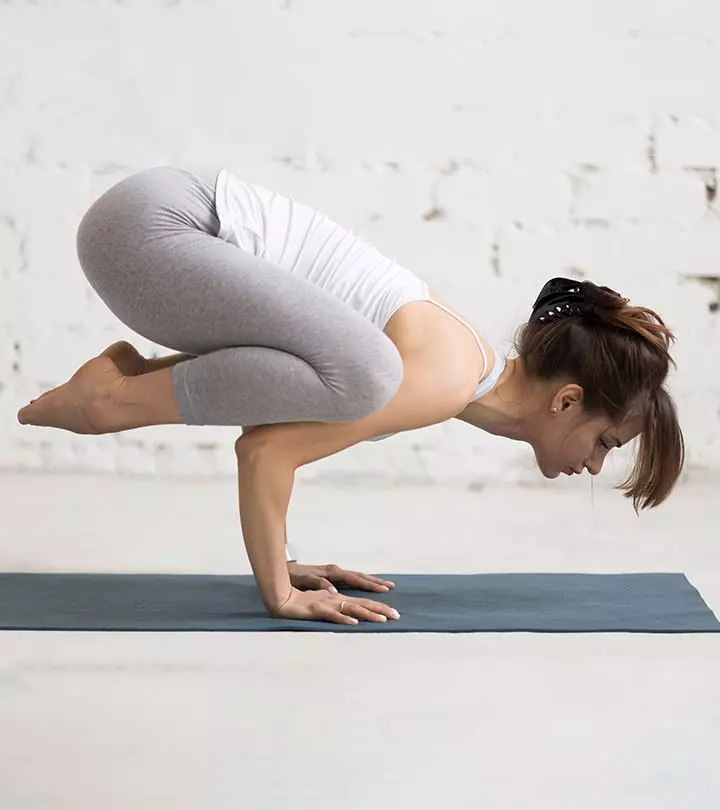
Follow-Up Poses
- Standing poses
- Seated forward bends
- Twists
This asana proves how yoga is effective in not only stretching and strengthening the body but also in sharpening and balancing the mind. It is a great idea to practice this asana regularly.
Read full bio of Shirin Mehdi







Community Experiences
Join the conversation and become a part of our empowering community! Share your stories, experiences, and insights to connect with other beauty, lifestyle, and health enthusiasts.