How To Do A French Manicure At Home In 5 Easy Steps
Learn how to do this classic manicure at home without spending a fortune at the salon!

Image: Shutterstock
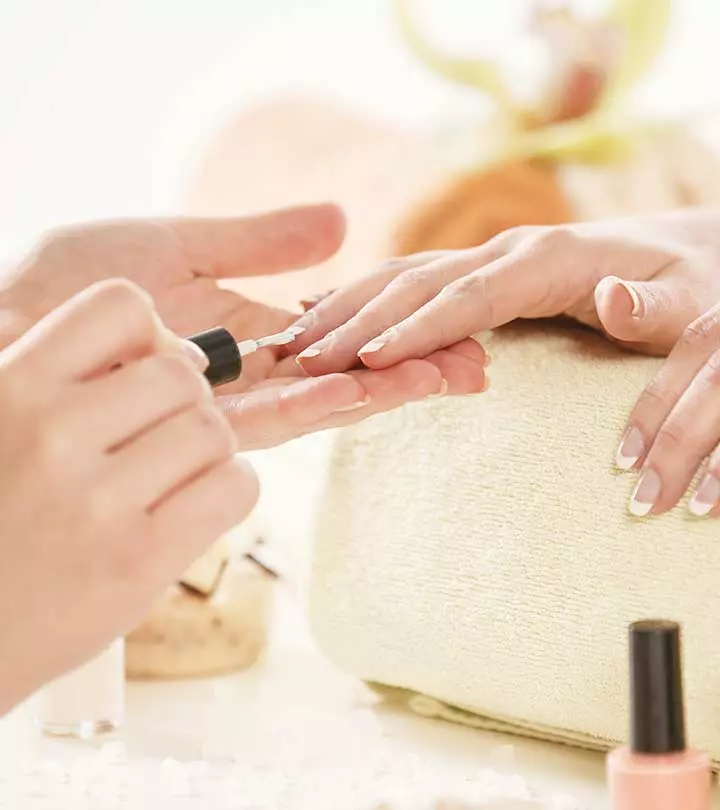
If you are wondering how to do a French manicure at home, you have landed on the right page. We agree that it is tricky, but it is not impossible. Our nails require equal attention as the skin. But we don’t always get the time to run to the nail salon to pamper them. That is why we are here to share a step-by-step tutorial that will help you to keep your fingernails healthy and clean. This process will not only save you the expenses of a salon but also a lot of time for other productive activities throughout the day. Not to mention, the stunning humble design effortlessly enhances your natural nail beauty and is ideal for an everyday look. So want to know the details of the French manicure process? Scroll down!

 Keep In Mind
- Application Hacks: Application Hacks Use a Band-Aid to cover the bottom of your nails. Later, peel and remove the glue with a nail-polish remover.
- Enhancing Tips: Application Hacks Instead of white nail polish, you can opt for nude or yellow to add some more pizzazz to your nails.
- A Way To Make It Last Long: Application Hacks The most simple way to ensure it lasts long is to apply a nail primer at the beginning.
In This Article
History Of French Manicure
The French manicure originated in the 1970s when Jeff Pink, the founder of a nail polish brand named Orly, created the look for Hollywood actresses who needed a versatile nail style. It features a natural pink or nude base with crisp white tips. It lets your nails have a classic and elegant appearance without being over the top. Though inspired by Parisian fashion, the term “French manicure” was coined in the U.S. and quickly became a global trend.
Now that you know about the origin of the French manicure, scroll down to learn how to do this chic nail art below and check all the essential tools required for it!
Tools And Products Needed For French Manicure
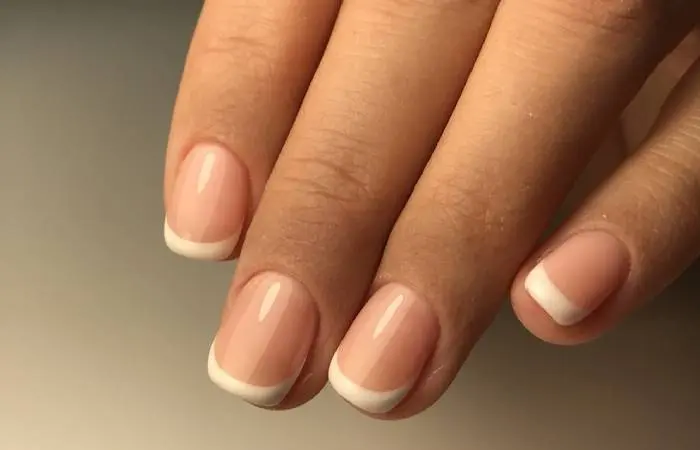
Before you get to the process, here are some products and tools you will need:
- Nail File And Buffer: To shape and smooth the nails before applying polish.
- Base Coat:To create a smooth surface and protect the nails.
- White Nail Polish: For the classic white tips, either freehand or using tip guides for precision.
- Neutral Polish: Transparent or pink polish to apply over the entire nail for a natural, polished look.
- Top Coat: To seal and protect the manicure, adding shine and longevity.
- Cuticle Oil: To prep the nails and keep the cuticles hydrated.
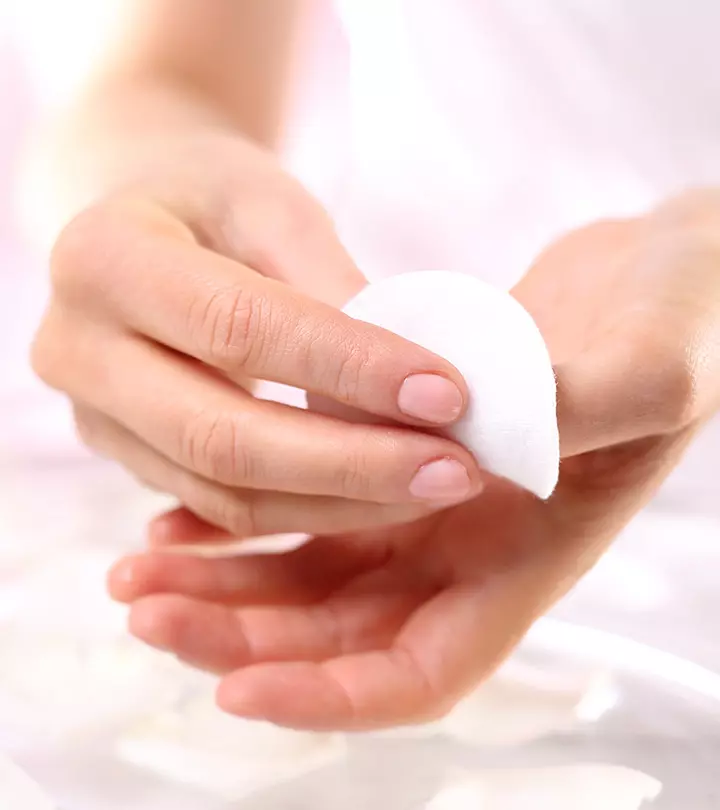
- Nail Polish Remover And Cotton Pads: For cleaning up any mistakes or excess polish.
Now that you have everything, scroll on to learn how to do a French manicure by yourself in detail!
Key Takeaways
- French manicure refers to a popular nail design with a light pink base and bright white tips with no nail accessories or nail stickers.
- You can easily do it with a bowl of warm water, a towel, a base coat, white nail polish or nail lacquer, soft baby pink nail paint, and a top coat.
- Simply clean your nails, apply a base coat, work on your tips, apply the over-top nail paint, and finish it off with a transparent top coat.
- Apply a transparent thin top coat to your nails every alternate day to keep your manicure from spreading or flaking.
How To Do French Manicure At Home
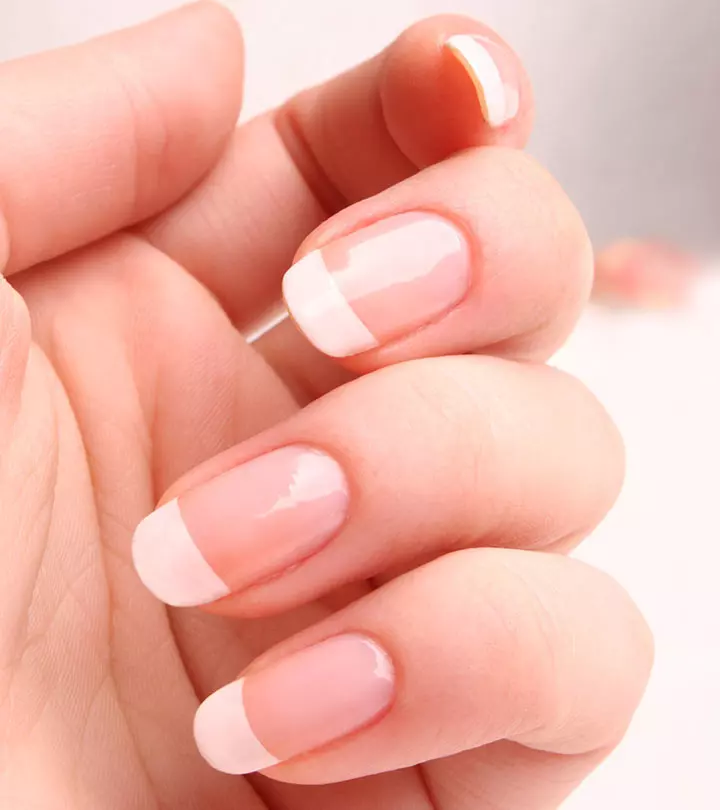
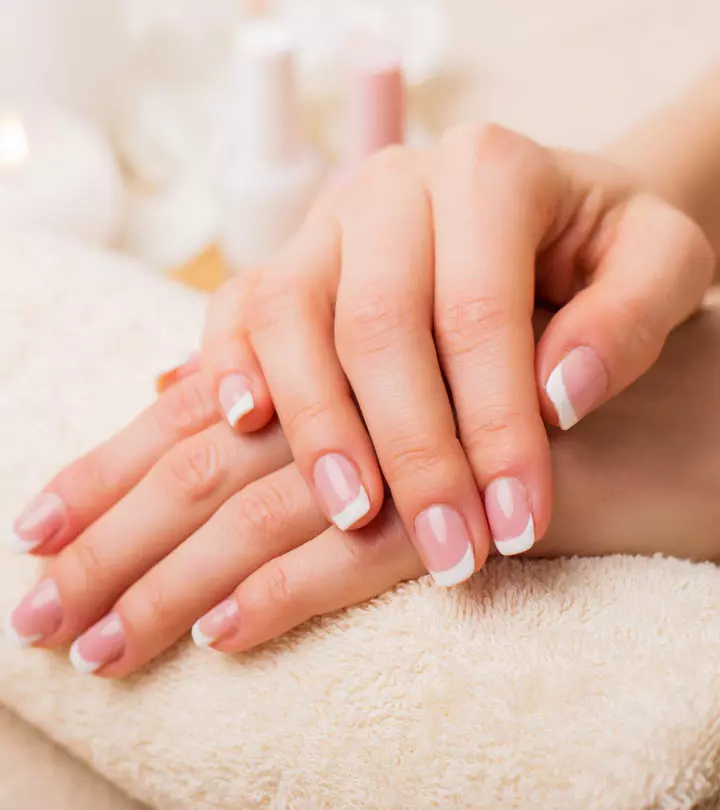
If you’re new to the world of nails, here’s what you need to know. The ever-classic French manicure typically involves a pale pink base and bright white tips. It is sophisticated and classy, and will never go out of fashion. Let’s begin with the tutorial!
What You Need
- A bowl of warm water
- A towel
- Base coat
- White nail polish
- Soft baby pink nail polish
- Top coat
Step By Step Tutorial
1. Prep Your Nails
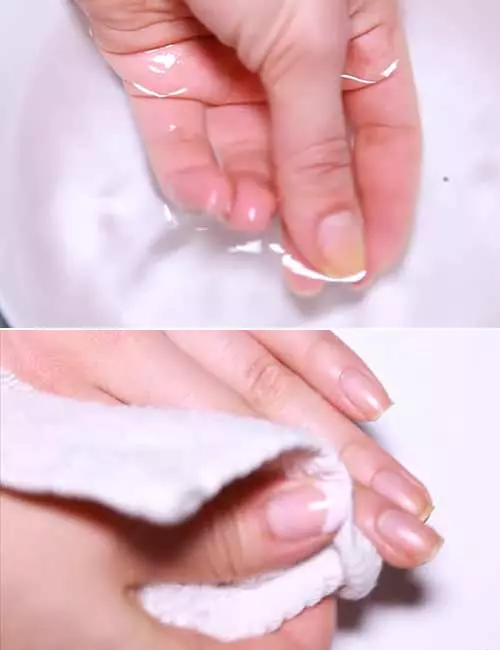
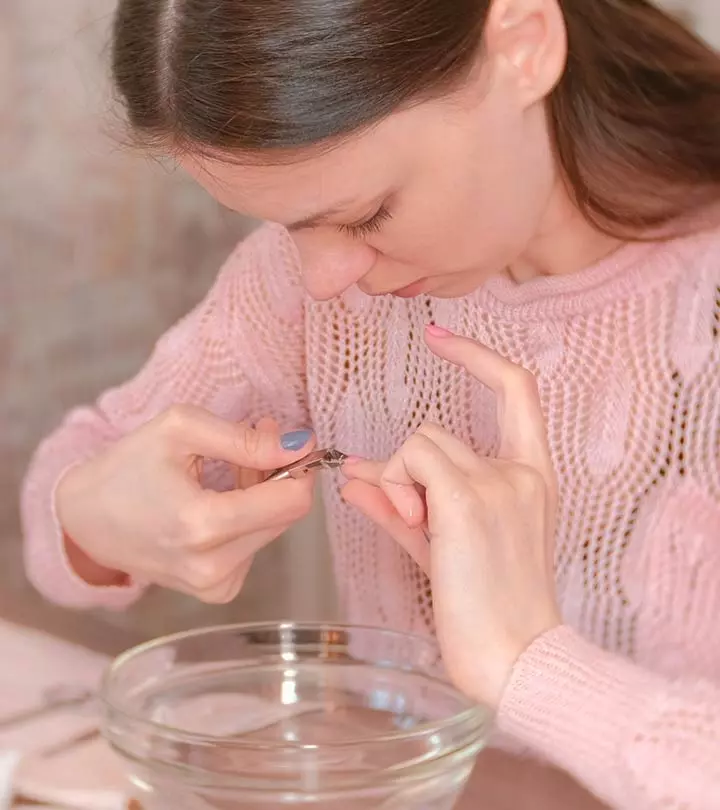
Cleaning your nail cuticle is an important part of doing a French Manicure. Fill a bowl with warm water and soak your hands in it for a minute. This helps get rid of all the oils and dry skin and helps your manicure stay on a lot longer.
 Quick Tip
2. Apply A Base Coat
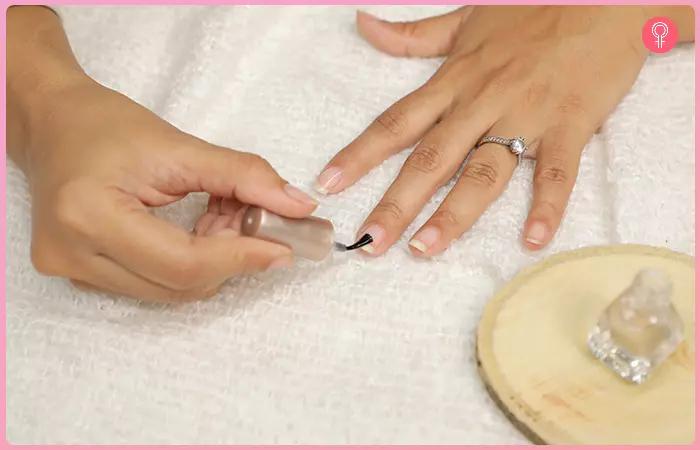
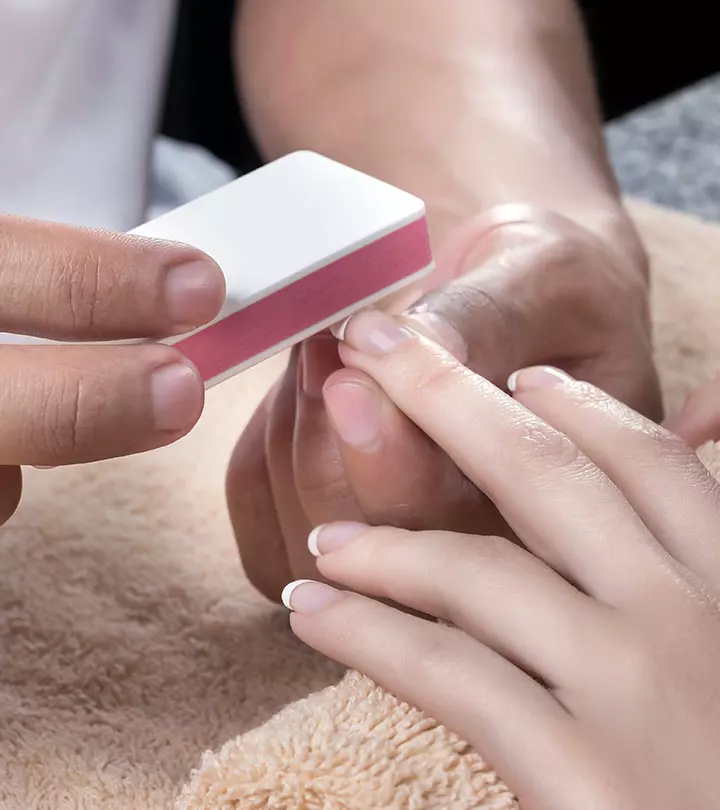
Once you have shaped and buffed nails, you need to apply a base coat. This step is really important when you are doing a French manicure because your natural nails are going to be on show, and you want everything to look smooth. Let it dry before you move on to the next step.
3. Do Your Tips
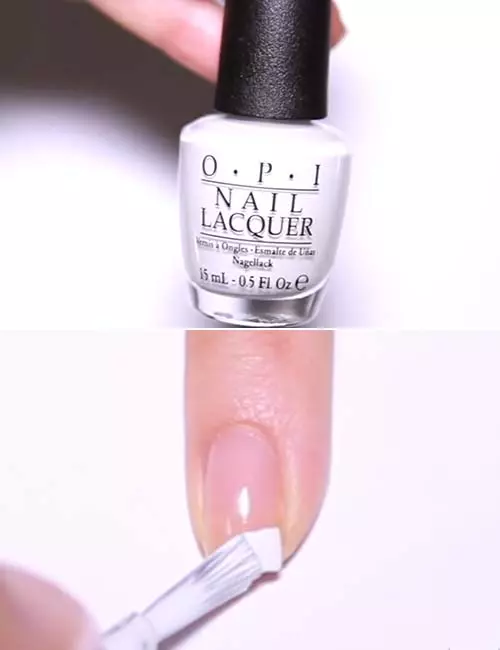
Use a white nail polish for your tips. Rest your finger on a flat surface, tilt it to the side, push the brush where you want your French tip to start and then pull it over. Don’t worry about connecting it to the other side as the criss-cross method will take care of this. Place the brush on the other side and repeat exactly what you did first. This will create a smooth and even line. Clean up any excess polish with a Q-tip, and let your nails dry.
4. Apply The Over-Top Nail Polish
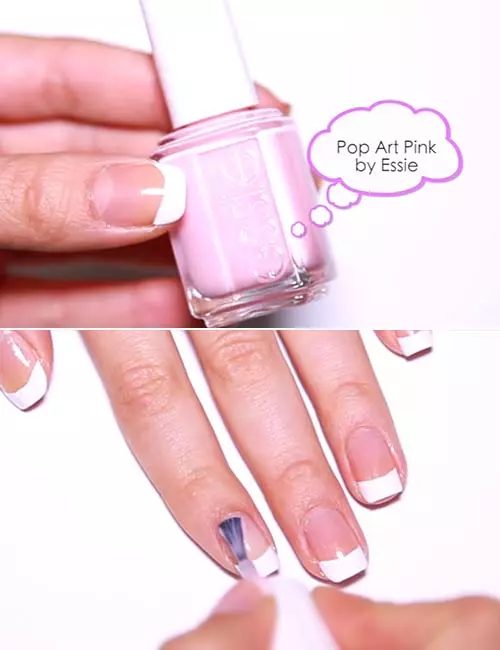
Choose a soft baby pink nail polish and paint it over your nails. This shade will blend all the colors together and make your manicure look a lot more natural.
5. Apply A Top Coat
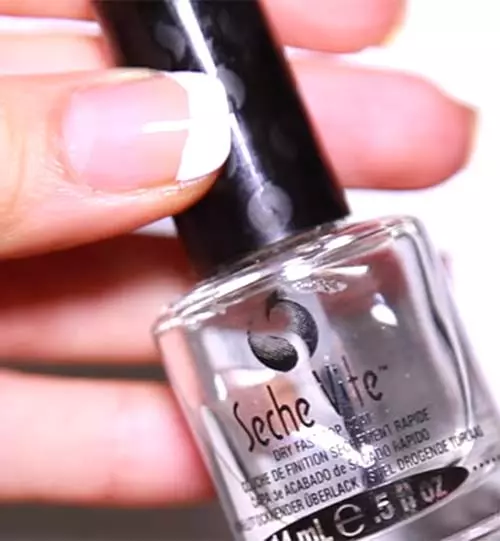
To seal and set your manicure, go over your nails with a transparent top coat. Once it dries, add cuticle oil for hydration.
Pat, a beauty blogger, talks about how she experimented with French manicured nails at home and how satisfied she was with the look. She states in her blog post, “I decided I didn’t really want white tips, so I chose a different color combination (i).” She further shares, “I had to resort to the second method, which is freehanding the tips. After redoing that ring finger, I slowly drew the line at the tip using the actual polish brush. It wasn’t that bad.”
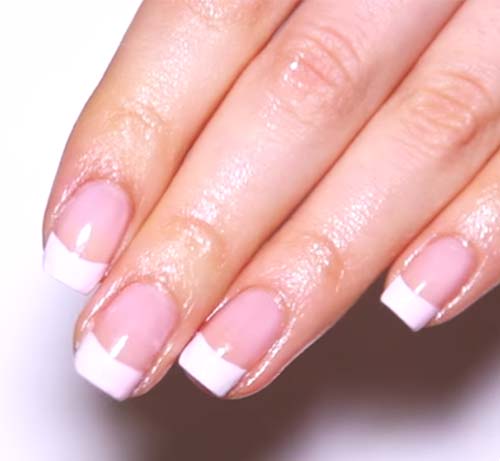
This is how your manicure will eventually look! Isn’t that gorgeous?
DIY Reverse French Manicure
The reverse French manicure is one of the hottest nail trends out there! It simply involves painting the circular moon shape of your nail bed in a shade that contrasts the rest of your nail. This is easy to do and won’t take up a lot of your time.
What You Need
- Base coat
- A light shade of nail polish
- A darker shade of nail polish
- Top coat
Step By Step Tutorial
1. Apply Your Base Coat
Start by applying a thin layer of a clear base coat as this helps the nail polish stick to your nails easily. It also protects your nails from staining and your manicure from peeling.
2. Apply The First Nail Color
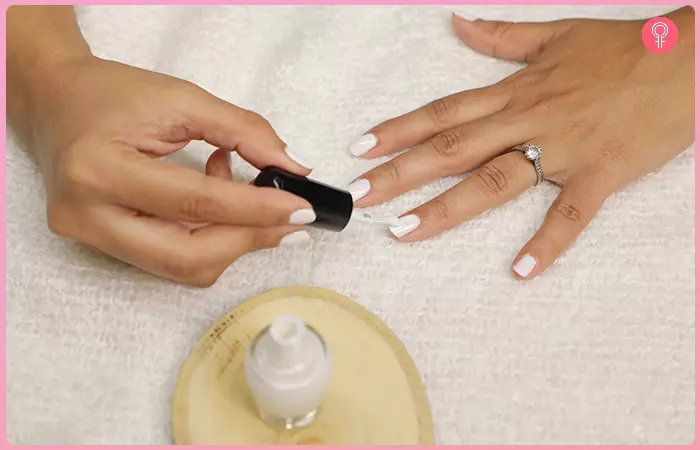
Grab your favorite nail polish – it could be anything – from metallic to a sheer color. Apply a nice, thin layer of it to your nails.
3. Glam It Up
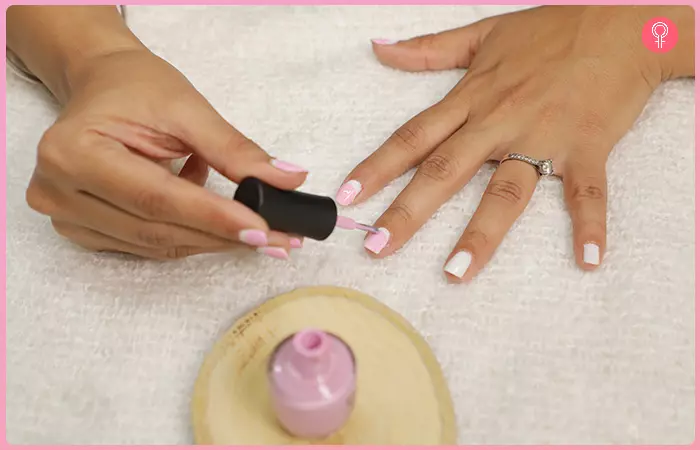
It’s time to go in with your second color. Use a small amount of polish and apply it while giving the brush a little wiggle to match the shape of your cuticle. Instead of going all the way to the nail bed, you’re leaving a small space for the first color to show.
4. Apply Your Top Coat
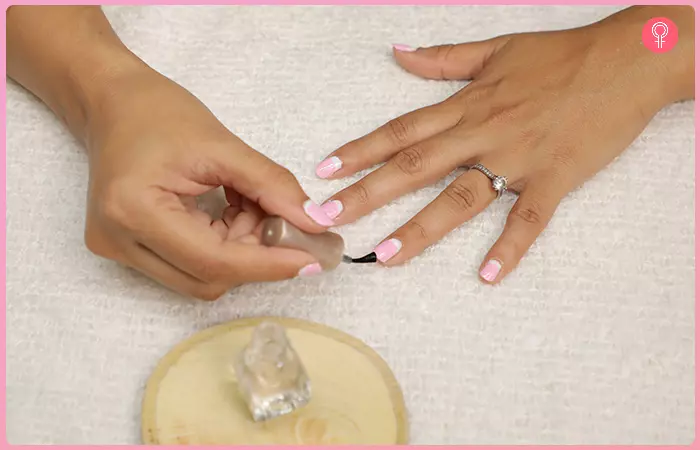
To seal the manicure, make sure you apply a top coat to ensure it lasts for a long time without chipping or peeling.
Here’s how stunning it looks!
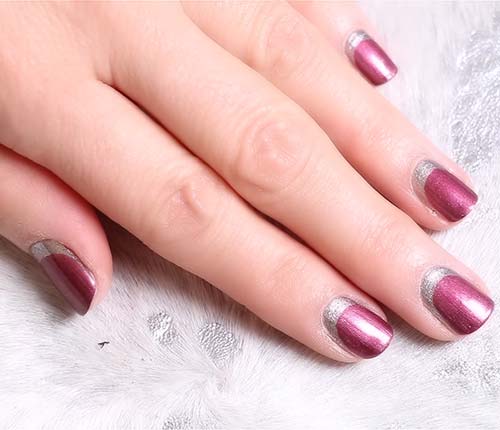
Wasn’t that simple?
 Did You Know?
How To Do A French Manicure Using Tape – Beginner’s Tutorial
Scotch tape (or regular tape) comes to the rescue if you’re a beginner and need a little help achieving that salon-quality precision nail treatment.
What You Need
- A translucent pink base coat
- Tape
- White nail polish
- Top coat
Step By Step Tutorial
1. Apply Your Base Coat
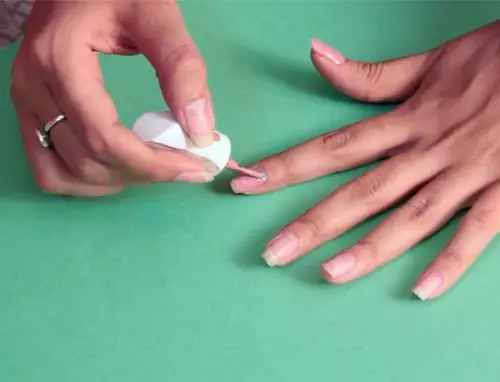
Start with a layer of your base nail polish. You can use a pink-toned color or a nude/tan-toned color, as per your preference. Apply one coat of your desired shade on all your nails and leave it to dry.
2. Cut Out Strips Of Tape
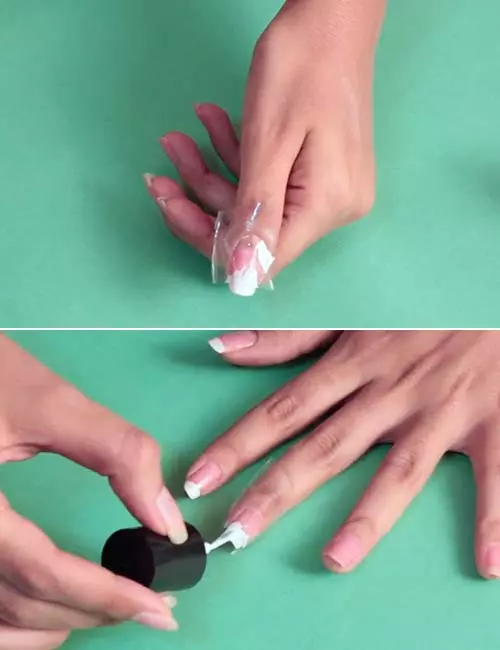
If you’re clumsy and can’t get even tips no matter how hard you try, this hack saves you a lot of time and trouble. Simply cut out a strip of tape and cover your nails, leaving only your tips open – where the white nail polish goes. Apply the white polish.
Follow this step for each nail.
3. Peel The Tape Off
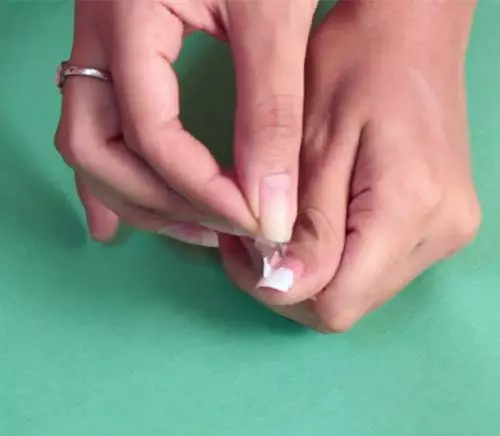
Now, gently remove the tape from your nail. Don’t pull too hard or you’ll ruin your base.
4. Apply A Top Coat
All you need is a gel-finish top coat to finish!
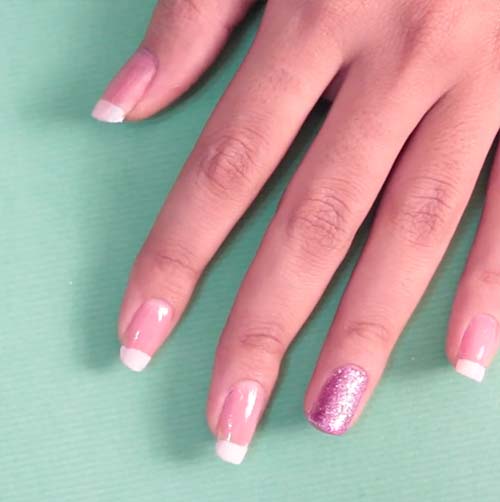
Say hello to your fresh manicure! Wasn’t that a breeze?
DIY French Manicure Using A Rubber Band
If you’re out of materials like scotch tape or band-aids, you can always use a rubber band to give yourself perfect French tips. Want to know how? Just follow these instructions!
What You Need
- A rubber band
- Base coat
- White nail polish
- Top coat
Step By Step Tutorial
1. Apply Your Base Coat
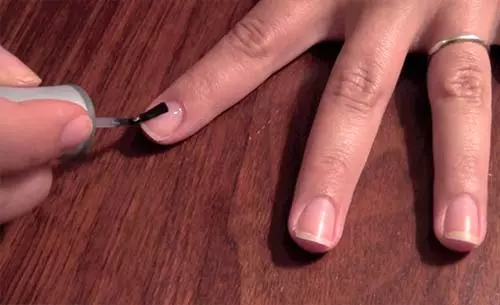
Start by applying your base coat – you can use a sheer pink or tan color. Apply a thin layer and let it dry.
2. Time For The Tips
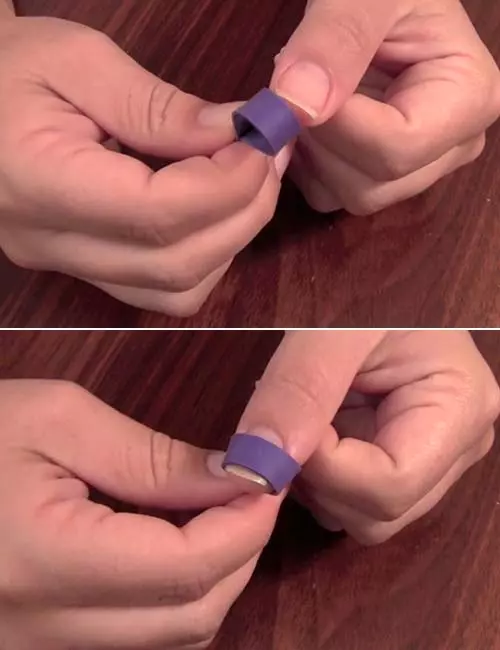
Twist your rubber band and place it around your nail, leaving a small gap at the top where the white nail polish goes.
3. Do Your Tips
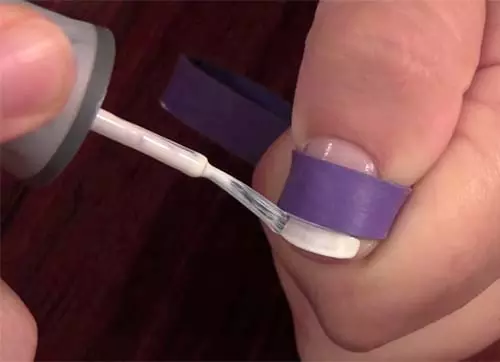
Carefully apply your white nail polish on the tips. The rubber band makes it a whole lot easier to get even and aligned tips.
4. Pull Off The Rubber Band
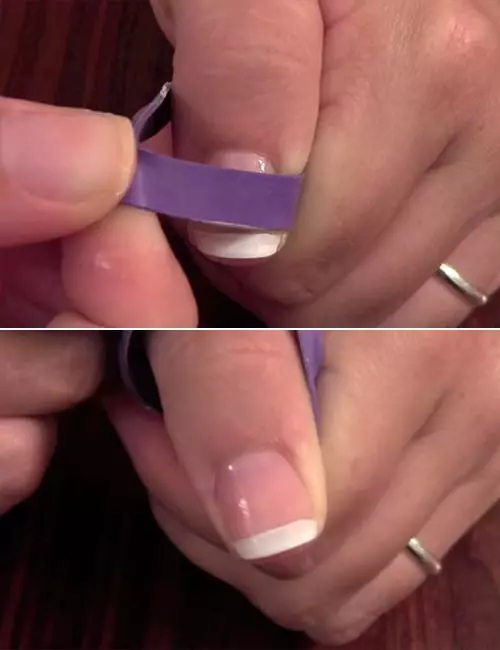
Make sure your polish has dried completely before you pull the rubber band off. Lift it while you pull it upwards.
5. Apply Top Coat
Finish with a layer of top coat to seal the manicure!
 Quick Tip
DIY Gel French Manicure
You can buy your own gel French manicure kit from Gelish and do a salon-quality French manicure right at home. You also need to have an LED light to cure the polish.
What You Need
- Nail buffer
- Nail file
- Gelish foundation gel
- White gel nail polish
- Gelish top coat
- Lint-free alcohol wipes
- LED lamp
Step By Step Tutorial
1. Prep Your Nails
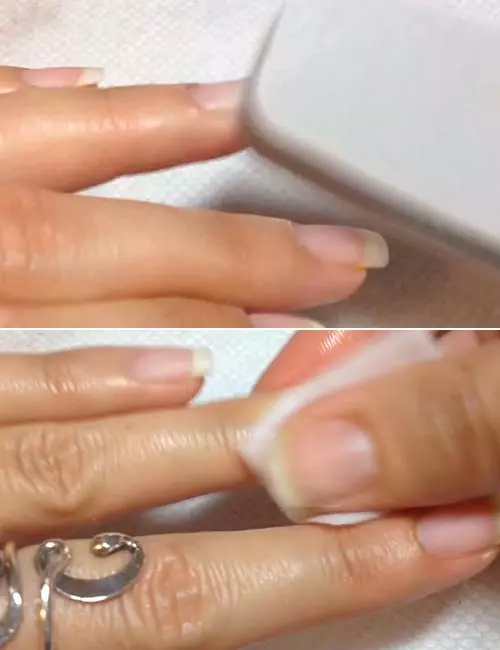
Start by using a nail file to get the desired shape then move on to buffing your nails before you apply any polish. Once this is done, wipe them off with lint-free alcohol wipes. This will get rid of the gritty texture and ensure that your nails are nice and smooth. You’ll also get a better bond with this step.
2. Apply Your Foundation
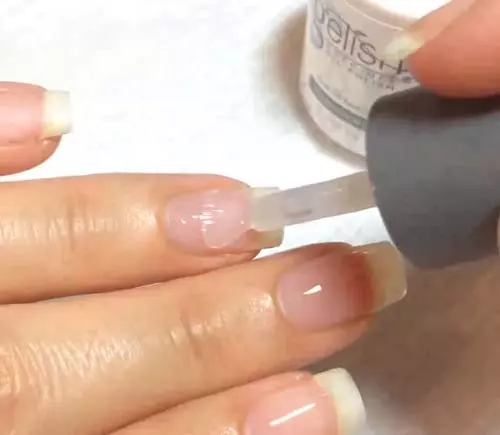
Apply a thin coat of your Gelish foundation gel polish and cure the polish in your LED light for 30 seconds.
3. Do Your Tips
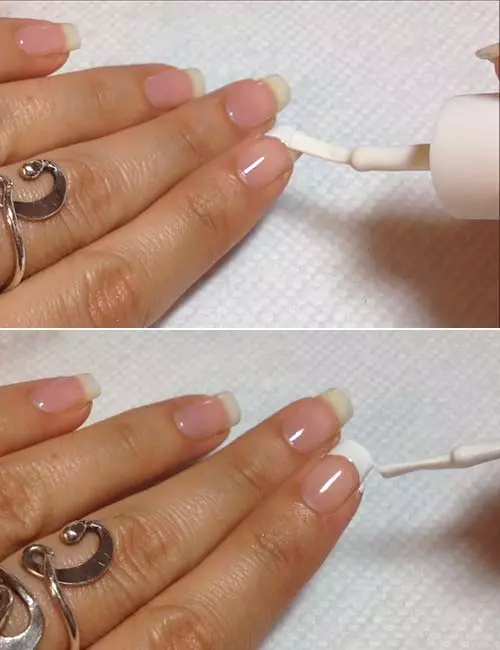
Next, apply the white gel nail polish on your tips, going from one side to the other in a single motion. Also, make sure you cap the tip with the polish to prevent any chipping. You can also use guide strips or tape to get perfect tips. Once this is done, cure the polish for another 30 seconds.
4. Apply Your Top Coat
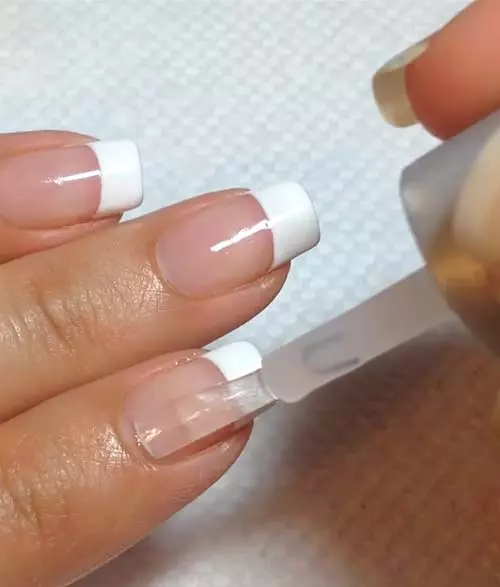
Once your tips are done, finish with a layer of gel top coat or nail varnish and cure them in your LED lamp.
Look at how perfect this looks!
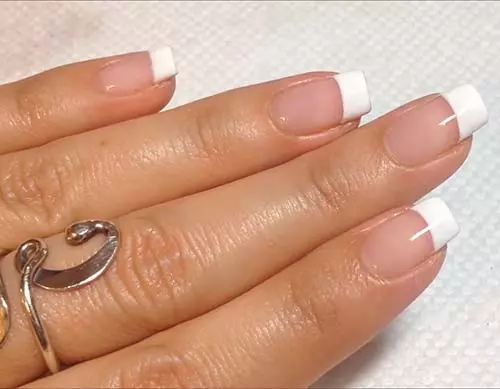
Now that you know how to achieve a French manicure right from home, check out some trendy variations you can try.
Trendy Variations Of French Manicure
- Colored French Tips: Swap the classic white tips for vibrant or pastel colors to add a fun twist.
- Glitter French Manicure: Add a sparkly touch by using glitter polish for the tips instead of traditional white.
- Double French Manicure: Create two thin lines along the tip of the nail for an elegant double-line design.
- Reverse French Manicure: Instead of painting the tips, highlight the base of the nail with a contrasting color for a bold, reversed look.
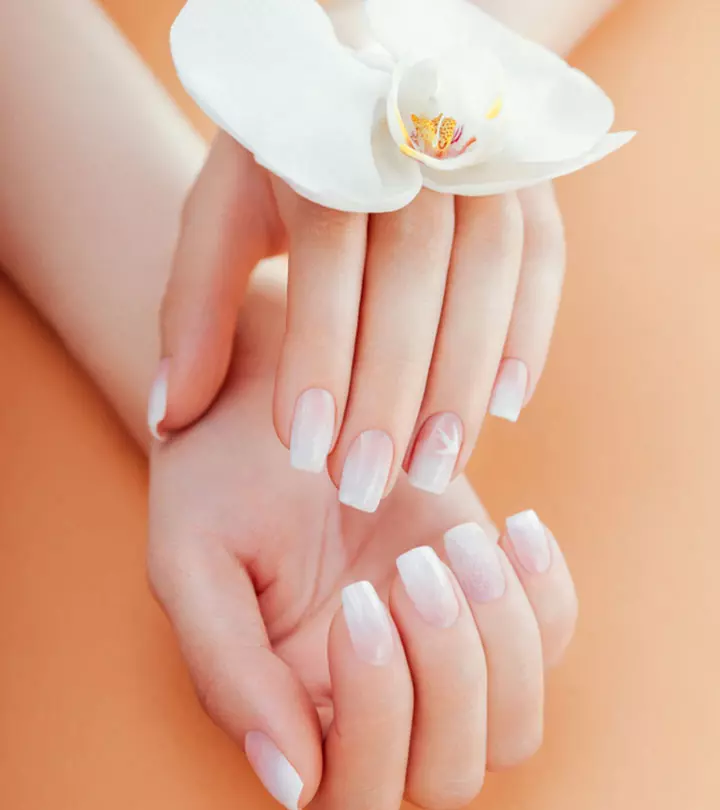
- Ombré French Manicure: Blend the tip color gradually into the base for a gradient effect that softens the traditional French manicure style.
Before you begin practicing this procedure, there are some precautions and tips that will help your manicure last longer. Learn about them in the next section.
Tips And Precautions: How To Make Your French Manicure Last Longer
Now that you’ve put in all the effort to give yourself a French manicure at home, you will want to make sure that it lasts a good while. Here are a bunch of nail tips and precautions that come in handy to make your fabulous manicure last until the end of time:
- Wipe down your nails using a cotton swab and white vinegar (or alcohol) before applying your base coat. This helps remove natural oils and product build-up that could create a barrier between your nails and the polish.
- Filing your nails in the shape that resembles your cuticle’s shape makes them less likely to break.
- When applying your polish, make sure you go in with thin coats. It is also important to wait for the first coat to fully dry before you apply a second one.
- If you want to keep your manicure from smearing or chipping, it is a great idea to apply a clear thin top coat to your nails every other day. This will also make them look shiny.
- If you are doing the dishes, use gloves and dry your hands with a towel immediately, instead of letting them air dry.
- Ensure you don’t get any polish on your cuticles. This will lift the paint from your nail and lead to peeling or chipping.
- Don’t shake your polish bottle up and down. Instead, roll it between your hands to get rid of air bubbles.
- Don’t wait too long to apply your top coat as it works more efficiently when applied to almost-dry nail polish. The top coat seeps through the polish allowing it to blend well with your base.
- If you want to speed up the nail drying process then don’t hesitate to use a LED lamp.
- Be very gentle while removing your nail polish. Use a good quality nail polish remover and a cotton ball to do it.
- Despite French manicure being a minimalist design it is important to cater to proper nail care, nail hygiene, and nail maintenance, thus keep away from nail polish every now and then.
Infographic: Types Of French Manicure You Can Do At Home
A French manicure would be our choice for the most classic nail design ever. This straightforward nail art is a timeless style that works for any occasion. Check out the infographic below for alternative nail techniques to get classy French nails.
Some thing wrong with infographic shortcode. please verify shortcode syntaxOur nails deserve attention and care, and getting regular manicures is the best way to protect nail health. French manicure is preferred by many for the results it offers. It is an evergreen nail style that is suitable for all occasions and ensures you stay on top of your nail fashion game. You can do it at home easily with minimal nail tools. But how to do a French manicure the right way is a query for many. With a good top coat, base coat, and shade of your choice, you can get a salon-like manicure look. You can try a French manicure at home by following our tutorial to enjoy healthy fingernails. Creating stunning nail art designs does not require much effort, but it is important to have a clean nail bed for impeccable results. Ensure that you use a nail file and cuticle pusher to get a smooth nail bed and perfect French-manicured nails!
Frequently Asked Questions
How long does a French manicure last?
A French manicure typically lasts about 1 to 3 weeks, depending on the quality of the products used and how well you maintain your nails.
Can I do a French manicure with gel polish?
Yes, you can definitely do a French manicure with gel polish for a longer-lasting, glossy finish.
What is the most flattering nail shape to use for the French manicure?
Almond-shaped nails are considered most flattering for the French manicure as it makes your fingers look longer and slimmer.
How long should nails be for a French manicure?
It depends on how thick you want the white tip to be. If you are okay with a thin white area, you only need slightly grown nails for a French manicure.
What is the difference between a French manicure and an American manicure?
A French manicure comes with a pink base and a white tip, while an American manicure has a beige base with a milky or faint white tip.
Illustration: How To Do French Manicure At Home - Step By Step Tutorial
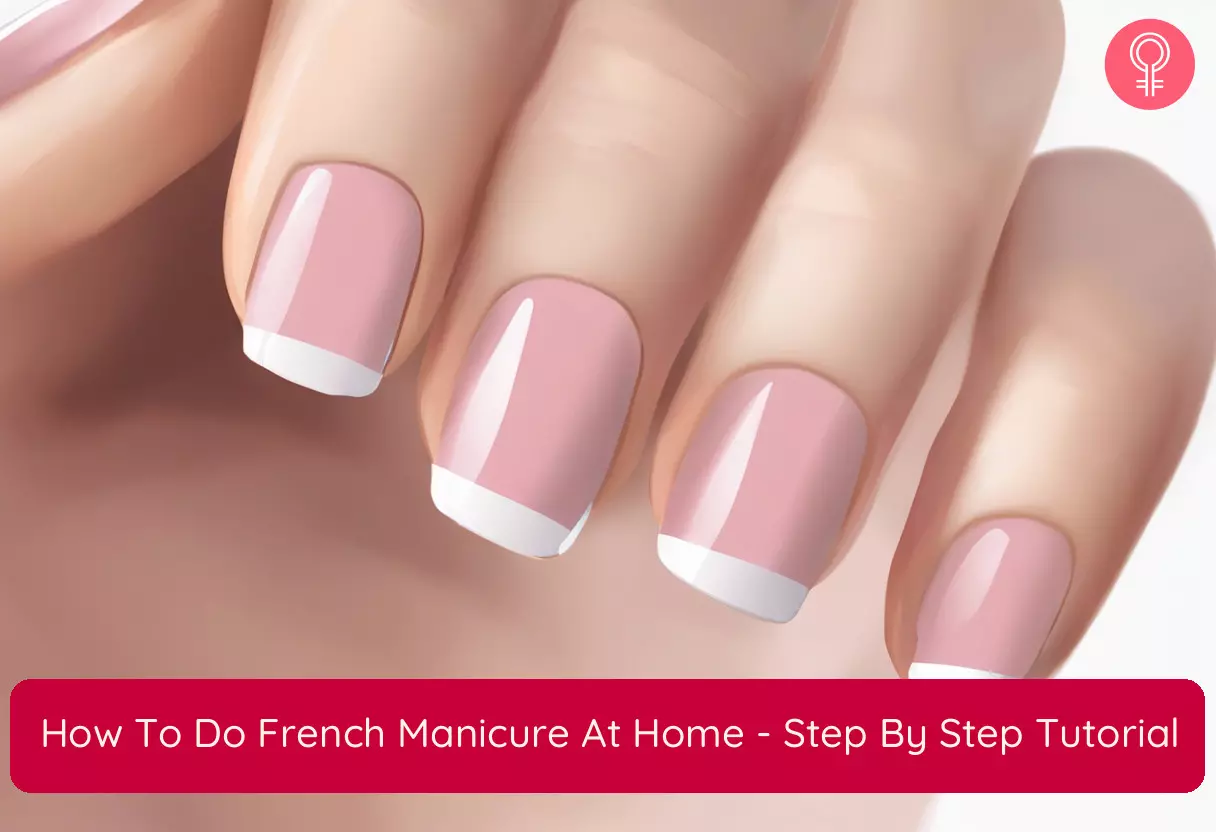
Image: Stable Diffusion/StyleCraze Design Team
Thinking about a French manicure to revamp your plain nails in no time? Hit the play button on how to do it in the easiest and quickest way possible!
Personal Experience: Source
StyleCraze's articles are interwoven with authentic personal narratives that provide depth and resonance to our content. Below are the sources of the personal accounts referenced in this article.
i. Nails: Lesson #3 French tipshttps://becomingsleek.wordpress.com/2013/07/22/nails-lesson-3-french-tips/
Read full bio of Gabrielle Richens
Read full bio of Joyce Joyson
Read full bio of Asmita De
Read full bio of Vaishali Sinha





Community Experiences
Join the conversation and become a part of our empowering community! Share your stories, experiences, and insights to connect with other beauty, lifestyle, and health enthusiasts.